Introduction
Is there anything more frustrating than standing in the rain, pressing your garage door remote repeatedly, only to watch it sit idle? You are not alone. Millions of homeowners face this issue every year when their old remotes fail or when they need to add a new device to their system. Knowing how to program a Clicker brand garage door opener can save you the cost of a professional service call and restore your peace of mind instantly.
In this guide, we will walk you through the exact steps to sync your Clicker universal remote with your existing garage door operator. Whether you have a Chamberlain, LiftMaster, Genie, or Craftsman unit, this tutorial is designed to be simple, safe, and effective for beginners.
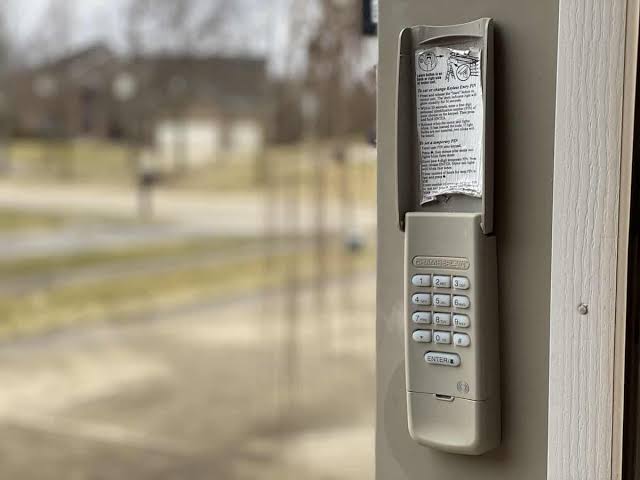
Understanding Your Clicker Remote Model
Before diving into the programming steps, it is crucial to identify which specific Clicker model you possess. Clicker (a brand often associated with Chamberlain Group products) produces several universal remotes, such as the KLIK1U, KLIK2U, and older models like the KLIK1. While the core technology is similar, the button sequences may vary slightly.
Most modern Clicker remotes feature a “Learn” button or a specific color-coded button sequence that mimics the original manufacturer’s protocol. Identifying your model ensures you follow the correct procedure and avoid unnecessary frustration. Check the back of your remote or the original packaging for the model number.
Step-by-Step Guide: How To Program A Clicker Brand Garage Door Opener
Programming a universal remote generally involves two phases: clearing the remote’s memory (if it was used before) and syncing it with the garage door opener’s receiver. Follow these detailed steps carefully.
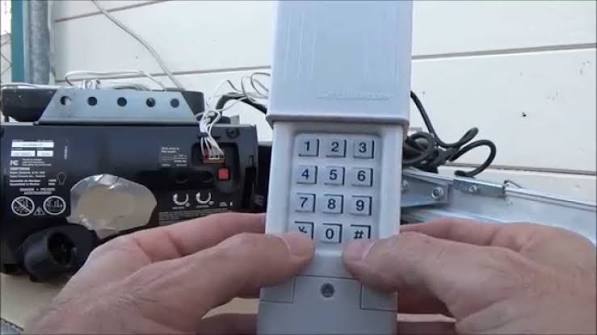
Step 1: Clear the Remote’s Memory
If your Clicker remote has been programmed to another door previously, you must reset it. This ensures no conflicting signals interfere with the new pairing.
- Locate the two small buttons on the front of the remote (usually labeled with icons or numbers).
- Press and hold both buttons simultaneously.
- Keep holding them until the LED indicator light turns off. This usually takes about 5–10 seconds.
- Once the light is off, release the buttons. Your remote is now factory reset.
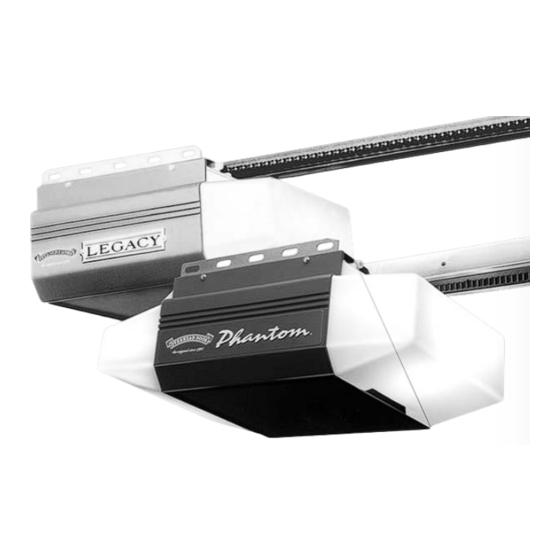
Step 2: Locate the “Learn” Button on Your Garage Door Opener
Go to your garage door motor unit (the main box attached to your ceiling). You need to find the “Learn” or “Smart” button.
- Location: It is typically located on the back or side of the motor unit, near the hanging antenna wire.
- Color: The button is usually yellow, purple, orange, or red.
- Yellow: Often indicates Security+ 2.0 rolling code technology.
- Purple/Orange: Common in older LiftMaster or Chamberlain models.
- Red: Frequently found on Genie units.
Safety Note: Ensure the area around the garage door is clear of people and pets before testing the door movement.
Step 3: Initiate Programming Mode
- Press and release the Learn button on your garage door motor unit.
- The LED light next to the Learn button will either blink or turn solid, indicating the unit is in “programming mode.”
- Act quickly: You typically have 30 seconds to complete the next step before the motor times out.
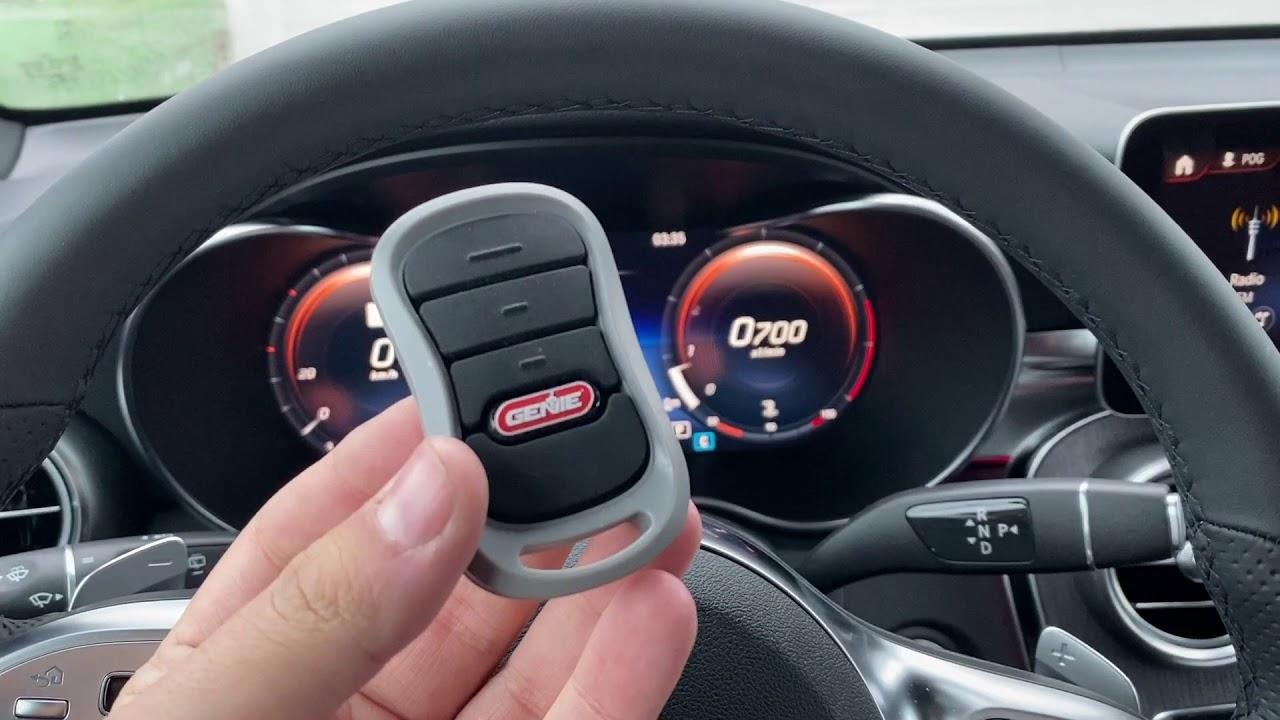
Step 4: Sync the Clicker Remote
- Return to your vehicle or standing position with the Clicker remote.
- Press and hold the button on the Clicker remote that you wish to use for this door.
- Hold it until you see the lights on the garage door motor unit flash or hear two clicks.
- Release the button.
Step 5: Test the Connection
Press the programmed button on your Clicker remote again. The garage door should activate (open or close). If it does, congratulations! You have successfully learned how to program a Clicker brand garage door opener.
If the door does not respond, repeat Steps 2–4, ensuring you press the Learn button firmly and sync the remote within the 30-second window.
Troubleshooting Common Programming Issues
Even with careful following of instructions, things can go wrong. Here are the most common issues and how to fix them.
| Issue | Possible Cause | Solution |
|---|---|---|
| Remote not responding | Dead batteries | Replace with fresh alkaline batteries. Ensure polarity is correct. |
| LED blinks but door doesn’t move | Wrong frequency | Ensure your Clicker model supports your opener’s frequency (315 MHz or 390 MHz). |
| Learn button won’t light up | Power issue | Check if the motor unit is plugged in and the circuit breaker is on. |
| Door reverses immediately | Safety sensor blocked | Clean the photo-eye sensors at the bottom of the door tracks. |
Why Frequency Matters
Garage door openers operate on specific radio frequencies. In the United States, the two most common frequencies are 315 MHz and 390 MHz. Most modern Clicker universals are dual-frequency, meaning they can detect and match either signal automatically. However, if you have an very old opener (pre-1993), it might use a fixed code rather than a rolling code, which some newer universals do not support.
For more technical details on radio frequency standards in consumer devices, you can refer to general telecommunications guidelines on Wikipedia.
Security Best Practices for Garage Door Remotes
Programming your remote is just the first step. Securing your home requires ongoing vigilance.
- Use Rolling Code Technology: Ensure your opener uses rolling codes (Security+ 2.0). This changes the access code every time you use the remote, preventing hackers from “recording” your signal and replaying it later.
- Disable Unused Remotes: If you lose a remote, clear all codes from the motor unit and reprogram only the remotes you currently possess. This prevents the lost remote from being used to enter your home.
- Keep Firmware Updated: If you have a smart garage hub connected to your opener, check for firmware updates regularly to patch security vulnerabilities.
FAQ Section
Q1: Can I program a Clicker remote to work with any garage door brand?
A: Clicker universal remotes are designed to work with most major brands sold in North America, including Chamberlain, LiftMaster, Craftsman, Genie, Linear, and Wayne Dalton. However, they may not be compatible with very old European models or proprietary systems like some Stanley or Sears units from the 1980s. Always check the compatibility list on the package.
Q2: What if my garage door opener doesn’t have a “Learn” button?
A: Older openers (pre-1993) often use DIP switches instead of a Learn button. In this case, you cannot use a standard Clicker universal remote designed for rolling codes. You would need a universal remote specifically designed for DIP switch matching, or consider upgrading your garage door opener unit for better security and convenience.
Q3: How long do the batteries last in a Clicker remote?
A: With typical usage (2–4 times per day), the CR2032 lithium coin cell batteries in most Clicker remotes last between 1–2 years. If you notice the range decreasing or the LED dimming, it is time to replace them.
Q4: Can I program multiple Clicker remotes to one garage door?
A: Yes. Most garage door openers can store between 10 to 50 unique remote codes. You can program as many Clicker remotes as you need by repeating the programming steps for each additional remote.
Q5: My remote works intermittently. What should I do?
A: Intermittent issues are often caused by interference from LED light bulbs in the garage. Some cheap LED bulbs emit radio frequency noise that disrupts the remote signal. Try turning off the garage light and testing the remote. If it works, replace the bulb with a high-quality, shielded LED or an incandescent bulb.
Q6: Is it safe to leave the garage door opener in programming mode?
A: No. Programming mode typically lasts only 30 seconds. However, if you fail to sync a remote, the unit will exit programming mode automatically. There is no risk of leaving it “open” to hackers, but you should always test the door immediately after programming to ensure it functions correctly.
Conclusion
Learning how to program a Clicker brand garage door opener is a straightforward process that empowers you to take control of your home’s accessibility. By following the steps outlined above—clearing the memory, locating the Learn button, and syncing within the time limit—you can resolve most remote issues in under five minutes.
Remember, regular maintenance of your batteries and awareness of your system’s security features will keep your garage door functioning smoothly for years to come. Don’t let a malfunctioning remote ruin your day; tackle it with confidence!
Did this guide help you get your garage door working again? Share this article with your neighbors or on social media to help others solve their DIY headaches!
Leave a Reply