Are you experiencing issues with your Chamberlain garage door sensors not working as expected? Having malfunctioning sensors can pose a safety risk and hinder the smooth operation of your garage door. In this comprehensive guide, we’ll explore the possible reasons behind Chamberlain garage door sensors not working and provide effective solutions to resolve the issue.
Understanding Chamberlain Garage Door Sensors Not Working
The Chamberlain garage door sensors are a critical safety feature designed to detect obstacles or obstructions in the path of the closing garage door. When functioning correctly, these sensors ensure that the door stops and reverses its operation if it detects any objects or individuals in its path. However, when the sensors fail to work properly, it can result in the garage door not closing or reversing unexpectedly.
Troubleshooting Chamberlain Garage Door Sensors Not Working
1. Check Sensor Alignment
Misaligned sensors are a common cause of Chamberlain garage door sensors not working. Ensure that the sensors are properly aligned and facing each other across the garage door opening. Use a level to verify that they are parallel to the ground and adjust them if necessary.
Read too: Why Your Liftmaster Garage Door Won’t Stay Closed and How to Fix It? Troubleshooting Tips
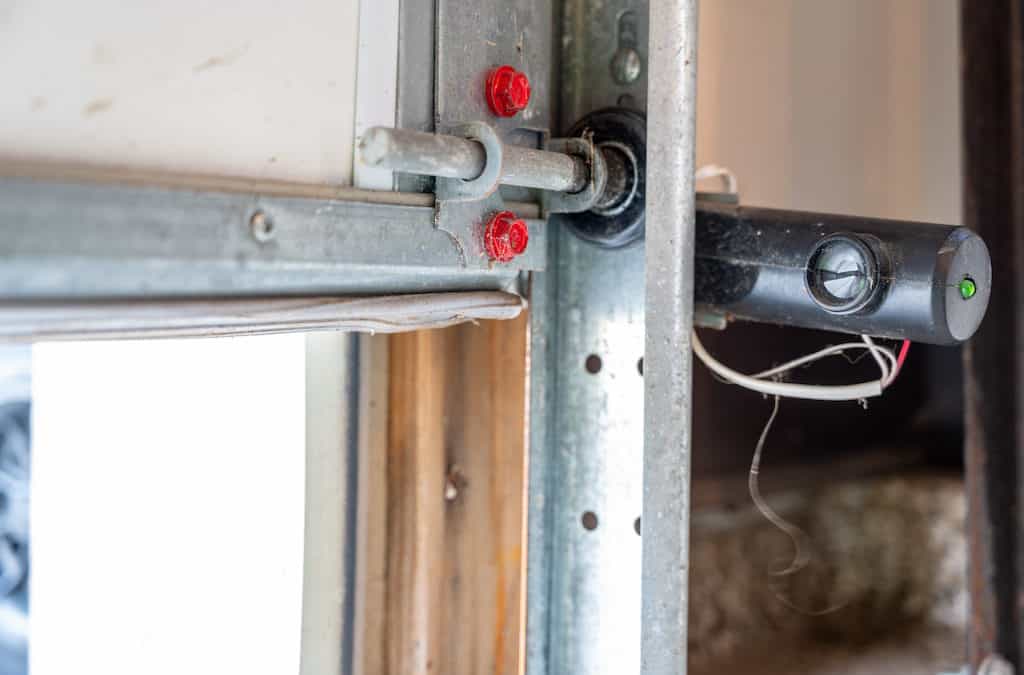
2. Clean Sensor Lenses
Dust, dirt, or debris on the sensor lenses can interfere with their operation and cause them to malfunction. Use a soft, dry cloth to clean the sensor lenses thoroughly and remove any buildup. Avoid using harsh chemicals or abrasive materials that could damage the sensors.
3. Inspect Wiring Connections
Examine the wiring connections between the sensors and the garage door opener unit. Loose or damaged wiring can disrupt the signal transmission and prevent the sensors from working correctly. Ensure that all wiring connections are secure and free from damage.
4. Test Sensor Power
Check if the sensors are receiving power from the garage door opener unit. Use a multimeter to test the voltage at the sensor terminals and verify that it matches the manufacturer’s specifications. If the sensors are not receiving power, inspect the wiring and replace any faulty components.
5. Reset the System
Resetting the Chamberlain garage door opener system can sometimes resolve issues with the sensors not working. Disconnect the power to the garage door opener unit for a few minutes, then reconnect it and test the sensors again. Resetting the system can recalibrate the sensors and restore proper functionality.
6. Replace Faulty Sensors
If the troubleshooting steps above fail to resolve the issue, it may indicate that the sensors are faulty and need to be replaced. Contact Chamberlain customer support or consult a professional technician to obtain compatible replacement sensors and install them according to the manufacturer’s instructions.
Conclusion
Dealing with Chamberlain garage doors sensors not working can be frustrating, but by following the troubleshooting steps outlined in this guide, you can identify and resolve the underlying issues effectively. Ensuring that your garage door sensors are functioning correctly is essential for maintaining the safety and reliability of your garage door system.


Leave a Reply