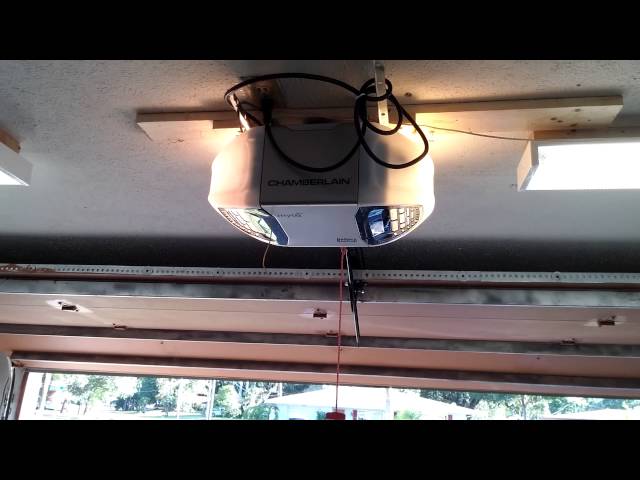
Experiencing issues with your Chamberlain garage door refusing to close can be frustrating and inconvenient, especially when you need to secure your home or protect your belongings. Understanding the potential causes behind this problem is the first step toward finding a solution. In this comprehensive troubleshooting guide, we’ll explore common reasons why Chamberlain garage doors won’t close and provide practical tips for resolving the issue quickly and effectively.

Understanding Why Your Chamberlain Garage Door Won’t Close
1. Sensor Misalignment
One of the most common reasons for a Chamberlain garage door not closing is sensor misalignment. Chamberlain garage door openers are equipped with safety sensors that detect obstructions in the door’s path. If these sensors are misaligned or blocked by debris, the door may not close properly to prevent accidents or damage.
Read too: Mastering Quantum Garage Door Opener Programming: A Comprehensive Guide
2. Sensor Malfunction
In addition to misalignment, sensor malfunction can also prevent the garage door from closing. If one or both of the sensors are faulty or damaged, the opener may interpret it as an obstruction and refuse to close the door.
3. Limit Switch Issues
Chamberlain garage door openers are equipped with limit switches that control the travel of the door along the tracks. If the limit switch is not properly set or if there is an issue with the switch itself, the door may not close all the way or may reverse direction unexpectedly.
4. Track Obstructions
Obstructions in the garage door tracks, such as debris, dirt, or objects lodged in the path of the door, can prevent it from closing properly. Inspect the tracks carefully and remove any obstructions that may be blocking the door’s movement.
Chamberlain Garage Door Won’t Close: Troubleshooting Steps
1. Check Sensor Alignment
Start by inspecting the alignment of the safety sensors located near the bottom of the garage door tracks. Ensure that both sensors are facing each other directly and are aligned at the same height. Clean the sensor lenses with a soft cloth to remove any dirt or debris that may be obstructing the signal.
2. Test Sensor Functionality
Use a small object, such as a broomstick or cardboard box, to simulate an obstruction in the door’s path. Wave the object between the sensors and observe the indicator lights on the sensors. If the lights do not illuminate or if the door does not stop or reverse direction, the sensors may be malfunctioning and require replacement.
3. Adjust Limit Switches
Refer to the Chamberlain garage door opener manual for instructions on how to adjust the limit switches. Using a screwdriver, adjust the settings for the up and down limits to ensure that the door closes all the way without reversing direction prematurely.
4. Clear Track Obstructions
Inspect the garage door tracks for any obstructions that may be preventing the door from closing properly. Use a flashlight to illuminate the tracks and remove any debris or objects that may be blocking the path of the door.
Conclusion
Dealing with a Chamberlain garage door that won’t close can be frustrating, but with the right troubleshooting steps, you can identify and resolve the issue quickly and effectively. By checking sensor alignment, testing sensor functionality, adjusting limit switches, and clearing track obstructions, you can ensure that your garage door operates smoothly and safely. If you’re unable to resolve the issue on your own, don’t hesitate to contact a professional garage door technician for assistance.


Leave a Reply