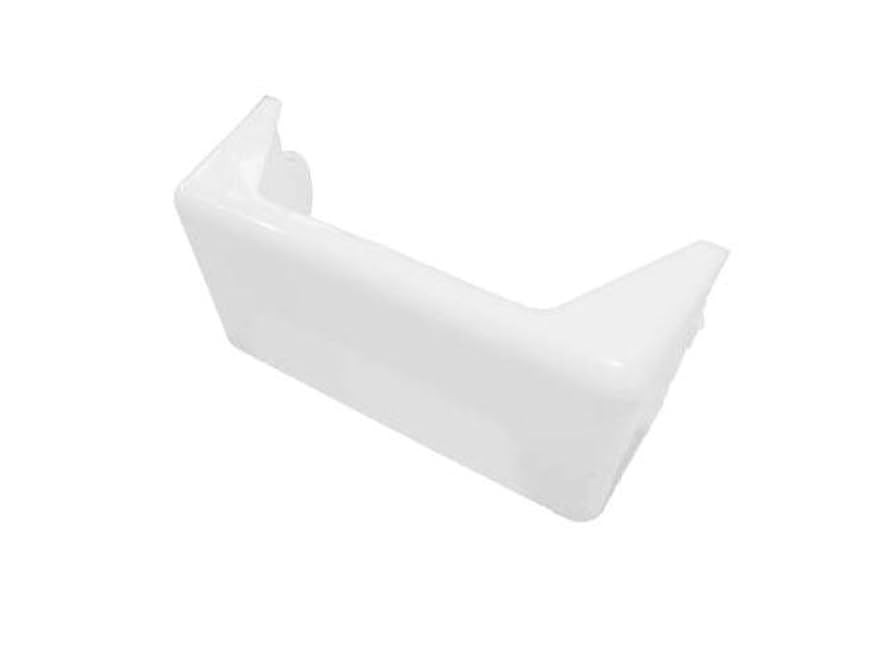
The Craftsman 1/2 HP Garage Door Opener is one of the most popular and dependable models found in American homes. Built for durability and convenience, it provides reliable performance for years when properly maintained. While many homeowners focus on the motor, chain, or remote, one part that often goes unnoticed until it’s broken is the Craftsman 1 2 Hp Garage Door Opener Light Cover.
This seemingly simple plastic piece plays a big role in protecting your light bulb, ensuring safety, and keeping your garage opener looking neat. If your light cover is cracked, missing, or yellowed from years of use, replacing or maintaining it can improve both functionality and appearance.
Read too: How to Perform a Chamberlain Garage Door Opener Code Change? Mastering Security
This guide covers everything you need to know about the light cover—from its purpose and common problems to replacement tips, troubleshooting, and preventative care.
Why the Light Cover Matters
The Craftsman 1 2 Hp Garage Door Opener Light Cover may not look like an essential part, but it provides several benefits:
- Protection – Shields the light bulb from dust, insects, and accidental impacts.
- Safety – Prevents direct contact with a hot bulb and reduces fire risk.
- Durability – Extends the lifespan of the bulb by protecting it from vibration and debris.
- Aesthetic Appeal – Keeps your garage opener looking clean and well-maintained.
- Light Diffusion – Helps spread the light evenly throughout your garage.
Without a proper light cover, your opener’s bulb is exposed, making it more likely to burn out prematurely or get damaged.
Craftsman 1 2 Hp Garage Door Opener Light Cover Replacement
If your light cover is broken or missing, replacing it is a simple process. Here’s how to do it safely and effectively:
Step 1: Unplug the Opener
Before you start, always disconnect the power to avoid electrical shock.
Step 2: Remove the Old Cover
Most Craftsman light covers are designed to snap in place. Gently press the release tabs or slide the cover off. If it’s cracked, handle it carefully to avoid cuts.
Step 3: Inspect the Bulb and Housing
Take this opportunity to check for dust, insects, or signs of overheating inside the housing. Wipe the area clean with a dry cloth.
Step 4: Install the New Light Cover
Align the replacement cover with the housing slots and snap it securely into place. Make sure it fits tightly to prevent rattling or falling during operation.
Step 5: Restore Power and Test
Plug the opener back in and activate the light function to ensure everything works correctly.
Common Problems With Light Covers
Like any other component, the Craftsman 1 2 Hp Garage Door Opener Light Cover can face issues over time. Here are some of the most common:
- Cracks or Breakage – Usually caused by age, impact, or brittle plastic.
- Yellowing or Discoloration – Prolonged exposure to heat and UV light can make the cover look dirty or worn.
- Loose Fit – Worn-out clips or tabs may prevent the cover from staying securely in place.
- Melting or Warping – Caused by using bulbs with higher wattage than recommended.
Choosing the Right Replacement Cover
When shopping for a new light cover, make sure you:
- Match the Model – Look for covers compatible with Craftsman 1/2 HP openers.
- Check Dimensions – Ensure the size matches your opener housing.
- Choose Durable Material – Opt for covers made of heat-resistant and shatterproof plastic.
- Consider OEM vs. Aftermarket – OEM (Original Equipment Manufacturer) parts guarantee perfect fit, while aftermarket options may be more affordable.
Maintenance Tips for Your Light Cover
Keeping your Craftsman 1 2 Hp Garage Door Opener Light Cover in good condition extends its lifespan and improves performance:
- Clean Regularly – Wipe with a damp cloth to remove dust and dirt.
- Avoid Harsh Cleaners – Chemicals can damage or discolor the plastic.
- Inspect for Cracks – Replace immediately if you see any structural damage.
- Use the Right Bulbs – Stick to the recommended wattage (typically 60–100W) or LED bulbs rated safe for garage door openers.
- Check the Fit – Ensure the cover is always snug and secure.
Safety Considerations
Because the light cover protects both the bulb and the user, never operate your garage door opener without it. Here’s why:
- Prevents Burns – Direct contact with a hot bulb can cause skin injuries.
- Reduces Fire Hazard – Containing heat and debris lowers the risk of ignition.
- Protects Eyes – A cover diffuses harsh light, making it easier on your eyes in dark garages.
When to Call a Professional
Replacing a light cover is usually a simple DIY job. However, you might need professional help if:
- The cover clips are broken inside the housing.
- The opener housing itself is damaged.
- You notice electrical issues, such as flickering lights or burning smells.
A garage door technician can replace both the cover and any faulty components to restore safe operation.
Additional Tips for Long-Term Opener Care
While replacing the Craftsman 1 2 Hp Garage Door Opener Light Cover is important, don’t forget other maintenance tasks:
- Lubricate moving parts every 6 months.
- Test the auto-reverse function monthly for safety.
- Inspect and replace remote batteries annually.
- Clean dust from around the motor housing.
- Ensure your garage is properly ventilated to reduce heat buildup.
Conclusion
The Craftsman 1 2 Hp Garage Door Opener Light Cover might seem like a small part of your garage opener, but it plays a crucial role in protection, safety, and overall performance. Replacing a broken or missing cover is simple, cost-effective, and ensures your opener continues to function as intended.
By understanding its importance, knowing how to replace it, and following preventative maintenance tips, you’ll keep your Craftsman opener in top shape for years to come.


Leave a Reply