Garage door openers provide convenience and security for homeowners, and Craftsman is a trusted brand known for its quality products. If you’re looking to install a Craftsman garage door opener, this step-by-step guide will walk you through the process and ensure a smooth setup. Let’s get started!
Introduction
Installing a garage door opener may seem like a daunting task, but with the right instructions and a little patience, you can successfully complete the installation yourself. This guide will outline the necessary steps and precautions to take during the process, enabling you to enjoy the benefits of a Craftsman garage door opener.
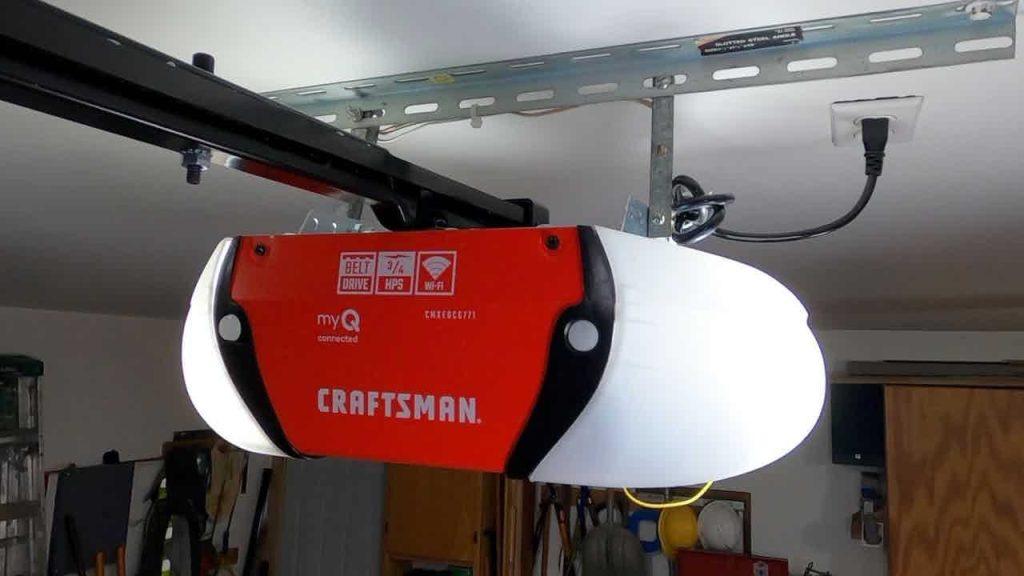
Overview of Craftsman Garage Door Opener
Craftsman garage door openers are designed with durability and performance in mind. They offer a range of features, including powerful motors, quiet operation, and advanced security measures. Before diving into the installation process, it’s essential to familiarize yourself with the specific model you’ve chosen and its unique features. Refer to the product manual for detailed information and instructions.
Tools and Materials Required
Before starting the installation, gather the necessary tools and materials to ensure a smooth workflow. You will typically need a ladder, power drill, adjustable wrench, level, screwdriver, tape measure, and safety glasses. Additionally, make sure to have the opener unit, rail, trolley, garage door arm, mounting hardware, and wiring accessories provided with your Craftsman garage door opener kit.
Pre-Installation Preparation
Checking Compatibility
Before proceeding, ensure that the Craftsman garage door opener is compatible with your existing garage door system. Check the product specifications and compare them with your door’s weight, height, and type to confirm compatibility. If you have any doubts, consult the manufacturer or a professional installer for assistance.
Gathering Necessary Information
Take the time to thoroughly read the installation manual provided by Craftsman. Familiarize yourself with the step-by-step instructions and diagrams to gain a clear understanding of the installation process. This information will be invaluable as you progress through each stage of the installation.
Clearing the Garage Area
Before starting the installation, clear the garage area to create a safe and clutter-free workspace. Remove any obstructions, vehicles, or items that could hinder the installation process or pose a safety risk. Creating a clean and organized environment will facilitate a smoother and more efficient installation.
Installation Process
Follow these step-by-step instructions to install your Craftsman garage door opener:
Step 1: Assembling the Opener
Start by assembling the garage door opener according to the instructions provided in the manual. Carefully follow each step, ensuring all components are securely attached. Take note of any specific guidelines or warnings mentioned in the manual to guarantee proper assembly.
Step 2: Mounting the Opener to the Ceiling
With the opener fully assembled, it’s time to mount it to the ceiling of your garage. Locate the optimal position for installation, considering factors such as headroom, clearances, and access to power outlets. Use a ladder to reach the ceiling and securely fasten the opener using the provided mounting hardware. Ensure the opener is level and stable before proceeding.
Step 3: Installing the Rail and Trolley
Attach the rail to the opener unit, following the instructions provided. Position the rail along the garage ceiling, aligning it with the center of the garage door. Install the trolley on the rail and secure it in place. Take care to follow the instructions precisely to ensure smooth and reliable operation.
Step 4: Attaching the Garage Door Arm
The garage door arm connects the opener’s trolley to the garage door itself. Attach the arm to the trolley, following the manufacturer’s instructions for your specific Craftsman opener model. Take care to align the arm properly to ensure smooth operation.
Step 5: Wiring the Opener
Proper wiring is crucial for the functioning of your garage door opener. Connect the electrical wires according to the manufacturer’s instructions, ensuring that all connections are secure. Follow recommended safety practices, such as turning off the power supply during the wiring process.
Step 6: Programming the Opener
Once the opener is wired, it’s time to program it to work with your garage door. This typically involves setting the up and down limits, programming the remote control or keypad, and configuring any additional features your opener offers. Consult the owner’s manual for detailed instructions on programming your Craftsman opener.
Step 7: Testing and Adjustments
With the installation complete, it’s crucial to test the opener and make any necessary adjustments. Activate the opener and observe the garage door’s movement, ensuring it opens and closes smoothly and without any unusual noises. If adjustments are required, consult the owner’s manual or seek professional assistance to make the necessary changes.
Safety Precautions and Tips
During the installation process, it’s essential to prioritize safety. Follow these precautions to ensure a safe and successful installation:
- Disconnect the power supply before starting any electrical work.
- Wear safety goggles when drilling or working with tools.
- Use caution when working with springs, as they are under tension and can cause injury.
- Keep children and pets away from the installation area.
Common Troubleshooting and FAQs
Even with careful installation, you may encounter issues or have questions along the way. Here are some common troubleshooting tips and frequently asked questions about Craftsman garage door opener installation:
- How do I reset my Craftsman garage door opener?
- Why is my Craftsman opener beeping?
- The garage door doesn’t close all the way. What should I do?
- How do I adjust the force settings on my Craftsman opener?
- Can I install a Craftsman opener on a low headroom garage door?
- How do I replace the battery in my Craftsman opener’s remote control?
Conclusion
Congratulations! You’ve successfully installed your Craftsman garage door opener. With this guide and the assistance of the manufacturer’s instructions, you can enjoy the convenience and security of your new opener. Remember to refer to the owner’s manual and consult professionals if you encounter any issues or have further questions. Enjoy your newly automated garage door!


Leave a Reply