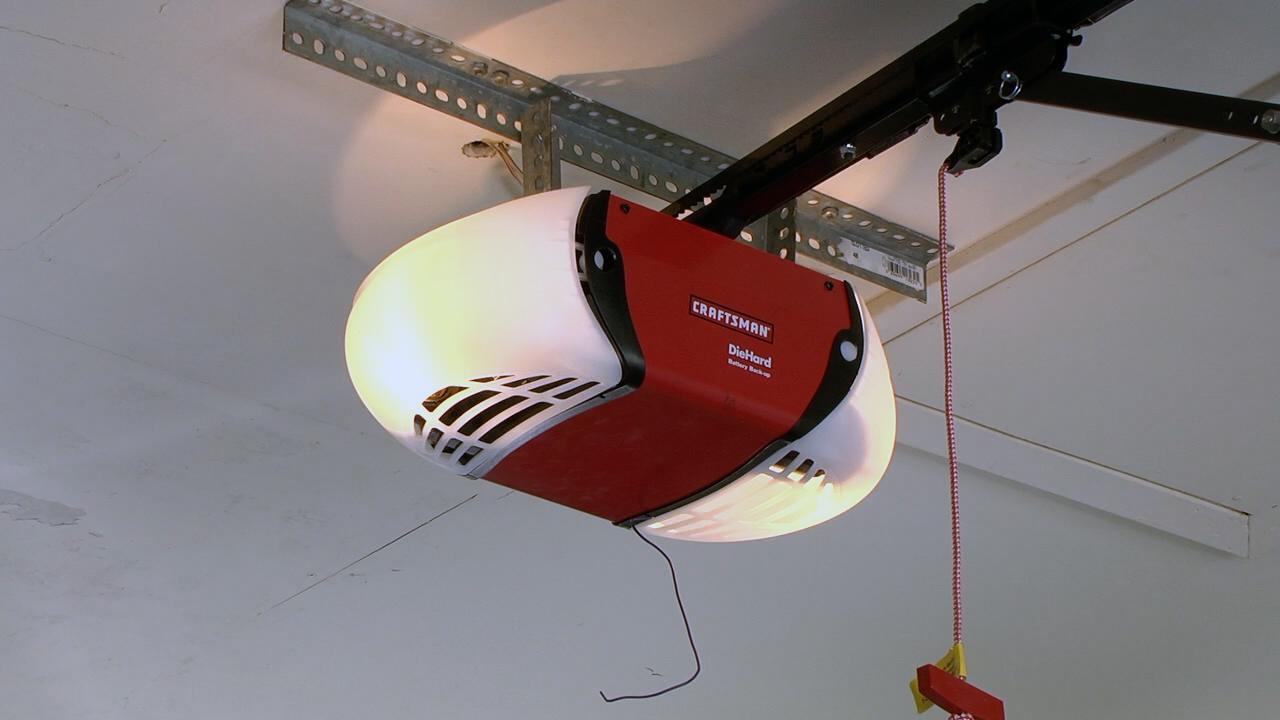
Craftsman Garage Door Opener Won’t Close. Are you facing the frustrating issue of your Craftsman garage door opener refusing to close? Don’t worry; you’re not alone. Many homeowners encounter this problem, but fortunately, there are several troubleshooting steps you can take to diagnose and fix the issue. Let’s explore the potential causes and solutions to get your garage door functioning properly again.

Understanding Why Your Craftsman Garage Door Opener Won’t Close
1. Misaligned Safety Sensors
One of the most common reasons for a garage door opener not closing is misaligned safety sensors. These sensors, located near the bottom of the garage door tracks, are designed to detect obstacles in the door’s path. If they are misaligned or blocked by debris, the opener may prevent the door from closing to avoid causing damage or injury.
2. Obstruction in the Door’s Path
Another possible cause is an obstruction blocking the door’s path. Even small objects such as rocks, toys, or debris can trigger the safety sensors and prevent the door from closing. Inspect the area around the door and remove any obstacles that may be hindering its movement.
3. Issues with the Safety Sensor Wiring
Sometimes, the issue may lie with the wiring connected to the safety sensors. Check for any loose or damaged wiring that could be preventing the sensors from communicating properly with the opener. Repair or replace any damaged wiring and ensure all connections are secure.
4. Limit Switch Adjustment
Craftsman garage door openers are equipped with limit switches that dictate how far the door opens and closes. If the limit switch is improperly adjusted, it may prevent the door from closing fully. Consult your Craftsman opener manual for instructions on how to adjust the limit switch properly.
How to Fix a Craftsman Garage Door Opener That Won’t Close
1. Check and Align the Safety Sensors
Start by inspecting the alignment of the safety sensors. Ensure that they are facing each other directly and that there are no obstructions blocking their view. Use a level to verify their alignment and adjust them if necessary.
2. Clear Obstructions
Remove any objects or debris that may be blocking the door’s path. Pay close attention to the area around the door tracks and ensure that they are clear of any obstacles.
3. Inspect and Repair Wiring
Carefully examine the wiring connected to the safety sensors for any signs of damage or wear. Repair or replace any damaged wiring and ensure all connections are secure.
4. Adjust the Limit Switch
Refer to your Craftsman garage door opener manual for instructions on how to adjust the limit switch. Make small adjustments as needed until the door closes properly.
Preventative Maintenance Tips
To avoid future issues with your Craftsman garage door opener, consider implementing the following maintenance tips:
- Regularly inspect and clean the safety sensors to ensure proper operation.
- Keep the area around the garage door clear of debris and obstructions.
- Schedule annual maintenance checks with a professional technician to identify and address any potential problems early on.
By following these troubleshooting steps and maintenance tips, you can address the issue of your Craftsman garage door opener not closing and ensure reliable operation for years to come.
Read too: Why Your Liftmaster Garage Door Won’t Stay Closed and How to Fix It? Troubleshooting Tips


Leave a Reply