Are you experiencing issues with your garage door and suspect that a broken spring may be the culprit? Understanding the symptoms of a broken garage door spring is crucial for prompt diagnosis and repair. In this comprehensive guide, we’ll explore the common symptoms of garage door broken springs, how to identify them, and the best course of action for addressing the issue.
The Importance of Recognizing Garage Door Broken Spring Symptoms
Garage door springs play a critical role in the operation of your garage door, providing the necessary tension to lift and lower the door safely and efficiently. When a spring breaks or becomes damaged, it can compromise the functionality of the entire system and pose safety risks to you and your family. By recognizing the symptoms of a broken spring early on, you can take appropriate measures to address the issue and prevent further damage or accidents.
Read too: Mastering Quantum Garage Door Opener Programming: A Comprehensive Guide
Garage Door Broken Spring Symptoms: What to Look For
1. Difficulty Opening or Closing the Door
One of the most common symptoms of a broken garage door spring is difficulty opening or closing the door. If you notice that the door feels unusually heavy or requires more effort to operate, it may be due to a lack of tension in the springs.
2. Uneven Movement of the Door
A broken spring can cause the garage door to move unevenly or become crooked during operation. If you observe that one side of the door is higher than the other or that the door appears to be off track, it could indicate a problem with the springs.
3. Loud Noise During Operation
Another telltale sign of a broken garage door spring is loud banging or popping noises when the door is in motion. This noise occurs when the spring suddenly releases tension, causing the door to slam shut or jerk unexpectedly.
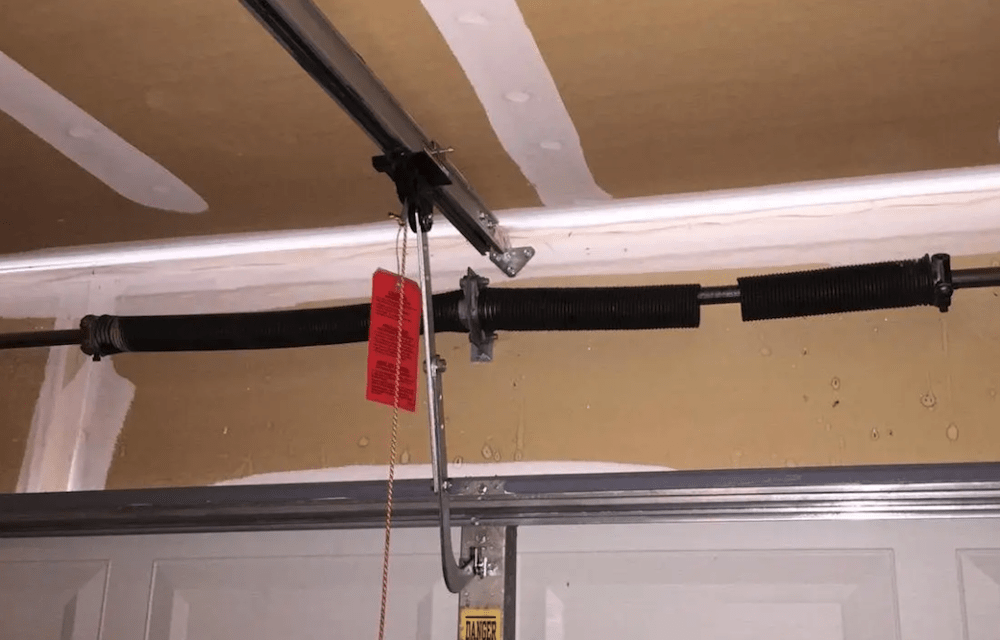
4. Visible Damage to the Springs
Inspect the garage door springs visually for signs of damage, such as rust, corrosion, or visible cracks. If you notice any visible wear or breakage in the springs, it’s essential to address the issue promptly to prevent further damage to the door or other components.
Steps for Diagnosing and Repairing Garage Door Broken Spring Symptoms
1. Visual Inspection
Start by visually inspecting the garage door springs for any signs of damage or wear. Check for rust, corrosion, or visible cracks in the springs, as well as any loose or missing hardware.
2. Test the Balance of the Door
Disconnect the garage door opener and manually lift the door halfway open. If the door stays in place or moves slowly, it may indicate a broken spring. Additionally, observe whether the door moves smoothly and evenly along the tracks.
3. Consult a Professional Technician
If you suspect that your garage door springs are broken or damaged, it’s best to consult a professional garage door technician for diagnosis and repair. Attempting to repair or replace garage door springs without the proper training and equipment can be dangerous and lead to further damage or injury.
4. Schedule Regular Maintenance
To prevent future issues with your garage door springs, schedule regular maintenance appointments with a qualified technician. They can inspect the springs, lubricate moving parts, and make any necessary adjustments to ensure smooth and reliable operation.
Conclusion
Recognizing the symptoms of a broken garage door spring is essential for maintaining the safety and functionality of your garage door. By paying attention to signs such as difficulty opening or closing the door, uneven movement, loud noises, and visible damage to the springs, you can take proactive measures to address the issue and prevent accidents or costly repairs. If you suspect that your garage door springs are broken, don’t hesitate to contact a professional technician for diagnosis and repair.


Leave a Reply