Dealing with a stuck closed Liftmaster garage door can be a frustrating and inconvenient experience for any homeowner. Whether you’re rushing to get to work or trying to park your car, a malfunctioning garage door can disrupt your daily routine. In this comprehensive troubleshooting guide, we’ll delve into common reasons why Liftmaster garage doors become stuck closed and offer practical solutions to swiftly and effectively resolve the issue.
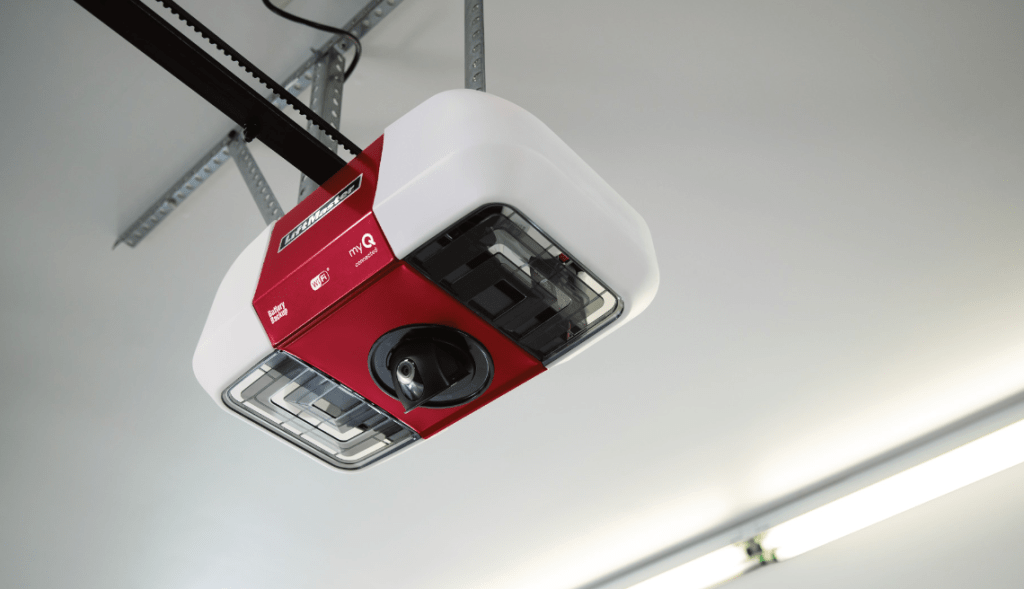
Understanding Why Your Liftmaster Garage Door Is Stuck Closed
Faulty Sensors
Malfunctioning safety sensors are one of the most common causes of a Liftmaster garage door becoming stuck closed. These sensors are designed to detect obstacles in the door’s path and prevent it from closing if there is an obstruction. If the sensors are misaligned, dirty, or damaged, they may falsely detect an obstruction and prevent the door from closing properly.
Read too: Mastering Quantum Garage Door Opener Programming: A Comprehensive Guide
Broken Springs
Another common cause of a stuck closed Liftmaster garage door is broken or damaged springs. Garage door springs are responsible for counterbalancing the weight of the door and facilitating smooth operation. If a spring breaks or becomes worn out, it can prevent the door from opening or closing correctly.
Misaligned Tracks
Over time, the tracks guiding the movement of the garage door may become misaligned, particularly if they receive inadequate maintenance. Misaligned tracks can cause the rollers to become stuck, preventing the door from opening or closing smoothly.
Electrical Issues
Electrical problems, such as a malfunctioning motor or wiring issues, can also cause a Liftmaster garage door to get stuck closed. If the motor is not receiving power or if there is a short circuit in the wiring, the door may fail to operate correctly.
Troubleshooting Steps for a Liftmaster Garage Door Stuck Closed
1. Check the Safety Sensors
Start by inspecting the safety sensors located near the bottom of the garage door tracks. Ensure that they are clean, aligned properly, and free from any obstructions. If the sensors appear to be dirty or misaligned, clean them with a soft cloth and adjust their position as needed.
2. Examine the Springs
Carefully examine the springs located above the garage door to check for signs of damage or wear. If you notice any broken or damaged springs, it’s essential to replace them promptly to restore proper functionality to the door.
3. Inspect the Tracks
Examine the tracks along the sides of the garage door to ensure they align properly and are clear of any debris or obstructions. Use a level to check for any unevenness, and adjust the tracks as needed to ensure smooth operation.
4. Test the Opener
Test the garage door opener to determine if it is receiving power and functioning correctly. If the opener is not responding or if you suspect electrical issues, it may be necessary to consult a professional technician for further diagnosis and repair.
Additional Tips for Preventing Garage Door Issues
- Regular Maintenance: Perform routine maintenance on your Liftmaster garage door, including lubricating moving parts, tightening hardware, and inspecting for signs of wear or damage.
- Keep Tracks Clean: Regularly clean the tracks and rollers to prevent debris buildup and ensure smooth operation.
- Professional Inspection: Schedule regular inspections with a qualified technician to identify and address potential issues before they escalate.
Conclusion
Dealing with a Liftmaster garage door stuck closed can be a frustrating experience, but with the right knowledge and troubleshooting techniques, you can quickly identify and resolve the problem. By following the steps outlined in this guide and taking proactive measures to maintain your garage door, you can ensure smooth and reliable operation for years to come.



Leave a Reply