Your garage door opener is a vital component of your home, providing convenience and security. However, over time, you may notice that the chain on your garage door opener needs adjustment. This article will guide you through the process of making a garage door opener chain adjustment, ensuring that your garage door functions smoothly and reliably.
Understanding the Garage Door Opener Chain
The Role of the Chain
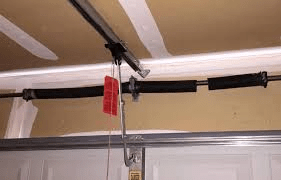
The chain on your garage door opener is a critical part of the system. It is responsible for moving the trolley, which, in turn, moves the garage door up and down. When the chain becomes too loose or too tight, it can lead to issues with the door’s operation.
Common Chain Issues
There are two primary issues associated with the garage door opener chain: it can become loose or too tight. A loose chain can cause the door to operate noisily and ineffectively, while a chain that is too tight can put excessive strain on the opener’s motor.
Making a Garage Door Opener Chain Adjustment
- Safety First: Before starting any adjustments, ensure your safety by disconnecting the power to the garage door opener. You can do this by unplugging it from the electrical outlet or turning off the circuit breaker.
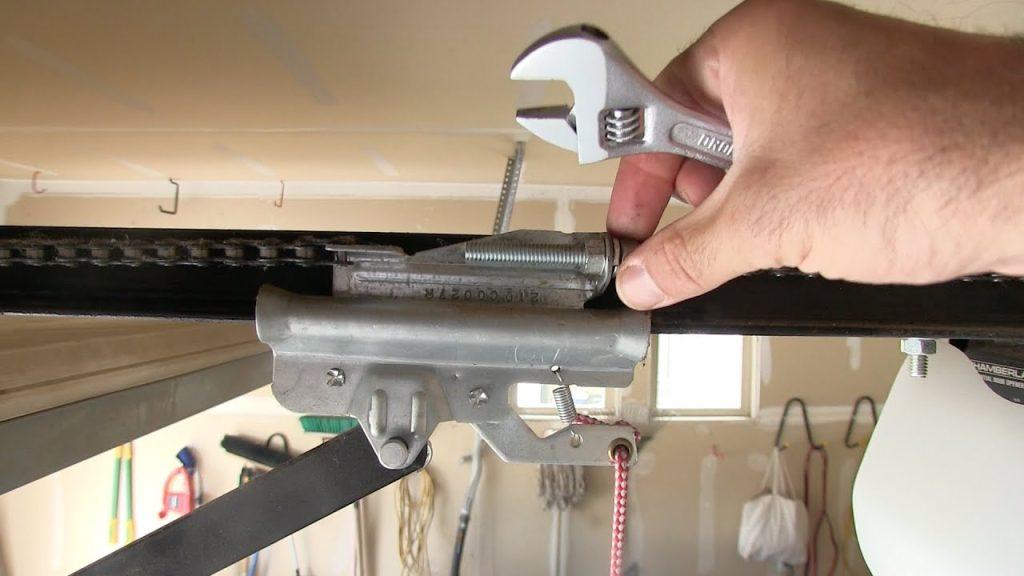
- Identify the Adjustment Points: Most garage door openers have two adjustment points for the chain: one at the opener unit itself and another at the trolley. These adjustment points are typically indicated by a nut and a bolt.
- Adjusting the Chain: For a Loose Chain: If the chain is too loose, you’ll want to tighten it. Start by locating the adjustment nut on the opener unit. Turn it clockwise to tighten the chain. Be careful not to over-tighten it, as this can put stress on the motor. For a Tight Chain: If the chain is too tight, you’ll need to loosen it. Find the adjustment bolt on the trolley and loosen it slightly by turning it counterclockwise. This will provide some slack in the chain.
- Test the Adjustment: After making the necessary adjustments, test the garage door by opening and closing it a few times to ensure that it operates smoothly and without any unusual noises.
- Final Checks: Once you’re satisfied with the chain adjustment, make sure to tighten any bolts or nuts that you loosened during the process. This will help keep the chain in place.
Common Issues and Troubleshooting
- Excessive Noise: If you hear excessive noise after adjusting the chain, it may be an indication that it’s still too tight. Loosen it slightly and test the door again.
- Unusual Movement: If the garage door moves unevenly or jerks during operation, the chain may not be properly aligned. Check the alignment of the chain with the sprocket and adjust it as needed.
- Professional Help: If you’re uncertain about making adjustments to the chain, it’s always a good idea to seek professional assistance. A garage door technician can ensure that the adjustment is done correctly.
Conclusion
A properly adjusted garage door opener chain is essential for the smooth and efficient operation of your garage door. Regular checks and adjustments can prolong the life of your opener and prevent unnecessary wear and tear. By following the steps outlined in this article and addressing common issues, you can ensure that your garage door functions reliably, providing convenience and security for your home.
Leave a Reply