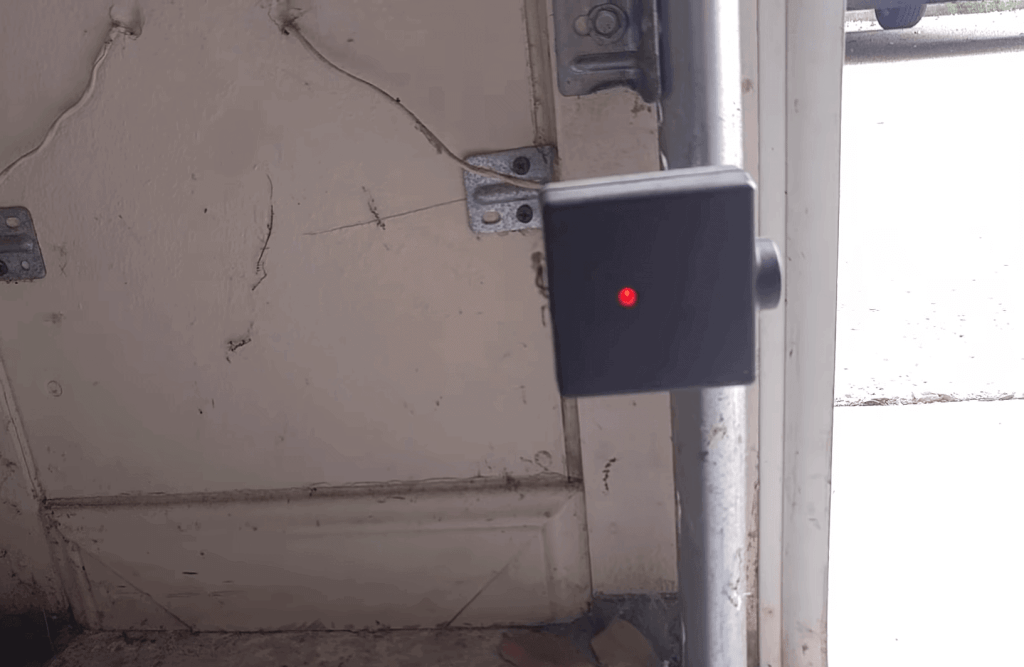
A Genie garage door opener is a reliable and convenient device that provides easy access to your garage. However, when the garage door sensor light starts blinking red three times, it can be a cause for concern. In this article, we’ll explore the reasons behind this blinking pattern and guide you through troubleshooting steps to resolve the issue and ensure the safety and functionality of your garage door.

Understanding Genie Garage Door Sensors
Before we dive into troubleshooting, let’s understand the role of garage door sensors in the Genie system. Genie garage door openers use a pair of sensors, typically mounted on either side of the garage door, near the floor. These sensors transmit an invisible beam of light across the door’s path. If an object or obstruction breaks this beam while the door is closing, the sensors will detect it and reverse the door’s movement, preventing accidents and damage.
Common Reasons for the Blinking Red Light
When you notice the Genie garage door sensor blinking red three times, it typically indicates an issue with the safety sensors. Here are some common reasons for this blinking pattern:
1. Misalignment: The sensors may have moved out of alignment, causing the beam of light to break unintentionally.
2. Dirty or Obstructed Sensors: Dust, dirt, or spiderwebs can accumulate on the sensor lenses, obstructing the infrared beam.
3. Wiring Problems: Damaged or disconnected wires between the sensors and the garage door opener can disrupt communication.
4. Sensor Failure: Over time, sensors can deteriorate or fail, leading to malfunction.
Troubleshooting Steps
Now that we’ve identified potential causes, let’s explore troubleshooting steps to address the Genie garage door sensor blinking red three times:
1. Check for Obstructions: Inspect the area around the sensors for any obstructions, such as leaves, cobwebs, or objects that may be blocking the sensor lenses. Remove any debris or obstacles.
2. Clean the Sensor Lenses: Use a soft, clean cloth to gently wipe the lenses of both sensors. Ensure they are free from dirt and grime, which can interfere with the infrared beam.
3. Realign the Sensors: Ensure that the sensors are properly aligned. They should be facing each other and perfectly level. Use a level tool to make adjustments if needed.
4. Inspect Wiring: Examine the wiring between the sensors and the garage door opener. Look for any loose, damaged, or disconnected wires. Reconnect or replace wires as necessary.
5. Test the Sensors: After cleaning, aligning, and checking the wiring, test the sensors by opening and closing the garage door. If they are functioning correctly, the red blinking should stop.
6. Sensor Replacement: If the problem persists, it may be necessary to replace one or both of the sensors. Genie offers compatible replacement sensors that you can install easily.
Preventative Maintenance
To avoid future issues with your Genie garage door sensors, consider implementing some preventative maintenance:
1. Regular Cleaning: Periodically clean the sensor lenses to prevent dust and debris buildup.
2. Visual Inspection: Perform visual inspections of the sensors and wiring to catch potential problems early.
3. Sensor Alignment: Check the alignment of the sensors whenever you notice any irregularities in the garage door’s operation.
Conclusion: Ensuring Safety and Functionality
A Genie garage door sensor blinking red three times is a warning that should not be ignored. Properly functioning sensors are crucial for the safe operation of your garage door. By following the troubleshooting steps outlined in this article and implementing preventative maintenance, you can address the issue and ensure the continued safety and functionality of your Genie garage door opener. Remember that if you are unable to resolve the problem on your own, it’s advisable to seek professional assistance to avoid any safety risks.


Leave a Reply