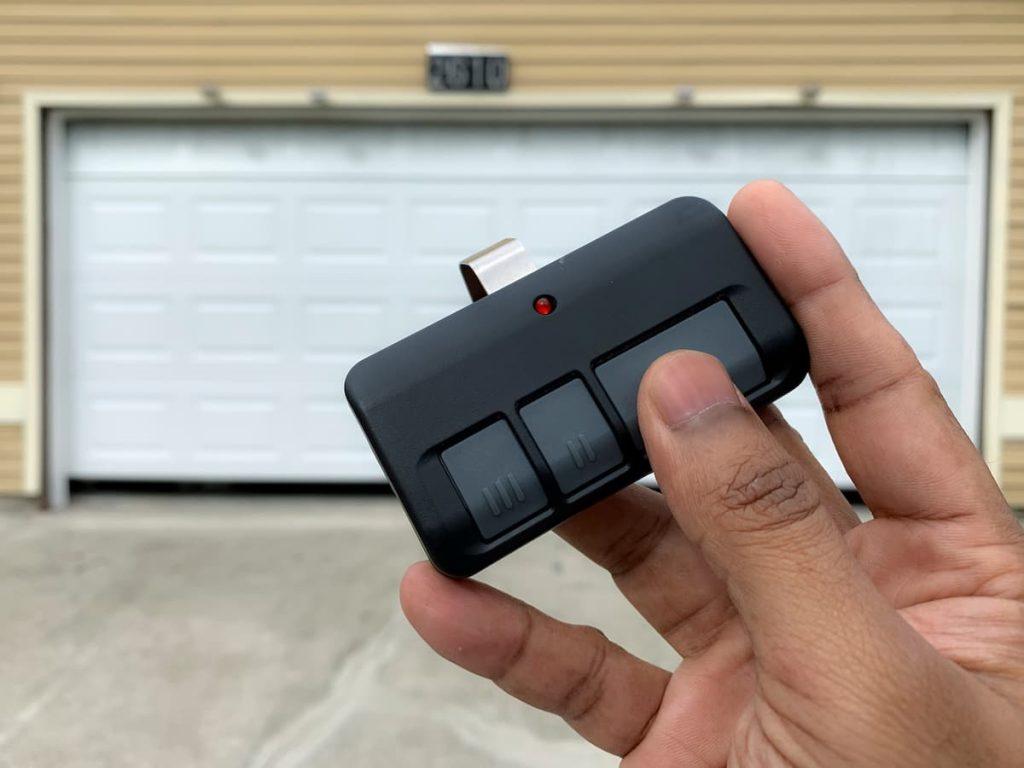
Your garage door opener is a vital component of your home security and convenience. Learn the essential steps on how to change batteries in garage door opener and ensure that your garage door functions smoothly. Don’t let a simple task become a hassle—empower yourself with the knowledge to keep your garage door opener in top shape.

How To Change Batteries In Garage Door Opener: A User-Friendly Guide
Understanding how to change batteries in garage door opener is a fundamental skill for every homeowner. This user-friendly guide will walk you through the process, providing clarity and confidence in maintaining your garage door opener.
Step-by-Step Instructions
Follow these simple steps to replace the batteries in your garage door opener:
- Identify the Battery Compartment:
- Locate the battery compartment on your garage door opener. It is typically situated on the bottom or side of the unit.
- Some garage door openers have a single-panel cover, while others may have a sliding cover that needs to be removed.
- Remove the Old Batteries:
- Open the battery compartment cover and carefully remove the old batteries. Pay attention to the orientation of the batteries as you take them out.
- Check for Corrosion:
- Inspect the battery contacts for any signs of corrosion. If you notice corrosion, use a clean cloth or a small brush to gently remove it.
- Select the Right Batteries:
- Refer to your garage door opener’s user manual to determine the type and size of batteries required. Commonly, garage door openers use AA or AAA batteries.
- Insert the New Batteries:
- Insert the new batteries into the compartment, following the correct polarity. Ensure that the positive and negative ends align with the markings inside the compartment.
- Close the Battery Compartment:
- Once the new batteries are securely in place, close the battery compartment cover. Ensure that it is sealed tightly to protect the batteries.
- Test the Garage Door Opener:
- Test the garage door opener to ensure that it operates smoothly. If your garage door opener has a remote control, check its functionality as well.
Read too: Why Your Garage Door Only Opens a Foot, Then Stops, and How to Fix It? Unlocking the Mystery
Additional Tips for Maintaining Your Garage Door Opener:
- Regular Inspection: Periodically inspect your garage door opener for any visible wear, loose wires, or unusual sounds. Addressing issues promptly can prevent further damage.
- Keep Remote Controls in Good Condition: Replace the batteries in your remote controls at the same time as the garage door opener batteries. Clean the contacts and ensure proper functionality.
- Lubricate Moving Parts: Apply a silicone-based lubricant to the moving parts of your garage door, such as hinges and rollers, to reduce friction and extend the lifespan of the opener.
Conclusion: Empower Yourself with Knowledge on How To Change Batteries In Garage Door Opener
In conclusion, knowing how to change batteries in garage door opener is a valuable skill that ensures the continued functionality of this essential home component. By following the simple steps outlined in this guide, you empower yourself to maintain your garage door opener and address potential issues proactively.
Regular maintenance, including battery replacement, not only keeps your garage door opener in optimal condition but also contributes to the overall safety and security of your home. Don’t wait for a malfunction—take charge and keep your garage door opener operating seamlessly.


Leave a Reply