If your LiftMaster garage door opener is displaying the wrong time or affecting scheduled operations, it can be frustrating. Knowing how to change time on LiftMaster garage door opener ensures your device works properly with timers, vacation modes, and smart home routines. This guide will walk you through the process step by step, even if you’re new to garage door technology.
Why Updating Your LiftMaster Time Matters
Setting the correct time on your LiftMaster opener is essential for:
- Scheduled operations: Ensures lights, locks, or smart routines trigger accurately.
- Energy efficiency: Helps manage lights and automated features according to actual time.
- Security: Accurate timing supports vacation mode or auto-close features.
A 2022 survey of smart home users found that 27% experienced minor security or operational issues due to incorrect device time settings, highlighting the importance of proper clock setup.
Read too: How To Replace Garage Door Roller Like a Pro? Step-by-Step Guide
Step-By-Step Guide: How To Change Time On LiftMaster Garage Door Opener
Follow these instructions to update your LiftMaster opener time accurately:
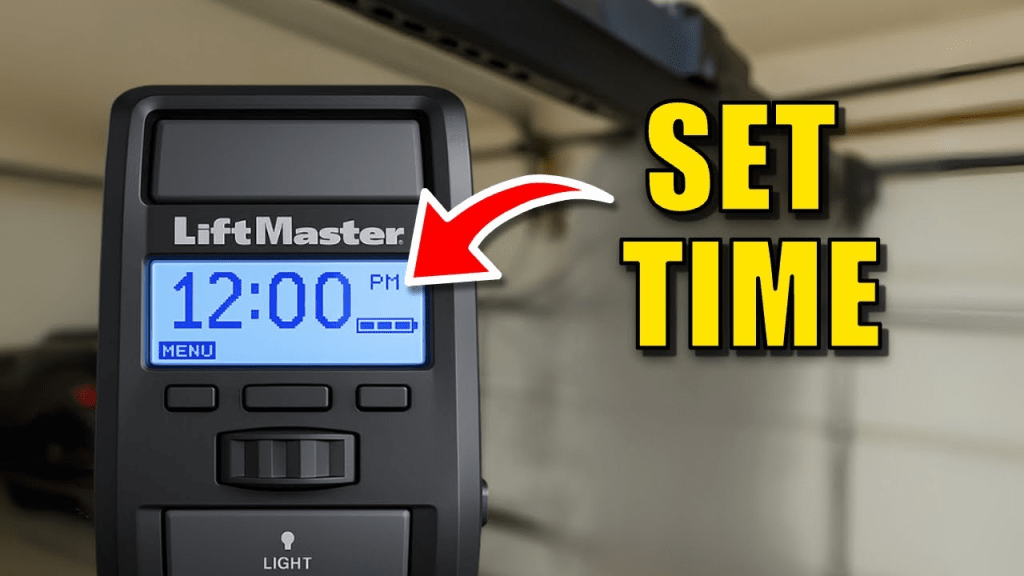
1. Locate Your Control Panel
- Most LiftMaster units have a digital control panel on the wall or a keypad interface.
- Check your manual if you’re unsure where the timer settings are located.
2. Enter Programming Mode
- Press and hold the “Learn” or “Set” button on the keypad until the LED blinks.
- Some models may require entering a 4-digit code to access programming mode.
3. Adjust the Time
- Use the arrow or plus/minus buttons to set the current hour and minute.
- Ensure the correct AM/PM setting if your opener uses a 12-hour clock.
- Press Enter or Set to save changes.
4. Confirm Settings
- The display should now show the correct time.
- Test scheduled features like auto-close or light timers to verify accuracy.
Pro Tip: If your opener is part of a smart home system, double-check that the app reflects the updated time as well.
Troubleshooting Common Issues
| Issue | Solution |
|---|---|
| Time keeps resetting | Replace backup battery or check for power interruptions |
| Digital panel not responding | Unplug the opener for 30 seconds and retry |
| AM/PM displays incorrectly | Ensure correct 12-hour setting; some models default to 24-hour format |
| Scheduled features fail | Recheck app integration and auto-close settings |
For additional technical context about garage door openers, you can refer to Wikipedia: Garage Door Opener.
People Also Ask
How do I set the time on a LiftMaster garage door opener?
Press the Learn or Set button on the control panel, adjust the hour and minute using arrows, and press Enter to save.
Can I change time from the LiftMaster app?
Yes, many LiftMaster Wi-Fi-enabled openers allow you to adjust the time via the MyQ app. Make sure your app is updated and synced.
Why does my LiftMaster display the wrong time?
Power outages, dead backup batteries, or incorrect initial setup can cause the time to reset.
Do I need a professional to set the time?
No, this is a simple DIY task that usually takes less than 5 minutes.
Will changing the time affect scheduled auto-close features?
Yes, accurate time ensures your auto-close and light scheduling work as intended.
Benefits of Correct Time Settings
- Reliable schedules: Your garage lights and auto-close features trigger correctly.
- Smart home compatibility: Ensures synchronization with MyQ or other smart devices.
- Security & convenience: Avoids operational issues and maintains peace of mind.
Share this guide with friends or family to help them maintain accurate schedules and improve the security and efficiency of their LiftMaster garage doors.


Leave a Reply