Modern vehicles often come equipped with built-in remote systems, offering the ability to operate your garage door without the need for a separate clicker. If you own a Genie garage door opener and want to integrate it with your car’s remote system, you might be wondering exactly how to program car remote to Genie garage door opener. Fortunately, it’s a straightforward process—especially when you understand the technology involved and follow the right steps.
This detailed guide will walk you through everything you need to know—from checking compatibility to syncing your vehicle’s built-in remote (like HomeLink or Car2U) with your Genie opener. Whether you’re upgrading your system, replacing a remote, or programming a new vehicle, this article is designed to make the process as seamless as possible.
Read too: The Complete Guide to Tighten Chain On Garage Door Opener for Smooth Operation
Understanding Your Garage Door System
Before diving into the programming process, let’s take a moment to understand how Genie garage door openers work and how they integrate with in-car remote systems.
What Is a Genie Garage Door Opener?
Genie is a reputable brand offering advanced garage door openers that use Intellicode® Security Technology, which provides rolling code protection. This means each time the remote is used, a new code is generated, making it more secure against hacking or code grabbing.
What Are In-Car Garage Remote Systems?
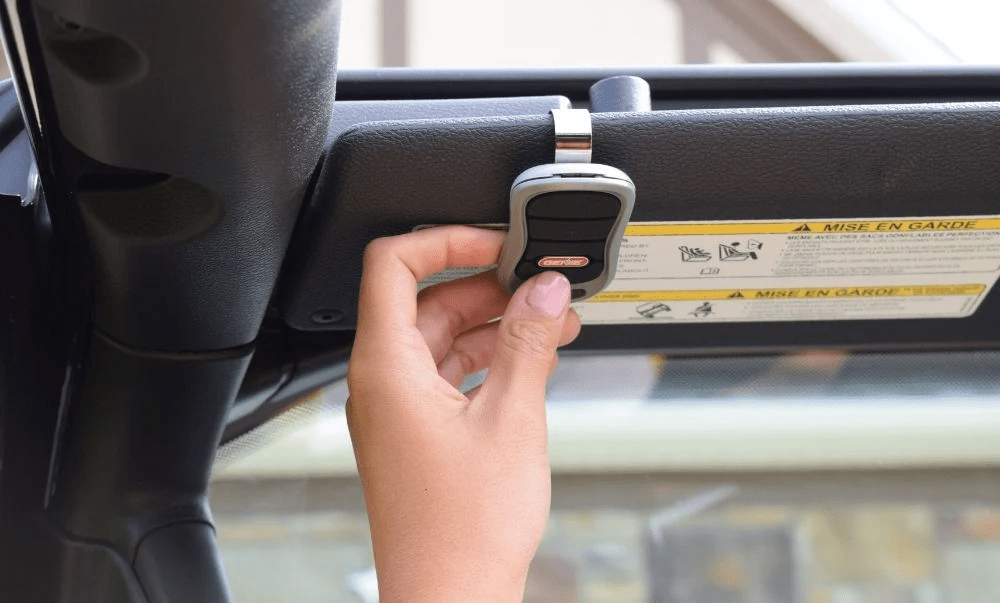
Most modern cars are equipped with HomeLink or Car2U, integrated systems that allow you to control garage doors, gates, and even lights with buttons built into your vehicle—typically located on the visor, mirror, or overhead console.
To sync your vehicle’s system to the Genie opener, you’ll need to pair the devices by transmitting signals during a short programming session.
Compatibility: Can You Program Your Vehicle to Genie?
To determine whether your car and Genie opener can communicate properly, check the following:
- Your vehicle is equipped with HomeLink or Car2U (check the user manual).
- Your Genie garage door opener has a Learn or Program button (usually found on the motor unit).
- Your Genie opener uses Intellicode (most models since the late 1990s).
You can also consult the HomeLink compatibility website and enter your car’s make, model, and year to verify compatibility with Genie.
What You’ll Need
Here’s a list of items to prepare before you begin:
- Your vehicle (with integrated remote system)
- Access to your Genie opener motor unit (mounted on your garage ceiling)
- A ladder (to reach the Learn button)
- Original handheld Genie remote (optional, may be required for certain models)
Tip: Ensure your vehicle’s ignition is in the ON position (not running, but electrical systems activated) during the programming process.
How To Program Car Remote To Genie Garage Door Opener
Follow the steps below to successfully sync your car’s remote with your Genie opener.
Step 1: Clear Previous Settings (Optional)
Before programming, it’s good practice to clear any previous codes stored in the system:
- Hold the two outer buttons on your in-car remote system simultaneously.
- Keep holding until the LED light flashes rapidly (usually takes 20 seconds).
- Release the buttons. The system is now reset and ready to program a new opener.
Note: This step is only necessary if your car remote has been previously programmed to a different device.
Step 2: Enter Learning Mode in Your Vehicle
- Choose the button in your vehicle you want to program.
- Press and hold that button until the indicator light begins to blink slowly.
- While holding the button, you may need to hold your Genie handheld remote 1–3 inches from the HomeLink buttons.
- Press and hold the handheld remote’s button and your selected HomeLink button at the same time until the car’s indicator light blinks rapidly. This can take up to 30 seconds.
This tells the vehicle’s system to “learn” the signal from the remote.
Step 3: Activate Genie’s Learn Mode
- Use your ladder to reach the Genie motor unit in the garage.
- Locate and press the Learn/Program button (typically a small round or square button under the light cover or on the rear of the unit).
- Once pressed, the LED light on the motor will start blinking or glow steadily for 30 seconds—indicating the opener is ready to receive a signal from the car.
Step 4: Finalize Programming From Your Vehicle
- Within the 30-second window after pressing Genie’s Learn button, return to your car.
- Press and release the selected HomeLink button for 2 seconds, then release.
- Repeat this press-and-release sequence up to 3 times or until the garage door activates.
If the garage door moves, you’ve successfully programmed your car remote to the Genie opener!
Testing and Verifying the Connection
After programming, it’s essential to confirm everything is working:
- Press the programmed button from your car while sitting in the driveway.
- Confirm the door opens and closes reliably from multiple distances.
- Repeat the process if necessary for additional doors or vehicles.
Some Genie systems can store multiple remote signals, so you can program other cars using the same process.
Common Problems and Troubleshooting Tips
Problem: Garage Door Doesn’t Move
Solution: Recheck that you pressed the Learn button on the motor before attempting the final step from the car.
Problem: Vehicle Indicator Doesn’t Blink Fast
Solution: Ensure the handheld remote has a fresh battery or try moving it slightly farther or closer to the in-car button.
Problem: HomeLink Not Responding
Solution: Verify compatibility. Some newer Genie models (especially Intellicode II) may need a HomeLink Repeater Kit to work with certain cars.
Problem: Genie Learn Light Not Activating
Solution: Unplug the motor unit, wait 10 seconds, plug it back in, then try pressing the Learn button again.
Benefits of Programming Your Car Remote to Genie
1. Seamless Convenience
No need to carry or search for a garage remote—just press a built-in button in your vehicle.
2. Enhanced Safety
Genie’s rolling code technology prevents code duplication, offering added peace of mind.
3. Smart Home Integration
Pairing your car with your garage adds to your home’s automation system, streamlining your daily routine.
4. Decluttered Dashboard
Eliminate bulky remote clips and create a cleaner driving environment.
Additional Programming for Multiple Doors
If your home has more than one Genie opener:
- Select a different button on your in-car remote system.
- Repeat the entire programming process with the new opener.
- You can program up to three garage doors with most HomeLink systems.
This gives you full control over multiple entrances directly from your car.
Frequently Asked Questions
Q: Can I program my car without the original remote?
A: Yes, if your vehicle supports direct programming. However, some models may require the original remote to train the car’s system.
Q: How long does the process take?
A: Less than 10 minutes for most users. If everything is compatible, the setup is quick and easy.
Q: Do I need to reprogram after a power outage?
A: No. Your settings are stored in the garage motor unit. However, if you reset or clear the opener, you’ll need to reprogram.
Q: Can I use this with older Genie models?
A: Yes, if they support Intellicode. If your opener is from before 1997, it may not be compatible with HomeLink systems.
Conclusion
Learning how to program car remote to Genie garage door opener can seem intimidating at first, but with the right steps, it’s actually a quick and simple process. By integrating your vehicle’s HomeLink or Car2U system with your Genie opener, you gain not only convenience but enhanced security and smart control over your garage.
Whether you’re upgrading your system, moving to a new home, or adding a new car to the mix, this guide ensures that you’re equipped with all the knowledge needed to complete the setup smoothly.
Say goodbye to lost remotes and hello to seamless, button-press garage access—right from your vehicle’s dashboard.


Leave a Reply