Is your garage door track in need of repair, causing your door to malfunction or operate unevenly? Repairing a garage door track may seem daunting, but with the right knowledge and guidance, you can tackle this task like a pro. In this comprehensive guide, we’ll walk you through the steps to repair your garage door track, addressing common issues and restoring smooth operation to your garage door.
How to Repair Garage Door Track: Step-by-Step Guide
Repairing a garage door track requires careful attention to detail and the right tools. Follow these step-by-step instructions to repair your garage door track effectively:
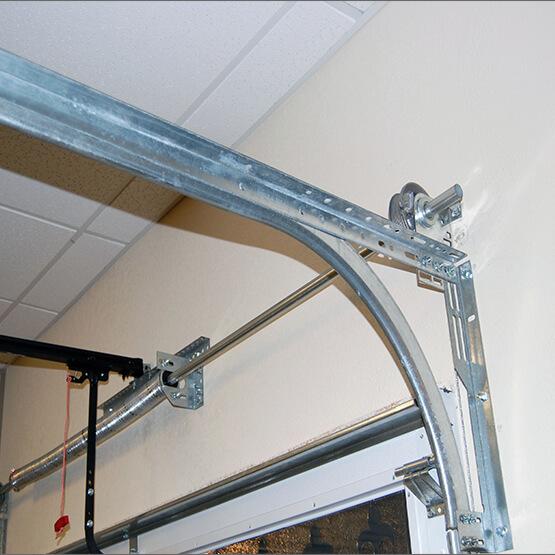
Step 1: Inspect the Track
Begin by visually inspecting the garage door track for any signs of damage, such as bends, dents, or misalignments. Use a flashlight to illuminate the track and look for any obstructions or debris that may be causing the door to malfunction.
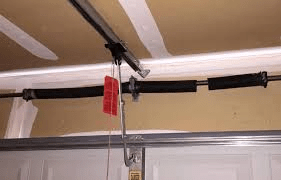
Step 2: Clear Obstructions
If you find any debris or obstructions in the track, use a broom or vacuum cleaner to remove them. Ensure that the track is free from dirt, leaves, or other debris that could interfere with the smooth operation of the door.
Step 3: Check for Misalignments
Use a level to check the alignment of the garage door track. Ensure that the track is level and straight along its entire length. If you notice any misalignments, use a rubber mallet to gently tap the track back into position.
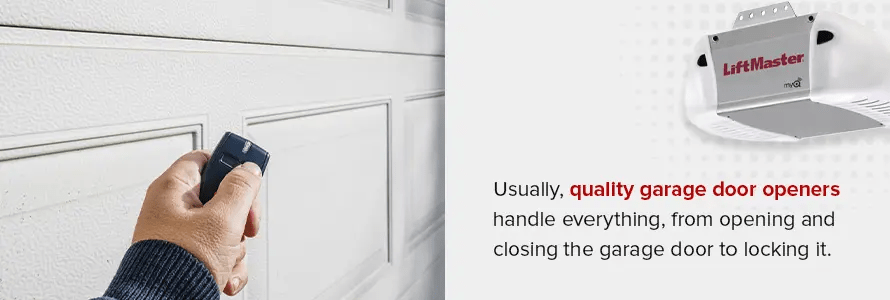
Read too: Why Your Liftmaster Garage Door Won’t Stay Closed and How to Fix It? Troubleshooting Tips
Step 4: Repair Bent Tracks
If you discover any bends or dents in the track, you’ll need to straighten them out to restore smooth operation. Use a pair of pliers or a hammer to carefully straighten the bent sections of the track. Take care not to damage the track further during this process.
Step 5: Lubricate the Track
Once the track is straight and free from obstructions, apply a generous amount of lubricant to the entire length of the track. Use a silicone-based lubricant recommended by the manufacturer for optimal performance.
Step 6: Test the Door
After completing the repairs, test the garage door to ensure that it operates smoothly and evenly along the track. Open and close the door several times to verify that the repairs have been successful.
Conclusion
Repairing your garage door track is a manageable task that can be completed with the right tools and knowledge. By following the steps outlined in this guide, you can address common issues and restore smooth operation to your garage door. If you encounter any difficulties during the repair process, don’t hesitate to seek assistance from a professional garage door technician.
Leave a Reply