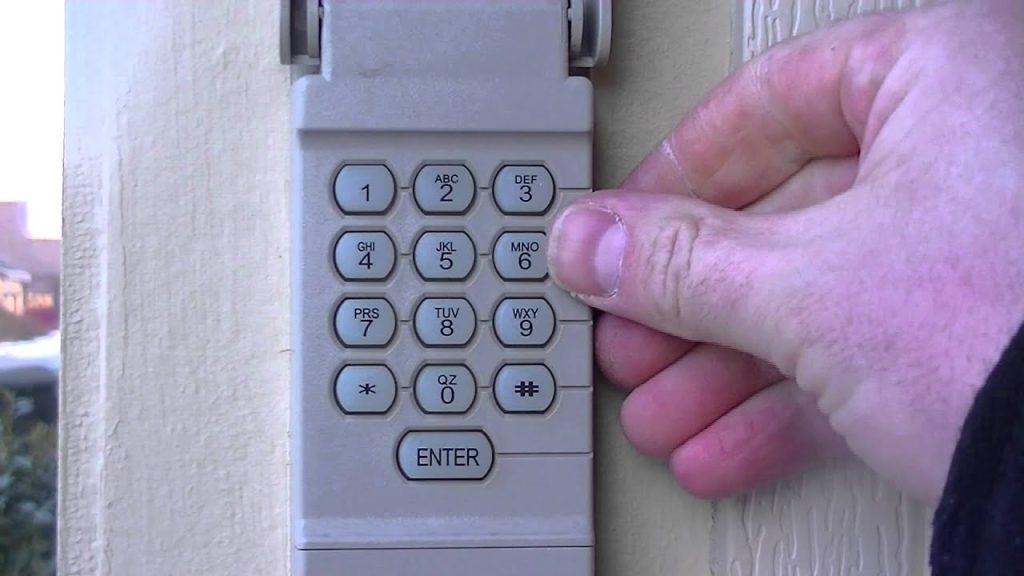
How to Reset Chamberlain Garage Door Opener Keypad Without Code? A Chamberlain garage door opener keypad is a convenient way to access your garage without a remote or keys. However, what do you do if you forget the entry code or encounter a situation where the code doesn’t work? In this guide, we will explore how to reset a Chamberlain garage door opener keypad when you don’t have the access code, ensuring you can continue to enjoy the benefits of keyless entry.

Understanding Your Chamberlain Garage Door Opener Keypad
Before we dive into the reset process, it’s crucial to have a basic understanding of your Chamberlain garage door opener keypad. These keypads typically come with a set of buttons or a digital touchpad and are installed outside your garage, providing a secure way to enter the premises.
Reasons for Resetting a Chamberlain Garage Door Opener Keypad
Several situations may require a reset of your Chamberlain garage door opener keypad:
- Forgotten Code:
- Perhaps the most common reason for a reset is forgetting the entry code. If you can’t recall the code, you won’t be able to use the keypad.
- Keypad Malfunction:
- Sometimes, the keypad may stop working correctly, resulting in an unsuccessful code entry. A reset can help resolve these issues.
- Home Purchase or Rental:
- If you’ve moved into a new home, you might not know the existing code. A reset allows you to establish your own code for added security.
Resetting a Chamberlain Garage Door Opener Keypad Without the Code
If you find yourself in a situation where you need to reset your Chamberlain garage door opener keypad but don’t have the access code, follow these steps:
- Locate the Learn Button:
- On the motor unit of your Chamberlain garage door opener, there is a button labeled “Learn” or “Smart.” You’ll need to find this button.
- Press and Release the Learn Button:
- Within 30 seconds of pressing the Learn button, go to your garage door opener keypad.
- Input a New Code:
- On the keypad, enter the new code that you want to set. Make sure it’s something you can remember but not too obvious for security reasons.
- Test the New Code:
- Enter the new code on the keypad to ensure it works correctly. If it does, your Chamberlain garage door opener keypad is successfully reset.
- Update Remote Controls:
- If you have remote controls that were previously programmed to the old code, you’ll need to reprogram them with the new code for them to work.
Security Considerations
When resetting your Chamberlain garage door opener keypad, keep these security considerations in mind:
- Choose a secure code that is not easily guessable.
- Avoid using codes that are tied to personal information, like birthdays or addresses.
- Change your code periodically to enhance security.
Additional Tips and Troubleshooting
If you encounter any issues during the reset process or your Chamberlain garage door opener keypad still doesn’t work correctly, consider the following tips:
- Ensure that the Learn button on the motor unit is pressed and released within the 30-second window.
- Check the battery in the keypad; a low or dead battery can cause issues.
- Verify that the keypad is receiving power and properly mounted.
If you continue to experience problems, it may be wise to contact Chamberlain’s customer support or a professional technician for further assistance.
Conclusion
A Chamberlain garage door opener keypad offers convenient and secure access to your garage. However, if you forget the access code or face issues with the keypad, resetting it without the code is a useful skill. By following the steps outlined in this guide and keeping security considerations in mind, you can ensure the continued functionality and safety of your Chamberlain garage door opener keypad.


Leave a Reply