Have you ever wondered how to properly tension your garage door springs for optimal performance? Tensioning garage door springs is a crucial maintenance task that ensures the smooth and safe operation of your garage door. In this comprehensive guide, we’ll walk you through the step-by-step process of tensioning garage door springs like a professional, empowering you to maintain your garage door system with confidence and ease.
Understanding the Importance of Proper Spring Tension
Why Proper Tensioning Matters
Garage door springs play a vital role in counterbalancing the weight of the garage door, allowing it to open and close smoothly. Properly tensioned springs ensure that the door operates efficiently and reduces the risk of premature wear and tear on other components of the garage door system.
Signs of Improper Tension
- Difficulty opening or closing the garage door
- Uneven movement or jerking during operation
- Excessive noise or vibration from the garage door mechanism
Read too: The Complete Guide to Tighten Chain On Garage Door Opener for Smooth Operation
How To Tension Garage Door Springs: Step-by-Step Guide
Step 1: Gather Necessary Tools and Equipment
Before you begin, gather the following tools and equipment:
- Safety glasses
- Leather gloves
- Winding bars
- Adjustable wrench
- Tape measure
Step 2: Identify the Type of Springs
Garage doors typically use one of two types of springs: torsion springs or extension springs. Identify which type of springs your garage door has before proceeding with tensioning.
Step 3: Disconnect the Garage Door Opener
For safety reasons, disconnect the garage door opener from the power source and manually release the door from the opener mechanism.
Step 4: Release Existing Tension
Using winding bars and an adjustable wrench, carefully release any existing tension from the springs by unwinding them in the direction opposite to their winding direction.
Step 5: Measure and Set New Tension
Refer to the manufacturer’s specifications or consult a professional to determine the appropriate amount of tension for your garage door springs. Use a tape measure to ensure accurate tension adjustment.
Step 6: Apply Tension to the Springs
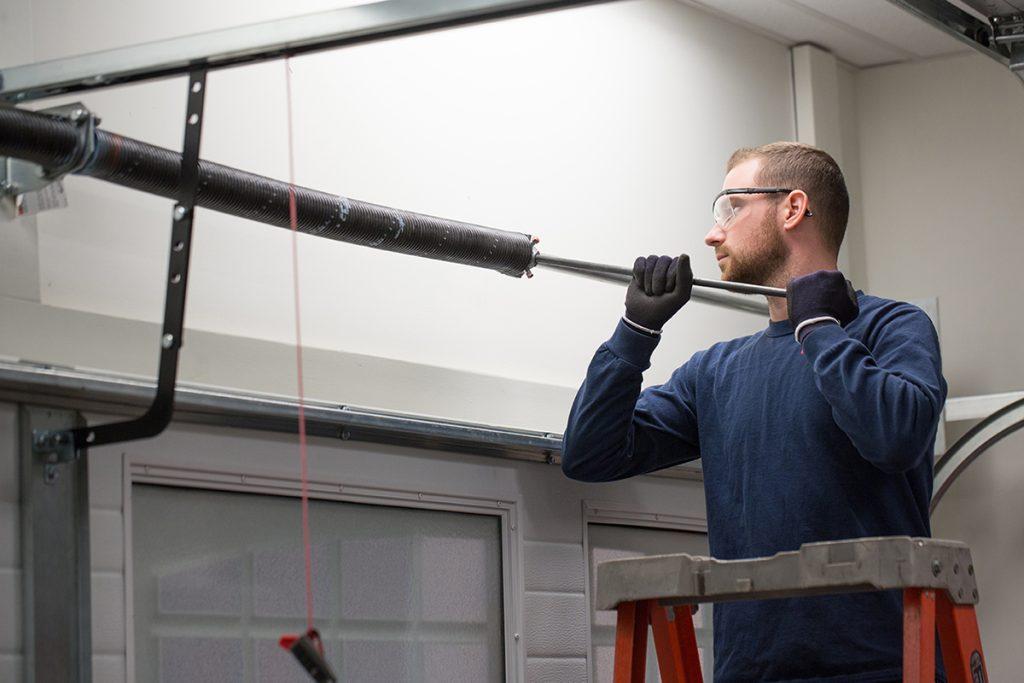
Using winding bars, carefully apply tension to the springs by winding them in the designated direction according to the manufacturer’s instructions. Take care to evenly distribute the tension across all springs.
Step 7: Test the Garage Door Operation
Once the springs are properly tensioned, reattach the garage door opener to the door and test its operation to ensure smooth and balanced movement. Make any necessary adjustments to the tension if the door does not operate correctly.
Step 8: Perform Regular Maintenance
Regularly inspect and maintain your garage door springs to ensure they remain properly tensioned. Check for signs of wear or damage and address any issues promptly to prevent safety hazards and costly repairs.
Safety Precautions
- Always wear safety glasses and leather gloves when working with garage door springs to protect against injury.
- Use caution when applying tension to the springs, as they can cause serious injury if mishandled.
- If you’re unsure about tensioning garage door springs yourself, it’s best to seek professional assistance to avoid accidents or damage to your garage door system.
Conclusion
In conclusion, knowing how to tension garage door springs is an essential skill for any homeowner looking to maintain their garage door system. By following the step-by-step guide outlined in this article and adhering to safety precautions, you can ensure that your garage door operates smoothly and safely for years to come.


Leave a Reply