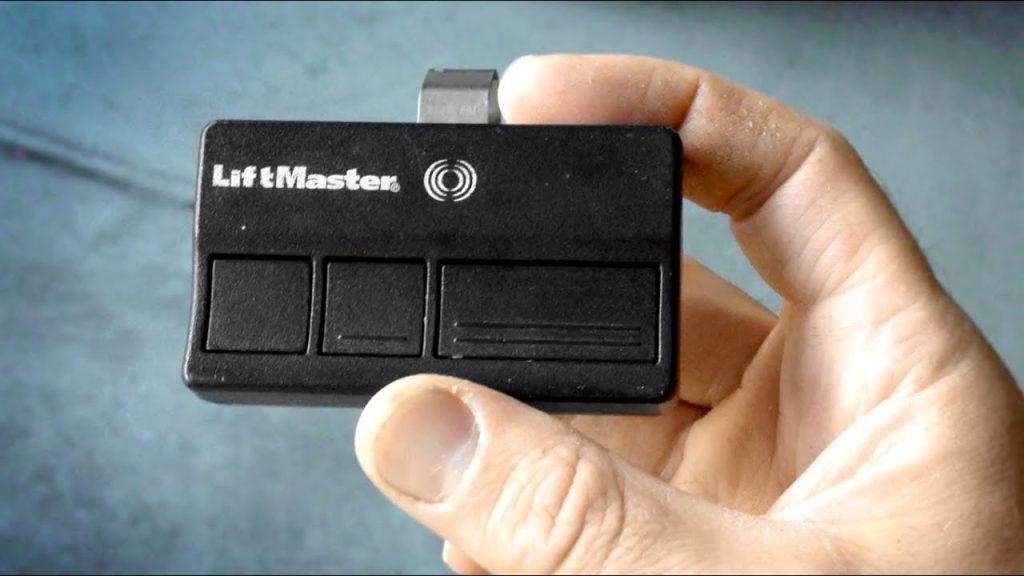
Are you looking to unprogram your garage door remote but don’t know where to start? Whether you’ve lost a remote or want to revoke access from an old one, it’s essential to know how to remove it from your garage door opener’s memory. In this guide, we’ll walk you through the process step by step, making it easy for you to unprogram your garage door remote and enhance the security of your home.

How to Unprogram Garage Door Remote: Step-by-Step Guide
Unprogramming your garage door remote is a straightforward process that typically involves accessing your garage door opener’s control panel. Follow these simple steps to remove a remote from your garage door opener’s memory:
Step 1: Locate the Garage Door Opener’s Control Panel
The control panel for your garage door opener is usually located on the wall near the entrance to your garage. It may be attached to the wall or mounted on the ceiling, depending on the model of your opener.
Step 2: Access the Control Panel
Once you’ve located the control panel, use a step ladder if necessary to reach it. You may need to remove a cover or flip down a protective panel to access the buttons and settings on the control panel.
Step 3: Enter Programming Mode
To enter programming mode on your garage door opener, locate the “Learn” or “Program” button on the control panel. Press and hold this button for several seconds until the indicator light on the opener flashes, indicating that it is ready to accept new remote codes.
Step 4: Erase Existing Remote Codes
Once the opener is in programming mode, you’ll need to erase the existing remote codes stored in its memory. To do this, locate the “Erase” or “Reset” button on the control panel and press it. The indicator light on the opener will flash again, confirming that the existing codes have been erased.
Read too: Why Your Liftmaster Garage Door Won’t Stay Closed and How to Fix It? Troubleshooting Tips
Step 5: Reprogram Remaining Remotes (Optional)
If you have other remotes that you want to continue using, you can reprogram them after erasing the existing codes. Follow the manufacturer’s instructions for your garage door opener to add new remotes to the system.
Step 6: Exit Programming Mode
Once you’ve finished unprogramming the remote and, if necessary, reprogramming any remaining remotes, exit programming mode on the garage door opener. Press the “Learn” or “Program” button again to exit programming mode and save your changes.
Conclusion
Unprogramming your garage door remote is a simple process that can be completed in just a few minutes. By following the steps outlined in this guide, you can ensure that old or lost remotes no longer have access to your garage, enhancing the security of your home. If you encounter any difficulties during the unprogramming process, consult the owner’s manual for your garage door opener or contact the manufacturer for assistance.


Leave a Reply