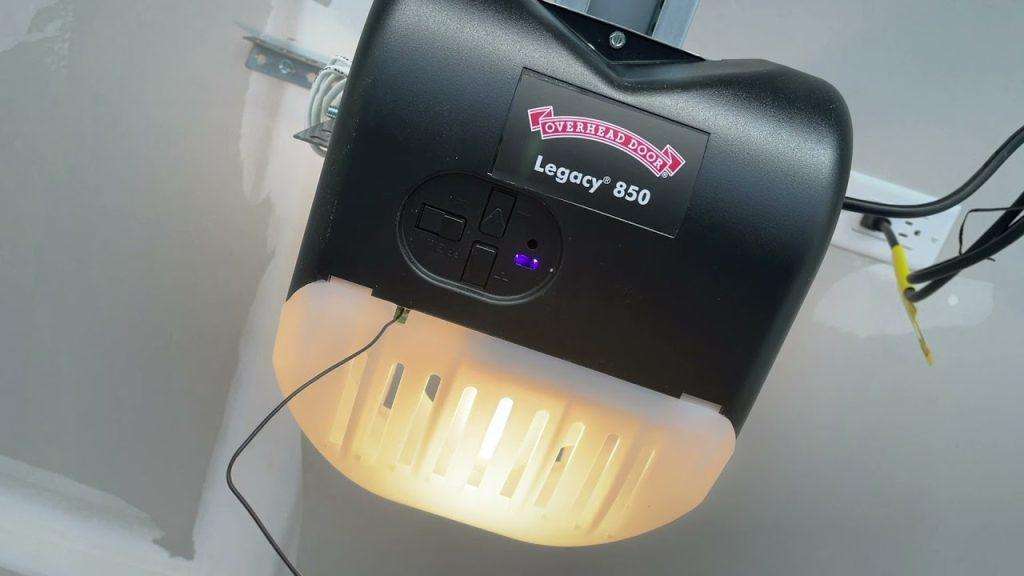
The Legacy 650 garage door opener is a popular choice for homeowners, known for its reliability and convenience. However, to make the most of this technology, it’s essential to understand how to program it correctly. In this comprehensive guide, we’ll walk you through the steps for Legacy 650 garage door opener programming, ensuring that your garage door functions smoothly and securely.

Understanding the Legacy 650 Garage Door Opener
The Legacy 650 garage door opener is manufactured by Overhead Door, a trusted name in the industry. This opener is equipped with a range of features, including a powerful motor, safety sensors, and remote control compatibility, making it a convenient addition to any home. To maximize its capabilities, you’ll need to know how to program it effectively.
Step-by-Step Guide to Legacy 650 Garage Door Opener Programming
Follow these steps to program your Legacy 650 garage door opener:
1. Locate the “Learn Code” Button
Start by locating the “Learn Code” button on your Legacy 650 garage door opener. This button is typically found on the main unit, near the controls or wiring. It’s an essential part of the programming process.
2. Clear Existing Programming (If Needed)
If your garage door opener has been previously programmed, or you’ve experienced issues with it, it’s a good idea to clear the existing programming. To do this, press and hold the “Learn Code” button for about 10 seconds until the indicator light on the opener turns off.
3. Press the “Learn Code” Button Again
After clearing the existing programming, press the “Learn Code” button again. The indicator light should turn on and stay lit, indicating that the opener is ready to accept new remote control signals.
4. Program Your Remote Control
With your Legacy 650 garage door opener in programming mode, it’s time to program your remote control. Press the button on your remote control that you want to use for the garage door. You may need to hold it down for a few seconds. The indicator light on the garage door opener should flash, signifying that it has received the signal.
5. Test Your Garage Door Opener
To ensure that the programming was successful, test your Legacy 650 garage door opener by pressing the button on your remote control. The garage door should respond by opening or closing. If it operates as expected, the reprogramming process is complete.
Additional Tips and Troubleshooting
- You can also program Legacy 650 garage door openers to operate with wireless keypads and wall-mounted control panels. Consult your garage door opener’s manual for specific instructions related to these accessories.
- If your Legacy 650 garage door opener has a rolling code system, the reprogramming process may require additional steps. Refer to your garage door opener’s manual for specific instructions on dealing with rolling codes.
- In the event of any issues or uncertainties during the reprogramming process, be sure to check the batteries in your remote control. It’s essential that they are in good working condition to transmit signals effectively.
Conclusion
Reprogramming your Legacy 650 garage door opener is a straightforward process that can ensure the continued smooth operation of your garage door. By following the steps outlined in this guide, you can easily and effectively program your garage door opener and enjoy the convenience and security it brings to your daily life. If you encounter persistent issues or have a more complex setup, refer to the manufacturer’s manual or contact Overhead Door’s customer support for assistance. With your Legacy 650 garage door opener functioning correctly, you can trust in its reliable performance for years to come.


Leave a Reply