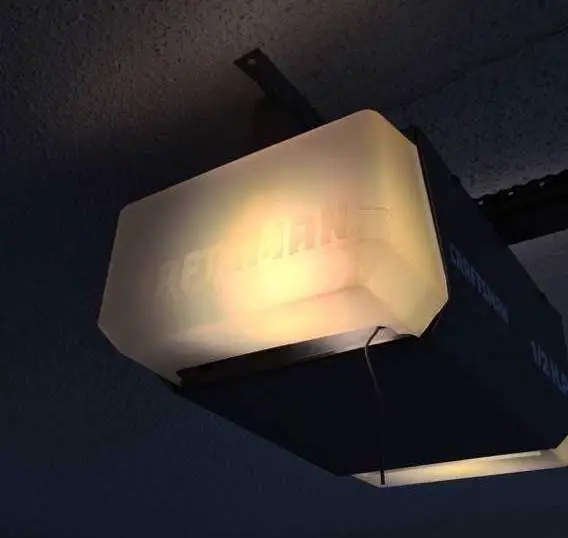
Have you ever found yourself in a situation where the light on your Liftmaster garage door just won’t turn off? It can be frustrating and confusing, but fear not – we’re here to help you troubleshoot and resolve this issue. In this comprehensive guide, we’ll delve into the possible reasons behind the persistent illumination of your garage door light and provide practical solutions to get it working as it should.

Understanding the Liftmaster Garage Door Light Issue
One of the common problems faced by Liftmaster garage door owners is the unexplained refusal of the light to turn off. Before diving into solutions, let’s explore the potential causes of this perplexing situation.
Common Causes of Liftmaster Garage Door Light Staying On
- Faulty Sensor Alignment: One of the primary reasons for the light not turning off could be misaligned or dirty sensors. Liftmaster garage doors are equipped with safety sensors that detect obstacles in the door’s path. If these sensors are misaligned or obstructed, the light may stay on as a safety precaution.
- Issues with the Control Panel: The control panel is the brain of your Liftmaster garage door system. If there are glitches or malfunctions in the control panel, it can affect various components, including the light. Faulty wiring or connections may be the culprit.
- Timer Settings: Timer settings in Liftmaster garage door openers frequently control the duration for which the light stays on after opening or closing the door. If these settings are configured incorrectly, the light might stay on for an extended period.
- Power Surge or Electrical Issues: Power surges or electrical fluctuations can impact the functionality of electronic components, including the light on your garage door opener. Check for any electrical issues that might be affecting your Liftmaster system.
Troubleshooting Steps to Resolve the Issue
Now that we’ve identified potential causes, let’s move on to the practical steps you can take to address the problem.
- Sensor Realignment and Cleaning: Start by inspecting the sensors on either side of your garage door. Ensure they are properly aligned and free from any dirt or debris. Gently clean the sensors with a soft cloth and check if the light turns off after realignment.
- Control Panel Inspection: Examine the control panel for any visible signs of damage or loose wiring. If you notice anything unusual, consult your Liftmaster manual for guidance on how to address control panel issues. In some cases, a reset might be necessary to resolve glitches.
- Check Timer Settings: Access your Liftmaster garage door opener’s timer settings and review the programmed duration for the light to stay on. Adjust the settings if needed and observe whether the light turns off as expected.
- Power Cycle Your Garage Door Opener: Turn off the power to your Liftmaster garage door opener, wait for a few minutes, and then turn it back on. This power cycle can often resolve temporary glitches and restore normal functionality.
Read too: Genie Garage Door Opener Blue Light Flashing – Decoding the Signal: Troubleshooting the Mystery
Conclusion
Addressing a persistent Liftmaster garage door light issue requires troubleshooting steps. Check sensor alignment, control panel, timer settings, and power cycle the opener for effective resolution.
Maintaining a smooth Liftmaster garage door system involves regular inspections and adherence to guidelines. If issues persist, seek professional assistance for a comprehensive resolution.
A well-maintained garage door enhances home security and daily convenience. Keep these troubleshooting tips in mind for a shining Liftmaster garage door light when needed!


Leave a Reply