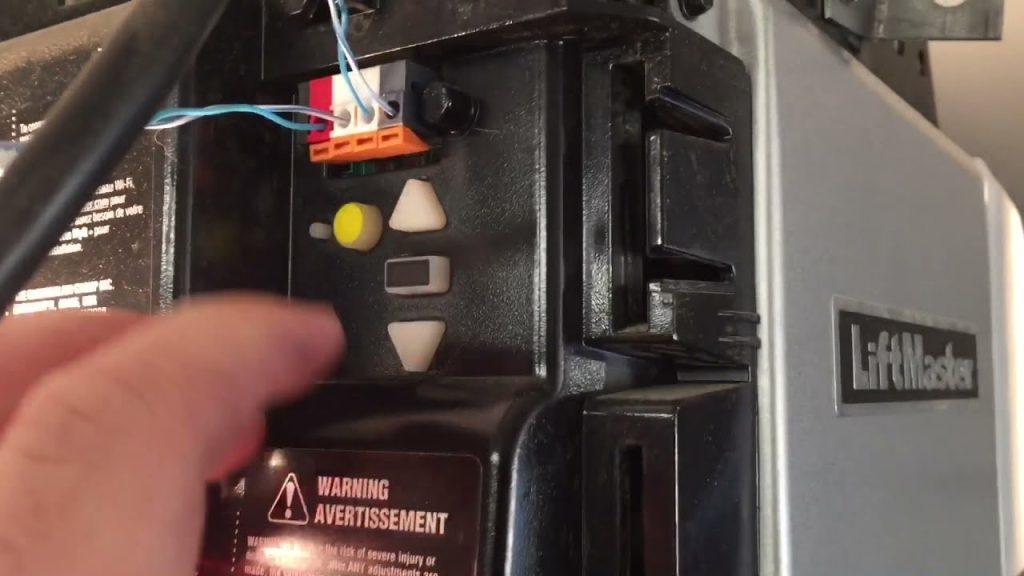
The LiftMaster garage door opener is renowned for its reliability and convenience, but even the best devices may require adjustments over time. Whether you’ve noticed issues with your garage door’s operation or want to fine-tune its performance, this guide will walk you through the essential steps for LiftMaster garage door opener adjustment.

Understanding Your LiftMaster Garage Door Opener
How It Works
LiftMaster garage door openers are equipped with a variety of features designed to make your life easier. They use a motorized mechanism to raise and lower your garage door, controlled by a remote or wall-mounted keypad. However, like any mechanical system, they can experience wear and tear, leading to issues that require adjustments.
Common Adjustment Scenarios
When to Make Adjustments
Here are some common scenarios where you might need to make adjustments to your LiftMaster garage door opener:
1. Door Balance
Symptom: The garage door seems heavy or uneven when manually operated.
- Solution: Adjust the torsion springs or extension springs to balance the door’s weight. An imbalanced door can strain the opener and lead to premature wear.
2. Travel Limits
Symptom: The door doesn’t fully open or close, or it travels too far and hits the floor.
- Solution: Adjust the travel limits on the opener. You can typically find these adjustments on the opener unit itself or in the owner’s manual. By setting the limits correctly, you ensure the door opens and closes fully without overextending.
3. Force Settings
Symptom: The door reverses when closing or doesn’t reverse when opening upon contact with an obstacle.
- Solution: Adjust the force settings. These settings determine how much force the opener uses to operate the door. Find the adjustment controls and fine-tune them to ensure safe operation.
4. Remote Control Range
Symptom: The remote control’s range has decreased, or it only works intermittently.
- Solution: Check the batteries in the remote control first. If that doesn’t resolve the issue, consider reprogramming the remote or repositioning the opener’s antenna for improved signal reception.
5. Speed and Noise
Symptom: The garage door opener is louder than usual or operates at an unusually slow speed.
- Solution: Lubricate the moving parts, such as the tracks, rollers, and hinges. This can reduce noise and improve the opener’s performance. Additionally, inspect the drive belt or chain for signs of wear and replace it if necessary.
Adjustment Steps
How to Make Adjustments
For most LiftMaster garage door opener adjustments, you’ll follow these general steps:
1. Safety First
Before you begin any adjustments, ensure your garage door is closed and disconnected from the opener to prevent accidents.
2. Locate the Adjustment Controls
Refer to your owner’s manual to find the specific adjustment controls for your model. These controls can typically be found on the opener unit or its accompanying control panel.
3. Follow the Manual’s Instructions
Your owner’s manual will provide detailed guidance on making adjustments. It’s essential to follow these instructions precisely to avoid causing further issues.
4. Test the Door
After making adjustments, test the garage door’s operation to ensure it opens and closes smoothly and without any issues.
Conclusion
LiftMaster garage door opener adjustment can significantly improve its performance, extend its lifespan, and ensure safe and reliable operation. Whether you need to balance the door, adjust travel limits, fine-tune force settings, enhance remote control range, or reduce noise, following the manufacturer’s instructions is crucial. Regular maintenance and adjustments will help keep your LiftMaster garage door opener in top-notch condition, providing you with years of hassle-free service.


Leave a Reply