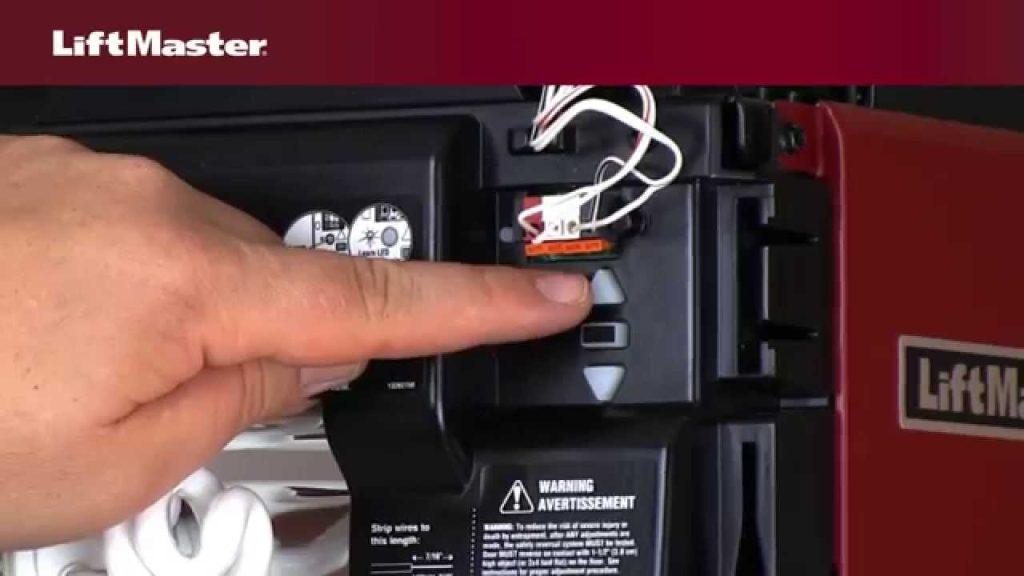
Mastering the functionality of your garage door opener is essential for seamless access to your home and belongings. If you’re experiencing issues with your Liftmaster garage door opener, making the right adjustments can often solve the problem. In this comprehensive guide, we’ll delve into the necessary Liftmaster garage door opener adjustments to ensure smooth operation and troubleshoot common issues.

Understanding Liftmaster Garage Door Opener Adjustments
Key Areas for Adjustment:
- Limit Settings: Liftmaster garage door openers feature limit settings that determine how far the door opens and closes. Adjusting these settings ensures that the door stops at the desired position, preventing it from hitting the floor or ceiling.
- Force Settings: The force settings on a Liftmaster garage door opener control the amount of force exerted when opening and closing the door. Proper adjustment of these settings is crucial to prevent damage to the door and ensure safe operation.
- Speed Settings: Liftmaster garage door openers may also allow for adjustments to the speed at which the door opens and closes. Fine-tuning these settings can optimize the performance of your garage door opener for your specific needs.
Read too: No Power to Genie Garage Door Opener – Resolving the Issue with Ease: Troubleshooting Guide
Making Liftmaster Garage Door Opener Adjustments
1. Adjusting Limit Settings:
- Locate the limit adjustment screws on the opener unit. These are typically labeled “up” and “down.”
- Using a flat-head screwdriver, turn the appropriate screw to adjust the limit setting in the desired direction. For example, turning the “up” screw clockwise will increase the opening limit.
- Test the door after each adjustment to ensure it stops at the correct position. Make further adjustments as needed until the desired limit is reached.
2. Adjusting Force Settings:
- Locate the force adjustment knobs on the opener unit. These are typically labeled “up force” and “down force.”
- Using a flat-head screwdriver, turn the appropriate knob to adjust the force setting as necessary. Increase the force if the door struggles to open or close, and decrease it if the door moves too quickly or forcefully.
- Test the door after each adjustment to ensure smooth and balanced operation. Make additional adjustments as needed until the optimal force is achieved.
3. Adjusting Speed Settings:
- Refer to the manufacturer’s instructions for your specific Liftmaster garage door opener model to determine if speed adjustments are possible.
- If speed adjustments are available, follow the provided instructions to make the necessary changes to the opener’s speed settings.
- Test the door after adjusting the speed settings to ensure smooth and consistent operation. Fine-tune as needed for optimal performance.
Seeking Professional Assistance
If you encounter difficulties or are unsure about making adjustments to your Liftmaster garage door opener, it’s always best to seek professional assistance. An expert garage door technician can guide you and make adjustments correctly to prevent potential damage or safety hazards.
Conclusion
Mastering Liftmaster garage door opener adjustment is essential for maintaining smooth and reliable operation. By understanding the key areas for adjustment and following the provided instructions, you can troubleshoot common issues and optimize the performance of your garage door opener. Remember to test the door after each adjustment and seek professional assistance if needed to ensure safe and effective operation.


Leave a Reply