Seeing the LiftMaster Garage Door Opener Red And Yellow Light Blinking can be confusing and frustrating—especially when your garage door refuses to close. This light pattern is not random; it’s a built-in diagnostic warning designed to protect you, your family, and your vehicle. In this complete guide, you’ll learn exactly what the lights mean and how to fix the issue step by step.
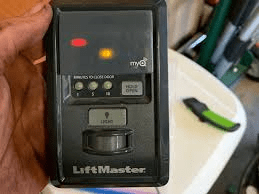
LiftMaster Garage Door Opener Red And Yellow Light Blinking — What Does It Mean?
When the red and yellow (amber) LEDs blink on your safety sensors, your opener is telling you:
The safety reversing sensors are blocked, misaligned, disconnected, or faulty.
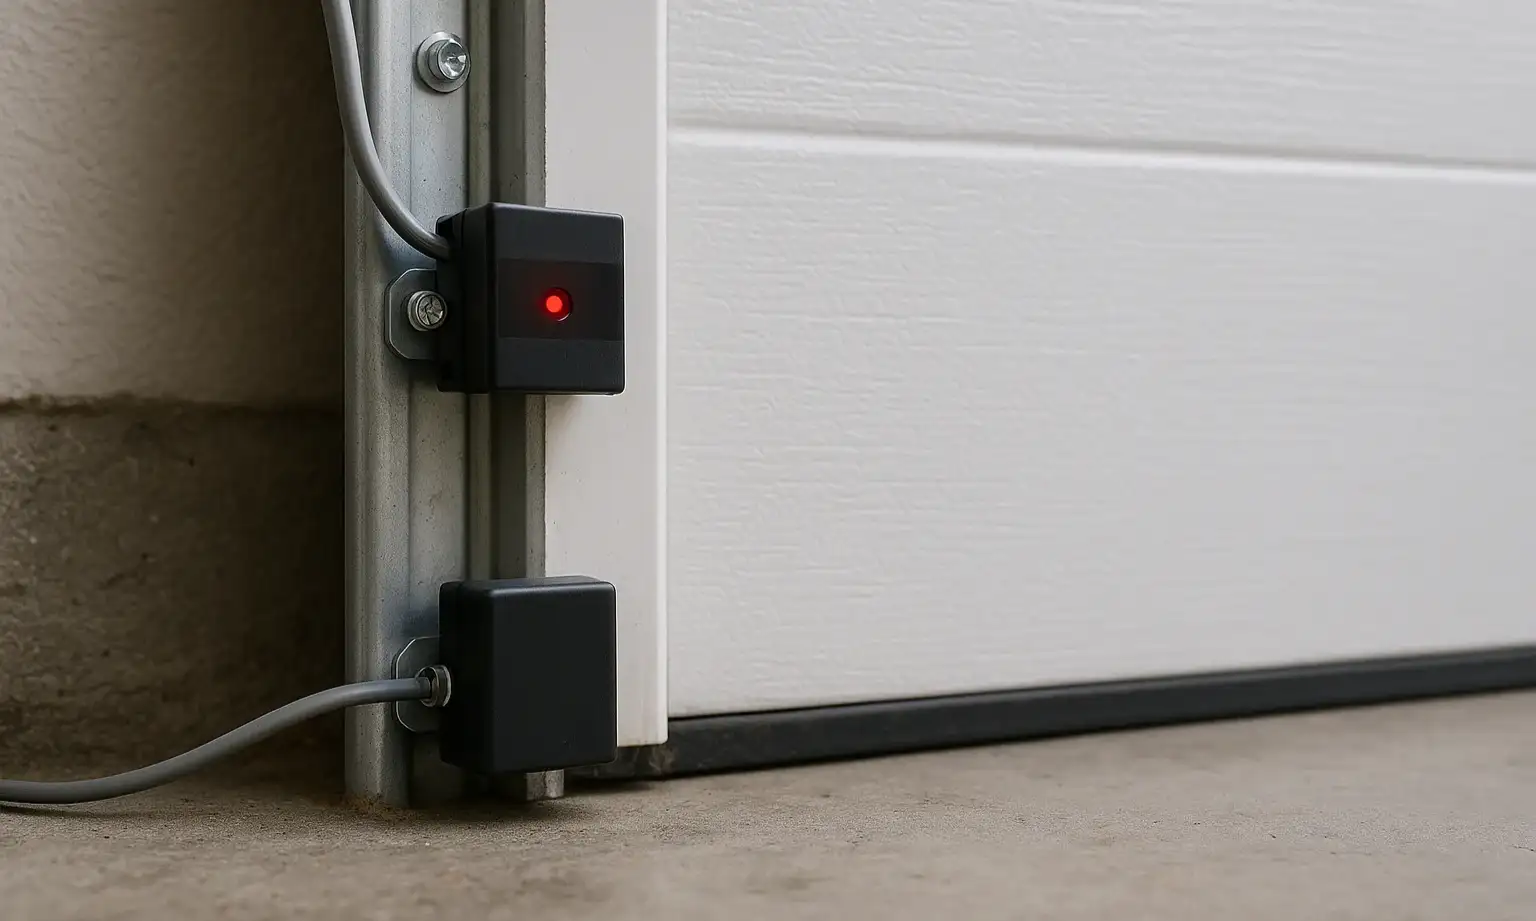
Modern openers from LiftMaster rely on two photo-eyes installed about 6 inches above the floor on each side of the garage door. These sensors create an invisible infrared beam. If that beam is interrupted, the opener will refuse to close the door.
Read too: The Complete Guide to Tighten Chain On Garage Door Opener for Smooth Operation
This system became mandatory in the U.S. after federal safety regulations in 1993. You can read background on garage opener safety systems on Wikipedia:
https://en.wikipedia.org/wiki/Garage_door_opener
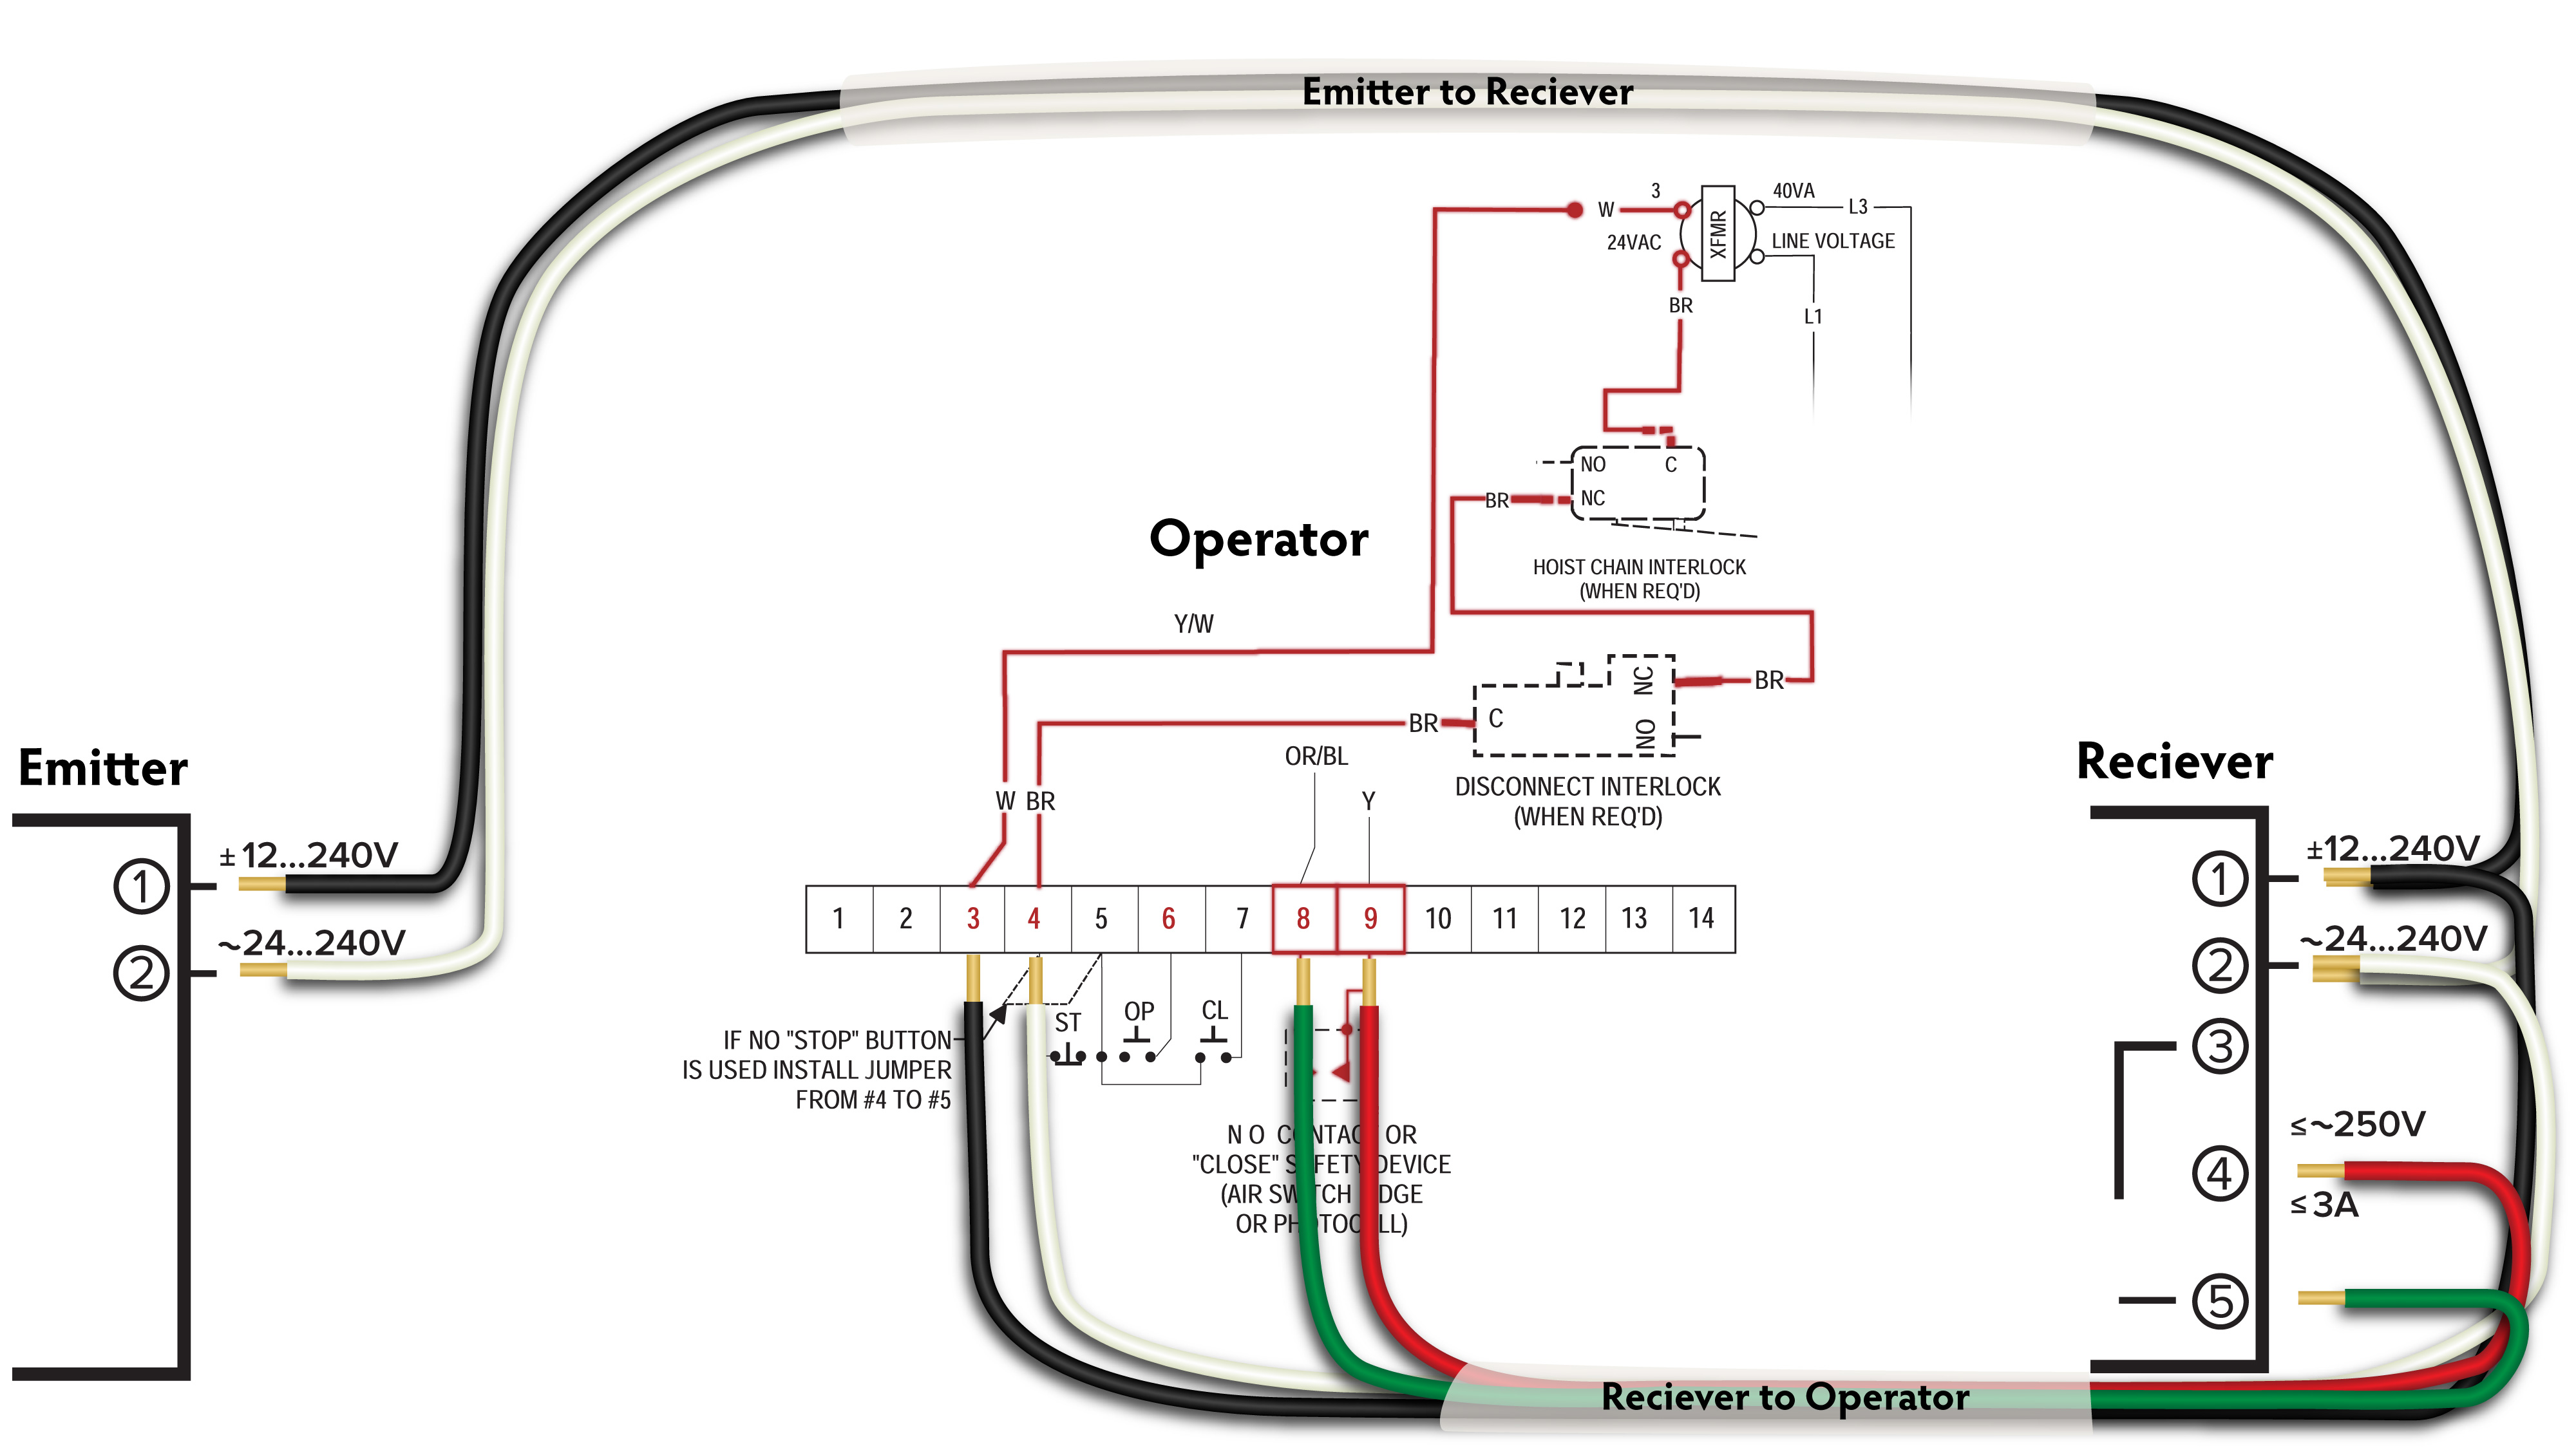
How the Safety Sensors Work (Simple Explanation)


4
- One sensor sends an infrared beam (yellow/amber LED)
- The other sensor receives the beam (red LED)
- If the beam is steady → door closes normally
- If the beam breaks → door reverses or won’t close
A blinking light means the beam is not completing the circuit.
Most Common Causes (Ranked by Frequency)
| Cause | How Often It Happens | Difficulty to Fix | Time Needed |
|---|---|---|---|
| Sensor misalignment | Very common | Easy | 2–5 minutes |
| Dirty sensor lenses | Very common | Easy | 1 minute |
| Obstruction (boxes, tools, trash can) | Common | Easy | 1 minute |
| Loose or damaged wires | Moderate | Medium | 10–15 minutes |
| Sunlight interference | Occasional | Easy | 2 minutes |
| Faulty sensor unit | Rare | Medium | 20 minutes |
Step-by-Step Fix (Do This in Order)
Step 1 — Check for Obstructions
Look between the two sensors.
- Remove boxes, bikes, tools, or debris
- Even a small object can break the beam
Test: Try closing the door again.
Step 2 — Clean the Sensor Lenses
Use:
- Soft microfiber cloth
- A drop of glass cleaner
Dust, spider webs, or moisture can scatter the beam.
Step 3 — Realign the Sensors (Most Important Step)

4
- Loosen the wing nut on the sensor bracket
- Gently move the sensor until the LED becomes solid, not blinking
- Tighten the nut without shifting position
Pro tip: Use a string stretched between sensors to get perfect alignment.
Step 4 — Inspect the Wires
Check for:
- Staples piercing the wire
- Frayed insulation
- Loose terminal connections on the opener
LiftMaster sensor wires are typically white and white with black stripe.
Step 5 — Check for Sunlight Interference
Direct afternoon sunlight can overpower the infrared beam.
Fix: Shade the sensor with a small piece of cardboard or reposition slightly inward.
Step 6 — Test the Door
Place a 1.5-inch object (like a wood block) under the door and close it.
- Door should touch the object and reverse
- If not, sensors are still misaligned
What the LED Colors Tell You
| Yellow (Amber) | Red | Meaning |
|---|---|---|
| Solid | Solid | Normal operation |
| Solid | Blinking | Misaligned sensors |
| Off | Off | No power / wiring issue |
| Solid | Off | Receiver not seeing beam |
This LED code is consistent across most LiftMaster models.
Why This Problem Happens So Often
Garage environments are harsh:
- Vibration from opening/closing loosens brackets
- Dust and insects accumulate quickly
- Items get stored near the door tracks
- Temperature changes expand/contract metal brackets
Service data from installers shows over 60% of garage door service calls are sensor-related—not motor failure.
When You Should Replace the Sensors
Replace the sensors if:
- LEDs won’t turn solid after alignment
- Wires are intact but lights remain off
- Plastic lens is cracked or yellowed
- Unit is over 10 years old
Replacement sensors are inexpensive and widely available.
Advanced Tip: Bypass Test (Diagnosis Only)
Hold the wall button to close the door.
- If the door closes while holding → sensors are confirmed as the issue
- Do not leave the system like this; it disables safety protection
Pros vs Cons of the Safety Sensor System
Advantages
- Prevents injury to kids and pets
- Protects vehicles and property
- Required by law for safety compliance
Disadvantages
- Sensitive to alignment
- Affected by dirt and sunlight
- Common source of homeowner frustration
FAQ — LiftMaster Garage Door Opener Red And Yellow Light Blinking
Q1: Why does my garage door open but not close?
Because the safety beam is interrupted. The opener allows opening but blocks closing for safety.
Q2: Can I disconnect the sensors permanently?
No. This is unsafe and violates safety standards.
Q3: How high should sensors be from the floor?
About 6 inches for proper detection of small objects and pets.
Q4: Why do the lights blink more in the afternoon?
Sunlight interference is common when the sun hits the receiver directly.
Q5: Do I need a technician to fix this?
In 90% of cases, homeowners can fix it in under 10 minutes.
Q6: Are these issues the same on all LiftMaster models?
Yes. The sensor logic is standardized across most models.
Conclusion
The LiftMaster Garage Door Opener Red And Yellow Light Blinking is a helpful warning—not a failure. In most cases, a simple cleaning, realignment, or obstruction removal restores normal operation within minutes. Understanding how the sensors work empowers you to fix the issue quickly without a service call.
If this guide helped you solve the problem, share it on social media to help other homeowners avoid unnecessary repairs and keep their garages operating safely.


Leave a Reply