A garage door opener is a convenient and essential part of your daily routine, providing easy access to your garage without the hassle of manual operation. However, encountering issues with your garage door opener can be frustrating, especially when the Liftmaster garage door opens partially and then stops. If you’re facing this problem with your Liftmaster garage door opener, this troubleshooting guide is here to help you understand the possible causes and solutions.
Understanding the Liftmaster Garage Door Opener
How a Garage Door Opener Works
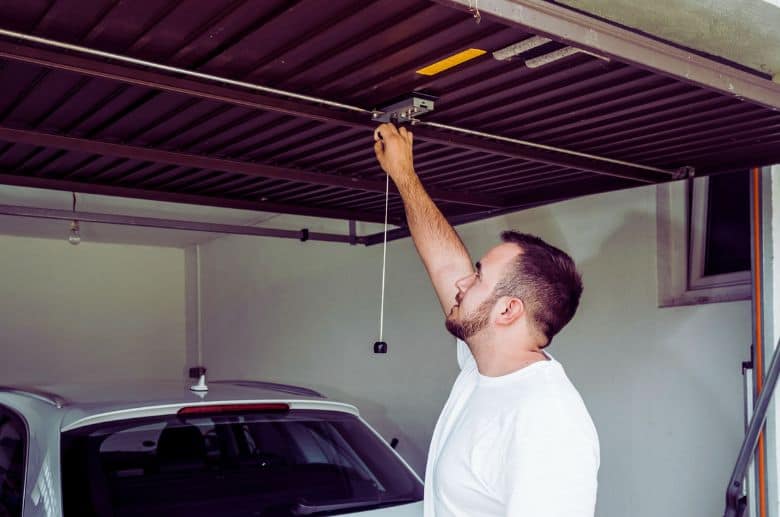
A Liftmaster garage door opener operates using a motor that powers a trolley. The trolley is connected to a bar called the J-arm, which is attached to the garage door. When you activate the opener, the motor turns, moving the trolley along the track and raising or lowering the garage door. Safety sensors are installed near the bottom of the tracks to prevent the door from closing if there’s an obstruction.
Common Causes of Partial Opening and Stopping
Several factors can lead to a Liftmaster garage door opener opening partially and then stopping:
- Blocked Tracks: Objects or debris on the tracks can hinder the smooth operation of the door, causing it to stop partway.
- Misaligned Sensors: If the safety sensors are not aligned correctly or are dirty, they may mistake an obstruction for an obstacle and halt the door.
- Lack of Lubrication: Insufficient lubrication on the tracks or other moving parts can create friction and impede the door’s progress.
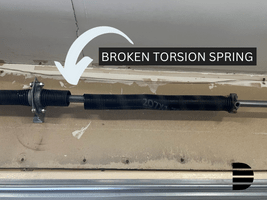
- Worn Springs or Cables: Over time, garage door springs and cables may wear out, making it challenging for the opener to lift the door’s weight.
- Remote Control Issues: Problems with the remote control, such as low battery power or interference, can disrupt the door’s operation.
Troubleshooting Steps
Step 1: Inspect the Tracks and Sensors
Start by visually inspecting the tracks for any obstructions, such as leaves, branches, or debris. Clear away any debris that you find. Additionally, check the alignment and cleanliness of the safety sensors. Ensure that they are pointing at each other and that nothing is blocking their line of sight.
Step 2: Lubricate Moving Parts
Apply a garage door lubricant to the tracks, rollers, and hinges. This lubrication reduces friction and allows for smoother movement. Be sure to wipe away any excess lubricant.
Step 3: Check Springs and Cables
Inspect the garage door springs and cables for signs of wear or damage. If you notice any issues, it’s advisable to contact a professional garage door technician for repairs, as these components are under high tension and can be dangerous to handle.
Step 4: Test the Remote Control
Replace the batteries in your remote control and test it to ensure that it’s functioning correctly. Check for any interference or obstructions in the area that might affect the signal.
Step 5: Reset the Opener
If none of the above steps resolve the issue, try resetting your Liftmaster garage door opener. Refer to the manufacturer’s instructions for the specific reset procedure for your model.
When to Seek Professional Help
If you’ve followed the troubleshooting steps and your Liftmaster garage door opener continues to open partially and stop, it’s time to consult a professional garage door technician. They have the expertise and tools to diagnose and repair more complex issues, such as motor or circuit board problems.
Conclusion: Enjoy Smooth Garage Access Again
Encountering issues with your Liftmaster garage door opens partially then stops can be frustrating, but with a systematic troubleshooting approach, you can often identify and resolve the problem. By inspecting tracks, sensors, lubricating moving parts, and checking for remote control issues, you can enjoy the convenience of a smoothly operating garage door once more. If all else fails, don’t hesitate to reach out to a professional technician to ensure your garage door opener is in optimal working condition.
Leave a Reply