Liftmaster Garage Door Sensor One Yellow One Green. Unlock the secrets behind the colors of your Liftmaster garage door sensors. Delve into why one is yellow and one is green, unraveling the significance for smooth and efficient garage door operation.
Navigating Signals – Liftmaster Garage Door Sensor, One Yellow, One Green
Understanding the visual cues of your Liftmaster garage door sensors is essential for troubleshooting and ensuring the optimal performance of your garage door system.
Demystifying Liftmaster Garage Door Sensor Colors:
Liftmaster garage doors are equipped with safety sensors that play a critical role in preventing accidents and ensuring smooth door operation. The colors of these sensors—commonly one yellow and one green—indicate specific statuses that every homeowner should comprehend.
Significance of Yellow and Green Sensors:
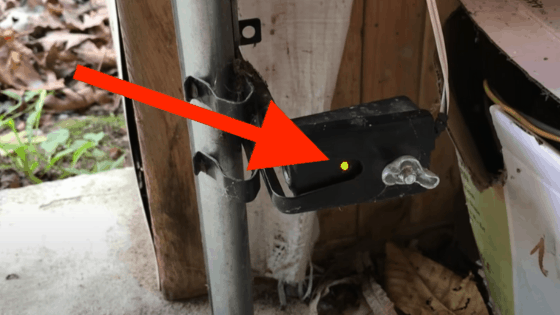
- Yellow Sensor:
- The yellow sensor typically indicates that there is an issue or a misalignment that needs attention. Obstacles in the sensor’s line of sight, dirt, or other obstructions can activate it.
- Green Sensor:
- The green sensor signifies that everything is in proper working order. When both sensors are aligned correctly, unobstructed, and functioning as intended, the green light indicates that the garage door system is ready for operation.
Troubleshooting Liftmaster Garage Door Sensor Issues:
- Check for Obstructions:
- If the yellow sensor is activated, inspect the sensor area for any obstructions. Remove dirt, debris, or objects that might be blocking the sensor’s line of sight.
- Sensor Alignment:
- Actively align both sensors to ensure proper alignment. A misalignment can trigger the yellow sensor and disrupt the communication between the sensors.
- Clean the Sensors:
- Regularly clean the sensors to maintain optimal functionality. Use a soft, clean cloth to wipe away any dirt or residue that may accumulate on the sensor lenses.
- Inspect Wiring:
- Check the wiring connecting the sensors to the garage door opener. Damaged or frayed wires can impact sensor performance. Replace any damaged wiring to restore proper function.
Understanding the Importance of Garage Door Sensors:
- Safety Features:
- The yellow and green sensors work together to ensure the safety of the garage door operation. If an obstacle is detected, the sensors communicate with the opener to prevent the door from closing.
- Preventing Accidents:
- Properly functioning sensors prevent accidents and injuries by stopping the garage door from closing on objects, pets, or people in its path.
- Smooth Operation:
- When both sensors are aligned and free from obstructions, the green light indicates that the garage door system is ready for smooth and efficient operation.
Maintenance Tips for Liftmaster Garage Door Sensors:
- Regular Inspections:
- Conduct visual inspections of the sensors to ensure proper alignment and cleanliness. Regular checks can identify issues before they escalate.
- Test the Sensors:
- Periodically test the sensors by blocking their line of sight while the garage door is closing. Ensure that the door stops immediately, indicating that the sensors are functioning correctly.
- Professional Maintenance:
- Schedule professional maintenance to address any complex issues with the sensors. A trained technician can diagnose and resolve problems to keep your garage door system in top condition.
Conclusion: Empowering Homeowners with Sensor Knowledge
In conclusion, understanding the colors of your Liftmaster garage door sensors—specifically, one yellow and one green—is key to maintaining a safe and efficient garage door system. By interpreting these visual signals and addressing issues promptly, homeowners can ensure the longevity and optimal performance of their garage doors.
Empower yourself with knowledge about Liftmaster garage door sensors, and embrace a safer and more reliable garage door experience for you and your family.


Leave a Reply