Installing a Meross garage door opener is a straightforward process that can be completed by DIY enthusiasts and homeowners with basic mechanical skills. In this comprehensive guide, we’ll walk you through the steps involved in the Meross garage door opener installation, providing valuable tips and insights along the way to ensure a seamless and successful installation experience.
Understanding Meross Garage Door Opener Installation
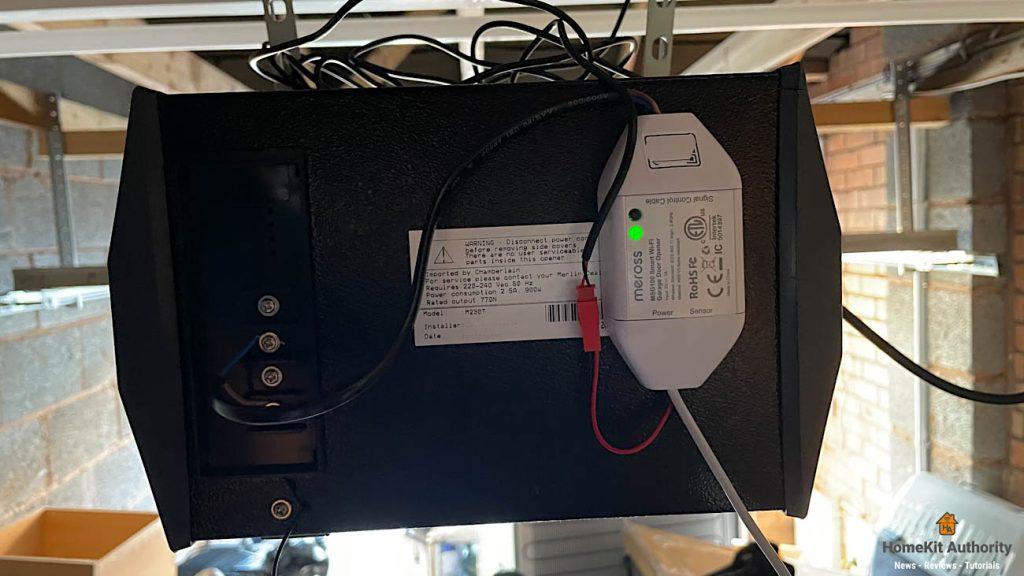
Before diving into the installation process, it’s essential to familiarize yourself with the components of the Meross garage door opener system. This includes the motor unit, rail assembly, remote control, sensors, and other accessories necessary for operation.
Step-by-Step Installation Guide
1. Pre-Installation Preparation
Before beginning the installation, gather all the necessary tools and materials, including a ladder, power drill, screwdriver, level, and measuring tape. Ensure that the area around the garage door is clear of any obstructions.
2. Mounting the Motor Unit
Start by mounting the motor unit to the ceiling of the garage using the provided mounting brackets and hardware. Ensure that the motor unit is positioned centrally above the garage door and aligned with the door’s track.
3. Installing the Rail Assembly
Next, attach the rail assembly to the motor unit according to the manufacturer’s instructions. Extend the rail assembly along the length of the garage ceiling, ensuring that it is level and securely fastened to the ceiling joists.
4. Attaching the Trolley and Door Arm
Attach the trolley to the rail assembly and connect it to the garage door with the door arm. Adjust the tension settings on the trolley to ensure smooth and reliable operation of the garage door.
5. Wiring and Electrical Connections
Follow the wiring diagram provided in the installation manual to connect the motor unit to the power source and any additional accessories, such as wall-mounted control panels and safety sensors. Test the electrical connections to ensure they are secure and functional.
6. Programming and Testing
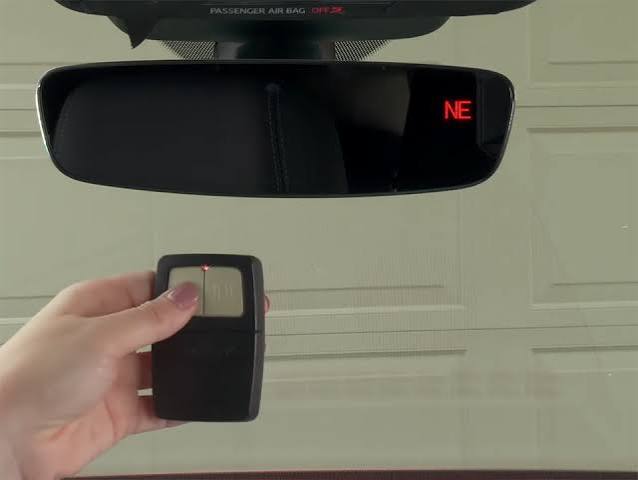
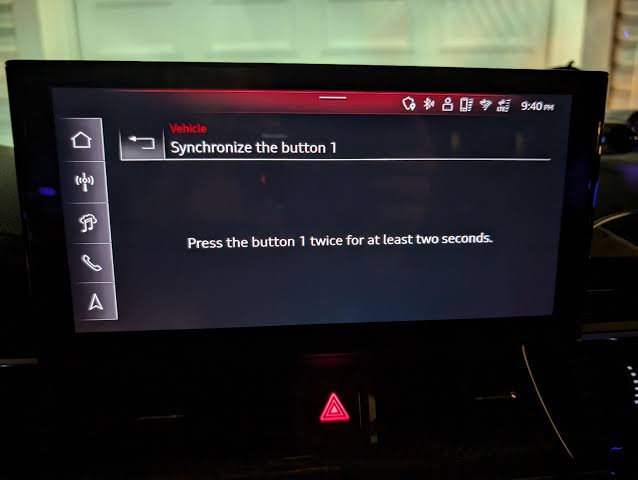
Once the installation is complete, program the remote control and any other devices to operate the garage door opener. Test the opener several times to ensure smooth and reliable operation, making any necessary adjustments as needed.
Common Installation Challenges and Solutions
- Alignment Issues: If the garage door does not open or close smoothly, check for misalignment of the rail assembly or trolley. Adjust the components as necessary to ensure proper alignment.
- Electrical Troubleshooting: If the garage door opener does not respond to remote commands, check the wiring connections and ensure that the motor unit is receiving power. Consult the installation manual for troubleshooting tips.
Conclusion
In conclusion, installing a Meross garage door opener is a manageable task that can be completed by homeowners with basic tools and mechanical skills. By following the step-by-step installation guide and troubleshooting tips provided in this article, you can enjoy the convenience and security of a Meross garage door opener in your home.
Read too: Why Your Liftmaster Garage Door Won’t Stay Closed and How to Fix It? Troubleshooting Tips

Leave a Reply