Are you the proud owner of a Mercedes vehicle and looking to integrate your garage door opener for added convenience? Programming your Mercedes garage door opener can streamline your daily routine, allowing you to open and close your garage door with the touch of a button from the comfort of your car. In this guide, we’ll provide you with step-by-step instructions on how to program your Mercedes garage door opener, ensuring a hassle-free experience.

Understanding Mercedes Garage Door Opener Programming
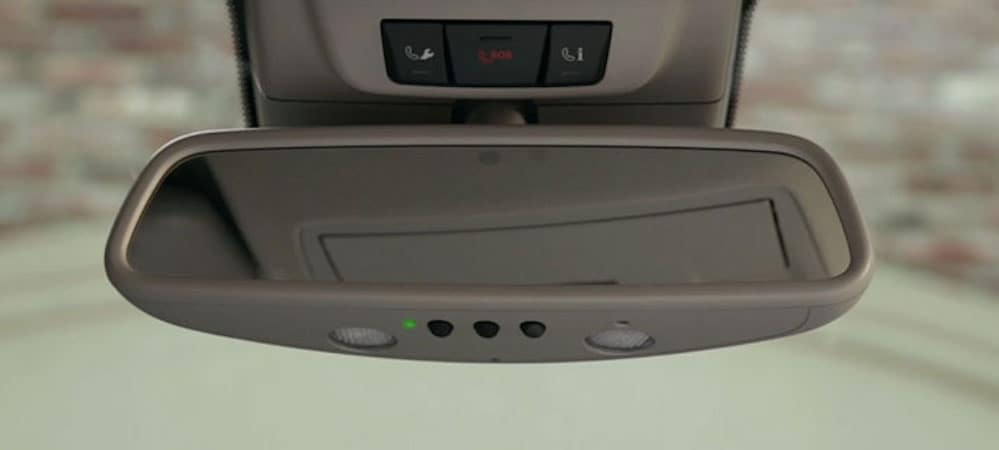
Before delving into the programming process, it’s essential to understand how Mercedes garage door opener integration works. Most Mercedes vehicles come equipped with a built-in feature that allows you to synchronize your garage door opener with the car’s systems. By programming your garage door opener, you can link it to your vehicle’s interior controls, such as the overhead console or rearview mirror.
Programming Your Mercedes Garage Door Opener: Step-by-Step Guide
Step 1: Prepare Your Garage Door Opener
Before you begin programming, make sure your garage door opener is compatible with Mercedes’ technology. Consult your vehicle’s owner’s manual or contact your dealership for information on compatible brands and models. Additionally, ensure that your garage door opener is functioning correctly and that the remote control is nearby.
Read too: Mastering the Art of How to Open a Garage Door Safely and Efficiently
Step 2: Access the Vehicle’s Interior Controls
Sit in the driver’s seat of your Mercedes vehicle and locate the interior controls, typically found on the overhead console or integrated into the rearview mirror. These controls may vary depending on the model and year of your Mercedes.
Step 3: Activate Programming Mode
Follow the instructions provided in your vehicle’s owner’s manual to activate the programming mode for the garage door opener. This typically involves pressing and holding a specific button on the interior controls until the indicator light begins to flash.
Step 4: Sync with Garage Door Opener
Once the programming mode is activated, press and hold the button on the interior controls while simultaneously pressing the corresponding button on your garage door opener remote control. Continue holding both buttons until the indicator light on the interior controls flashes rapidly, indicating successful synchronization.
Step 5: Test the Connection
After syncing your garage door opener with the vehicle, test the connection to ensure it’s working correctly. Press the programmed button on the interior controls to activate the garage door opener and observe the door’s response. If the door opens or closes as expected, the programming was successful.
Troubleshooting Tips
If you encounter any issues during the programming process, try the following troubleshooting tips:
- Ensure that your garage door opener remote control has fresh batteries.
- Verify that your Mercedes vehicle is within range of the garage door opener.
- Double-check the compatibility of your garage door opener with Mercedes’ technology.
Conclusion
Programming your Mercedes garage door opener is a straightforward process that can significantly enhance the convenience and functionality of your vehicle. By following the steps outlined in this guide and troubleshooting any potential issues, you’ll be able to enjoy seamless integration and effortless operation of your garage door from the comfort of your car.


Leave a Reply