Have you encountered issues with your Ryobi garage door opener and need to reset it? Don’t worry; we’ve got you covered! In this guide, we’ll walk you through the process of resetting your Ryobi garage door opener step by step, along with helpful troubleshooting tips to address common problems.
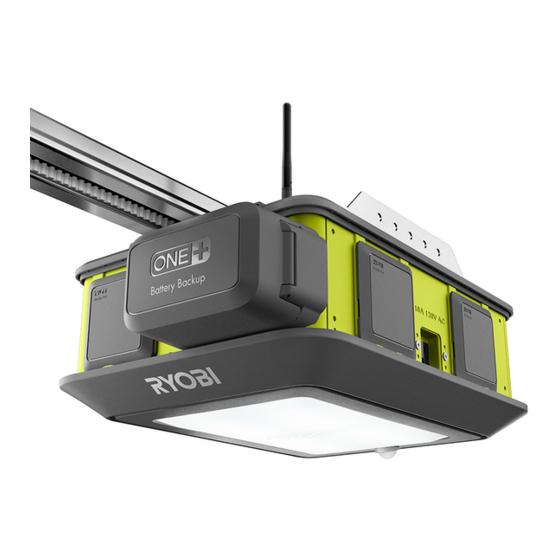
Reset Ryobi Garage Door Opener: Step-by-Step Guide
Understanding the Reset Procedure
Before proceeding with the reset process, it’s essential to understand why you might need to reset your Ryobi garage door opener. Common reasons include:
- Power Interruptions: Sudden power outages or surges can disrupt the opener’s settings.
- Remote Malfunction: Issues with the remote control or keypad may necessitate a reset.
- Sensor Alignment Problems: Misaligned sensors can prevent the door from opening or closing properly.
Read too: No Power to Genie Garage Door Opener – Resolving the Issue with Ease: Troubleshooting Guide
Step 1: Locate the Reset Button
Most Ryobi garage door openers feature a reset button located on the opener unit itself. This button is typically small and may be labeled “Reset” or indicated by a specific symbol.
Step 2: Press and Hold the Reset Button
To initiate the reset process, press and hold the reset button for approximately 10 to 15 seconds. You may need to use a small tool like a pen or paperclip to reach the recessed button.
Step 3: Release the Reset Button
After holding the reset button for the specified time, release it. You may notice a visual or audible indication that the reset process has been successful, such as a flashing light or beep from the opener unit.
Step 4: Test the Garage Door Opener
Once the reset process is complete, test the garage door opener to ensure it’s functioning correctly. Use the remote control or keypad to open and close the door, and verify that it operates smoothly without any issues.
Troubleshooting Tips
If resetting your Ryobi garage door opener doesn’t resolve the issue, consider the following troubleshooting tips:
- Check the power source to ensure the opener is receiving power.
- Inspect the remote control or keypad for any signs of damage or malfunction.
- Verify that the sensors are properly aligned and free from obstructions.
Conclusion
Resetting your Ryobi garage door opener is a straightforward process that can help resolve common issues and ensure smooth operation. By following our step-by-step guide and troubleshooting tips, you can quickly address any problems and get your garage door opener back on track.



Leave a Reply