Are you facing issues with your Chamberlain garage door opener and need to perform a reset? Resetting a Chamberlain garage door opener can be a simple yet crucial task to troubleshoot common problems and ensure smooth operation. In this comprehensive guide, we’ll walk you through the process of resetting a Chamberlain garage door opener, step by step.
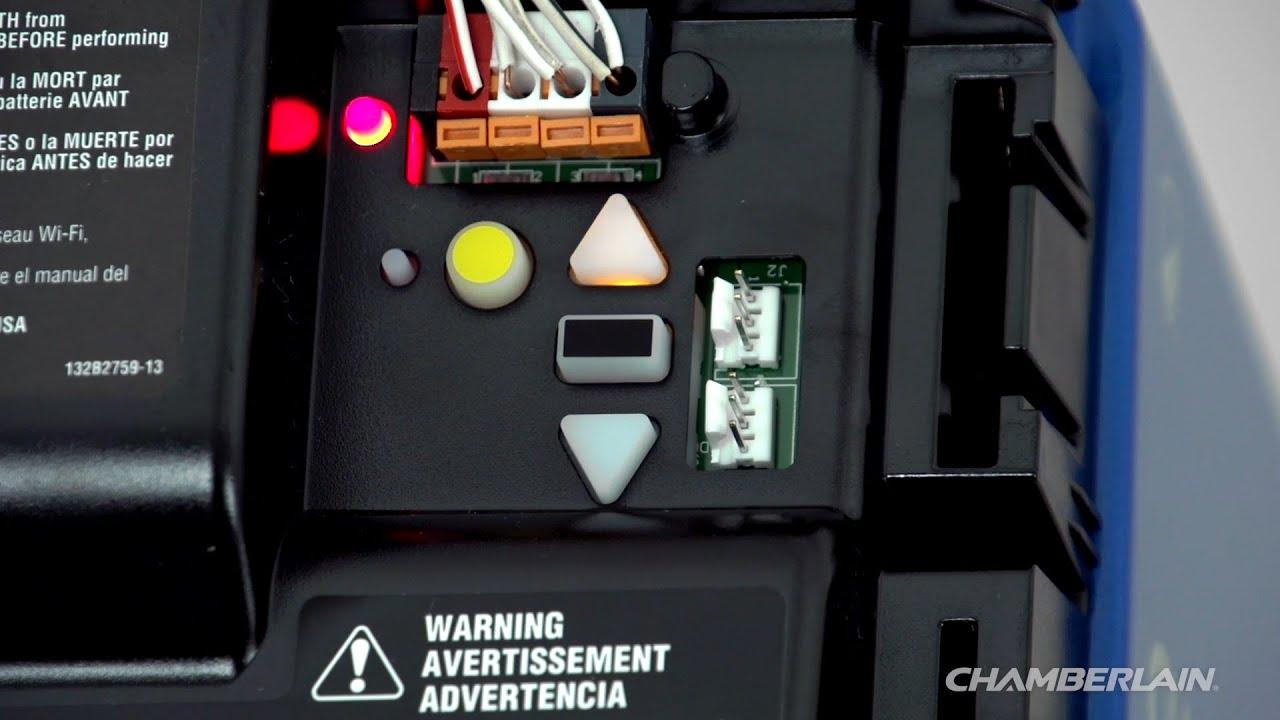
Understanding the Importance of Resetting A Chamberlain Garage Door Opener
Why Resetting Is Necessary
Over time, your Chamberlain garage door opener may experience issues such as malfunctioning remotes, sensor errors, or connectivity problems. Performing a reset can help resolve these issues by restoring the opener to its default settings and clearing any temporary glitches or errors.
Resetting A Chamberlain Garage Door Opener: Step-by-Step Guide
Step 1: Disconnect Power
Before you begin the reset process, ensure that the garage door opener is disconnected from power to avoid any electrical hazards. Locate the power cord or switch on the opener unit and disconnect it from the power source.
Step 2: Wait for 30 Seconds
Allow the garage door opener to remain disconnected from power for at least 30 seconds. This period allows the opener’s internal circuits to discharge and reset completely.
Step 3: Reconnect Power
After 30 seconds have elapsed, reconnect the power to the Chamberlain garage door opener by plugging in the power cord or switching the power back on. Wait for the opener to power up fully, indicated by status lights or display screens on the unit.
Step 4: Perform a Test
Once the garage door opener has powered up, test its functionality by operating it using the wall-mounted control panel or a compatible remote. Check if the opener responds correctly to commands and if the issue that prompted the reset has been resolved.
Step 5: Reset Additional Settings (If Needed)
In some cases, resetting the Chamberlain garage door opener may not fully resolve the issue, especially if it involves more complex settings or configurations. Refer to the manufacturer’s manual or online resources for instructions on resetting specific settings or performing additional troubleshooting steps.
Tips for Successful Resetting
Ensure Proper Power Supply
Before initiating the reset process, verify that the Chamberlain garage door opener is receiving adequate power from the electrical outlet. Faulty power supply can lead to incomplete resets or further complications.
Follow Manufacturer Guidelines
Always refer to the manufacturer’s instructions and guidelines when resetting your Chamberlain garage door openers. These resources provide valuable insights and precautions specific to your model, ensuring safe and effective resetting procedures.
Read too: Why Your Liftmaster Garage Door Won’t Stay Closed and How to Fix It? Troubleshooting Tips
Conclusion
Resetting a Chamberlain garage door openers is a fundamental skill that every homeowner should master to maintain the functionality and reliability of their garage door system. By following the step-by-step guide outlined above and adhering to best practices, you can troubleshoot common issues and keep your Chamberlain opener operating smoothly for years to come.



Leave a Reply