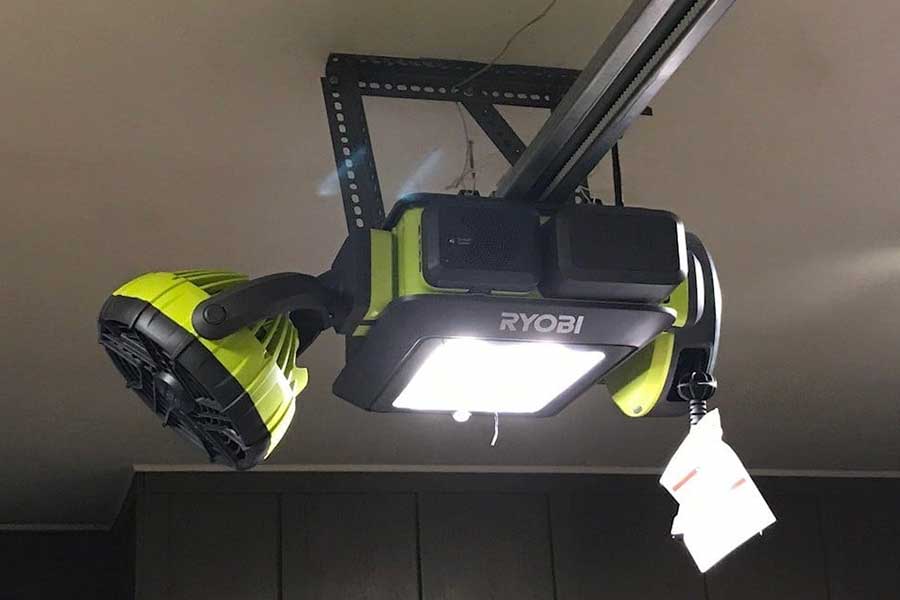
The Ryobi garage door opener offers convenience and security for your home. However, there may come a time when you need to perform a reset to resolve issues or restore its proper functioning. Whether you’re facing connectivity problems or simply want to refresh your system, this article will guide you through the process of resetting your Ryobi garage door opener, ensuring a smooth and hassle-free experience.
When Should You Reset Your Ryobi Garage Door Opener?
Resetting your Ryobi garage door opener can be beneficial in various situations, including:
- Connectivity Issues: If your opener is not responding to commands from the remote or smartphone app, a reset might resolve connectivity problems.
- Programming Changes: If you’ve made changes to your remote codes, keypad codes, or other settings and they’re not functioning as expected, a reset can help restore default settings.
- Malfunctions: In case of unexpected malfunctions or errors, a reset can clear any temporary glitches and bring your opener back to working condition.
Steps to Reset Your Ryobi Garage Door Opener
Follow these steps to reset your Ryobi garage door opener:
1. Unplug the Opener: Begin by unplugging the power cord from the electrical outlet. This ensures that the opener is completely powered off.
2. Remove the Backup Battery (if applicable): If your Ryobi garage door opener has a backup battery, remove it as well. This will help in fully resetting the system.
3. Wait for a Few Minutes: Allow the opener to remain unplugged for a few minutes. This time allows any residual power to dissipate.
4. Reconnect the Power: Plug the power cord back into the electrical outlet. If you removed the backup battery, you can also reinsert it at this point.
5. Perform a Hard Reset: To perform a hard reset, press and hold the “Learn” button on the opener for about 10 seconds. This button is usually located near the motor unit or on the wall control panel.
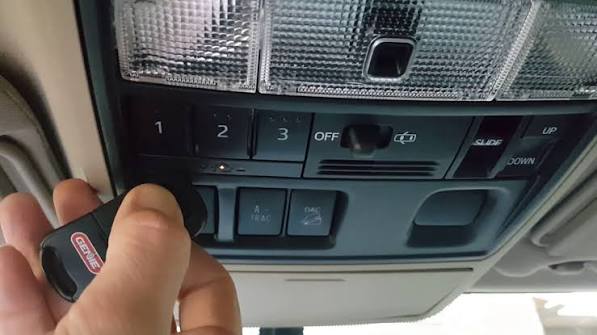
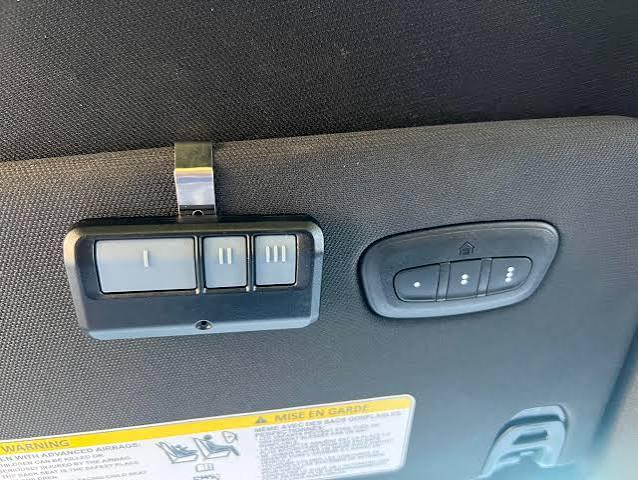
6. Reprogram Remotes and Keypads (if necessary): If your remotes or keypad codes were previously programmed, you might need to reprogram them to sync with the opener again.
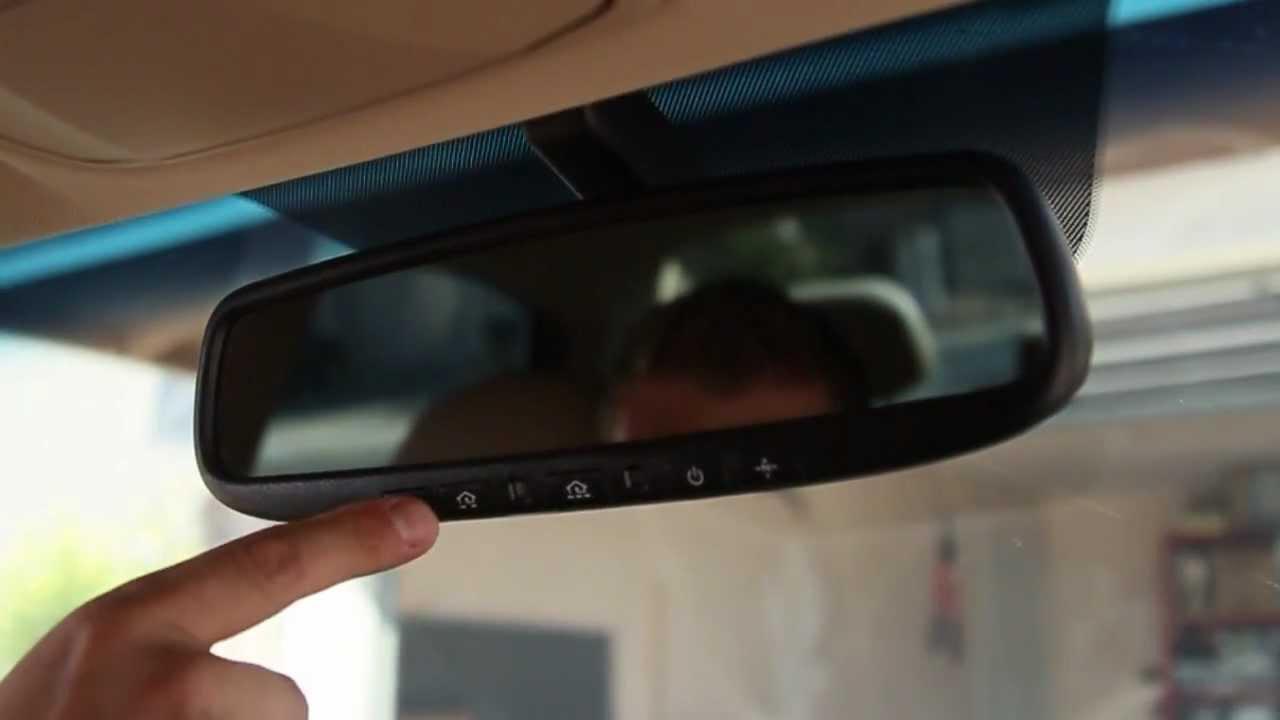
7. Test the System: After completing the reset and reprogramming, test the system by using the remotes, wall control panel, and smartphone app (if applicable) to ensure that the garage door operates as expected.
Precautions and Additional Tips
- Make sure to read the manufacturer’s instructions before attempting a reset to ensure you follow the correct procedure for your specific model of Ryobi garage door opener.
- If you’re unsure about any step, consult the user manual or contact Ryobi customer support for guidance.
Conclusion
In conclusion, performing a reset on your Ryobi garage door opener can help resolve connectivity issues, programming problems, and unexpected malfunctions. By following the step-by-step guide outlined above, you can successfully reset your opener and restore its functionality. Always remember to take precautions and refer to the manufacturer’s instructions for your specific model. With a properly reset Ryobi garage door opener, you can continue to enjoy the convenience and security it provides for your home.
Leave a Reply