Installing a garage door opener can add convenience, security, and value to your home. But before you get started, you might be asking, “What do you need to install a garage door opener?” Whether you’re a DIY enthusiast or just want to understand the process before hiring a professional, knowing the necessary tools, materials, and steps can help you prepare better.
In this comprehensive guide, we’ll break down what do you need to install a garage door opener, covering everything from the equipment and tools required to helpful tips for a smooth installation. By the end, you’ll have a clear idea of how to tackle this project with confidence.
What Do You Need To Install A Garage Door Opener? Essential Tools and Equipment Checklist
To successfully install a garage door opener, you’ll need a set of tools and equipment ready. Here’s a detailed checklist of the essentials:
1. The Garage Door Opener Kit
This is the most obvious requirement. Your garage door opener kit typically includes:
- The opener motor unit (the main drive)
- A rail or track system
- Trolley and carriage
- Safety sensors
- Remote control(s)
- Wall-mounted control panel
- Mounting brackets and hardware
- Emergency release handle and rope
Make sure you choose an opener that suits your door size and type (sectional, one-piece, or tilt-up).
Read too: How To Replace Garage Door Roller Like a Pro? Step-by-Step Guide
2. Basic Hand Tools
Most installations require a variety of common hand tools, including:
- Screwdrivers (Phillips and flathead)
- Adjustable wrench or socket set
- Pliers
- Hammer
- Tape measure
- Level
- Step ladder (for reaching the ceiling)
3. Power Tools (Optional but Recommended)
While some installations can be done with hand tools, power tools make the process easier and faster:
- Cordless drill with drill bits
- Impact driver
- Stud finder (to locate ceiling joists)
- Wire stripper (for electrical connections)
- Utility knife
4. Electrical Requirements
Since the garage door opener is an electrical device, you’ll need:
- A grounded electrical outlet near the installation site (within reach of the power cord)
- Extension cord (temporary, if needed during installation)
- Wire connectors or electrical tape (if you need to make wiring adjustments)
5. Safety Gear
Safety is crucial when working with heavy equipment and electrical components. Prepare:
- Safety glasses
- Work gloves
- Hearing protection (if using loud power tools)
- Dust mask (optional)
Understanding the Components: What Do You Need To Install A Garage Door Opener?
Beyond tools, it’s important to understand the components that make up the garage door opener system and their roles:
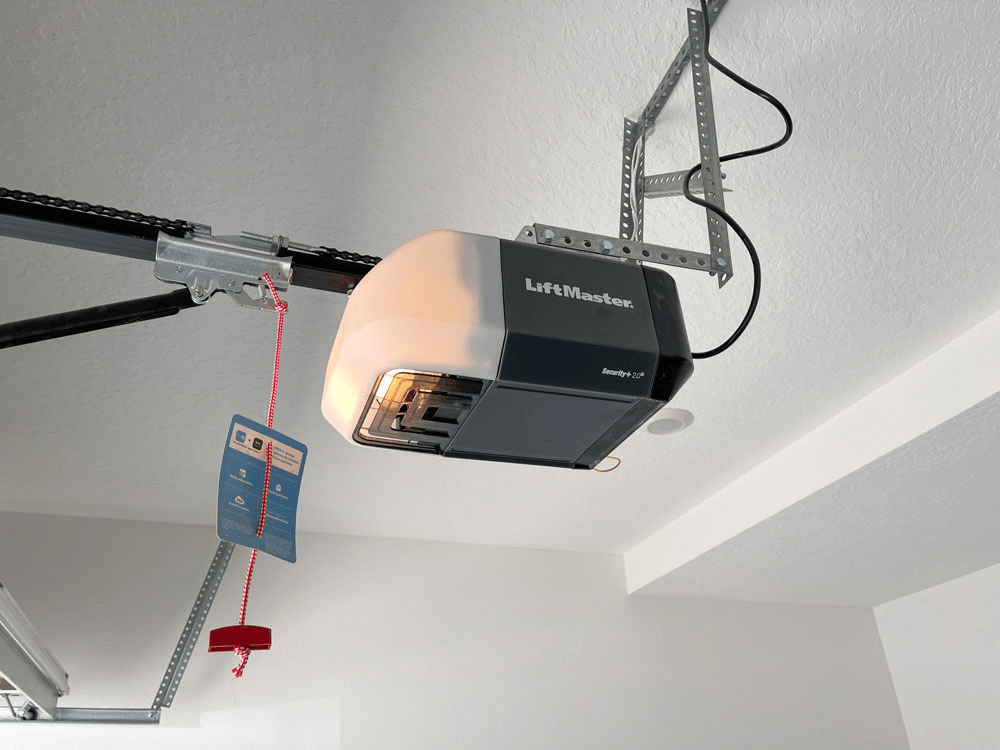
The Motor Unit
This is the heart of the system. It powers the opening and closing of the door, typically mounted to the ceiling. The motor unit connects to the rail and trolley assembly.
The Rail and Trolley
The rail guides the trolley, which attaches to the garage door arm and moves it along the track to open or close the door.
Safety Sensors
Located near the floor on either side of the door, these sensors detect obstructions and prevent the door from closing on objects or people.
Control Systems
The remote controls, wall-mounted panel, and keypads allow you to operate the door wirelessly or manually.
Mounting Hardware
Brackets, bolts, and screws are used to secure all components firmly in place.
Step-By-Step Overview: What Do You Need To Install A Garage Door Opener?
Now that you know the tools and parts involved, here’s an overview of the installation process to understand what you’re getting into.
Step 1: Preparation and Measurement
- Clear the garage workspace.
- Measure the height and width of your garage door.
- Locate ceiling joists with a stud finder.
- Confirm the availability of a power outlet near the installation spot.
Step 2: Assemble the Rail and Trolley
- Attach the rail sections according to the manufacturer’s instructions.
- Connect the trolley to the rail.
- Ensure smooth movement along the track.
Step 3: Mount the Motor Unit
- Securely attach the motor unit to the ceiling joists using mounting brackets.
- Use a level to make sure the motor is properly aligned.
Step 4: Install Safety Sensors
- Mount the sensors on both sides of the door near the floor.
- Align the sensors so the indicator lights are steady, indicating they’re communicating properly.
Step 5: Attach the Door Bracket and Arm
- Secure the door bracket to the garage door.
- Connect the opener arm from the trolley to the door bracket.
Step 6: Connect the Control Systems
- Install the wall-mounted control panel near the door entrance.
- Program the remote controls and keypad.
- Connect any wiring following safety codes and the instruction manual.
Step 7: Test the System
- Plug in the opener.
- Test the remote and wall control for opening and closing.
- Adjust travel limits and force settings if needed.
Tips for a Successful Installation: What Do You Need To Install A Garage Door Opener Smoothly?
- Read the manufacturer’s manual thoroughly before starting.
- Double-check measurements to avoid misalignment.
- Don’t rush the wiring process—incorrect wiring can cause malfunction or safety hazards.
- Use a helper for lifting heavy components and aligning parts.
- Test safety sensors repeatedly to ensure reliable operation.
- Keep the workspace clean and organized to avoid losing small parts.
Common Mistakes to Avoid When Installing a Garage Door Opener
Knowing what do you need to install a garage door opener also means understanding common pitfalls:
- Installing the opener on drywall ceilings without proper joist support.
- Ignoring local electrical codes for wiring.
- Misaligning safety sensors.
- Over-tightening screws and bolts, which can strip threads.
- Neglecting to test emergency release mechanisms.
When Should You Consider Professional Installation?
While many homeowners successfully install garage door openers themselves, some situations call for a professional:
- You lack experience with electrical wiring.
- Your garage ceiling does not have accessible joists.
- Your garage door is unusually heavy or oversized.
- You want a smart opener system integrated with home automation.
- You prefer a warranty that requires professional installation.
Conclusion: What Do You Need To Install A Garage Door Opener? Final Thoughts
Installing a garage door opener is a manageable DIY project if you’re prepared with the right tools, parts, and knowledge. Knowing what do you need to install a garage door opener includes having the opener kit, essential hand and power tools, safety gear, and an understanding of electrical needs.
By following the steps carefully and avoiding common mistakes, you can enjoy the convenience of an automated garage door. If you’re unsure or want added peace of mind, professional installation is always a reliable choice.


Leave a Reply