Introduction
Is your new Chamberlain remote sitting unused because you can’t get it to talk to your garage door opener? You are not alone. Many homeowners struggle with the initial setup of universal remotes, fearing they might break something or press the wrong button. If you are wondering how to program a Chamberlain garage door opener 953CD, this guide is designed specifically for you. We will walk you through the process safely, ensuring your garage is secure and accessible in just a few minutes.
Understanding Your Chamberlain 953CD Remote
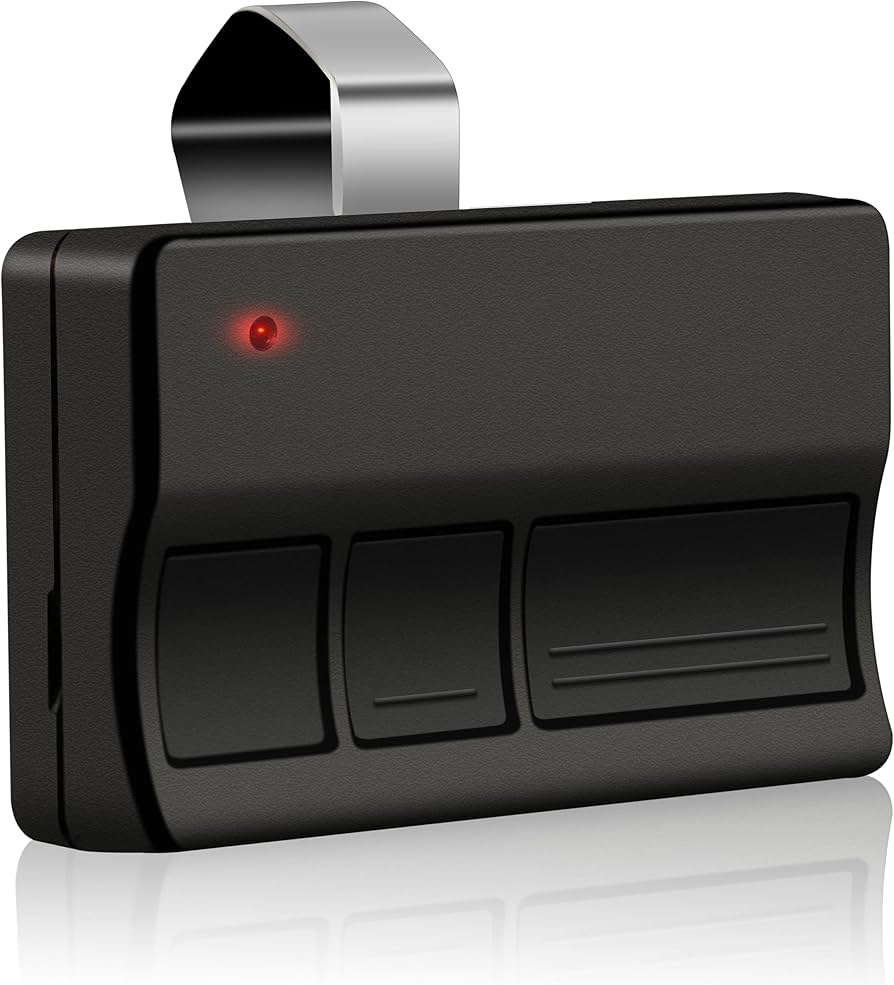
Before diving into the buttons, it helps to understand what you are holding. The Chamberlain 953CD is a versatile, three-button universal remote control. It is compatible with most Chamberlain, LiftMaster, and Craftsman garage door openers manufactured after 1993.
This remote utilizes Security+ 2.0 technology, which uses rolling codes to prevent code grabbing and hacking. This means every time you press the button, a new code is sent to the opener. While this enhances security, it also means the programming process requires precise timing and interaction with the “Learn” button on your motor unit.
Key Features of the 953CD
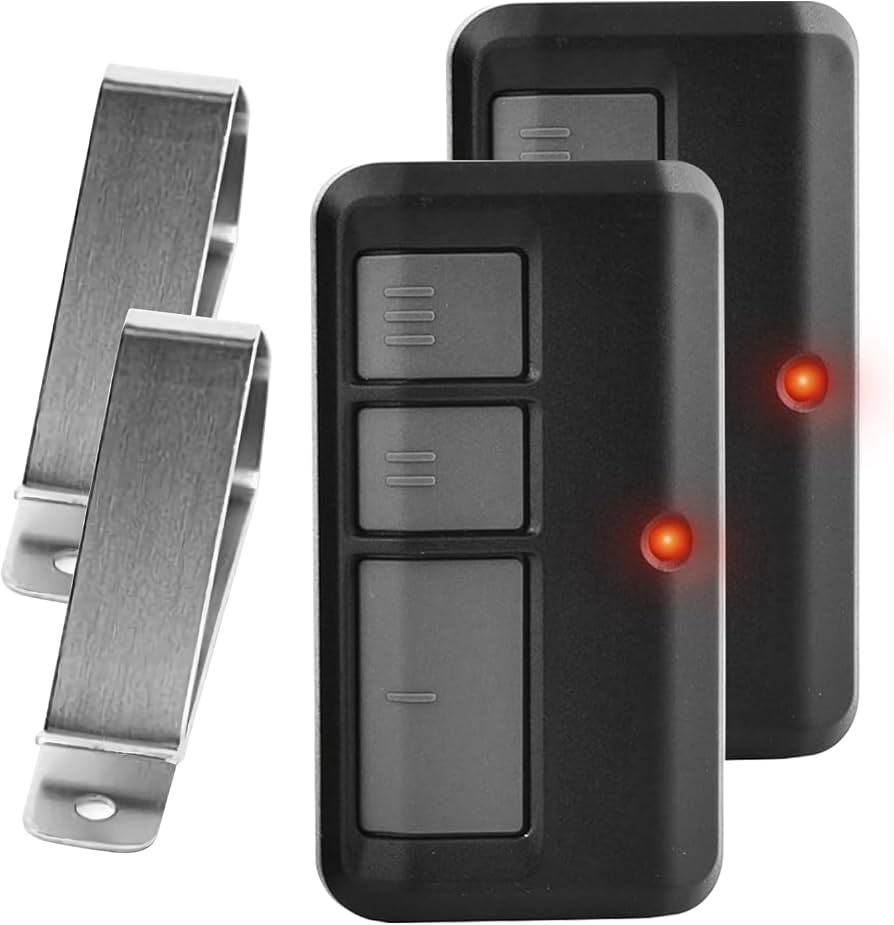
- Three Buttons: Allows control of up to three different garage doors or gate operators.
- Visor Clip Included: Makes it easy to keep in your car.
- Battery Operated: Uses a standard CR2032 lithium battery (usually included).
- Universal Compatibility: Works with nearly all major brands using similar frequency bands (315 MHz or 390 MHz).
Preparation: What You Need Before Starting
Successful programming relies on preparation. Rushing this process often leads to frustration. Ensure you have the following ready before you begin:
- A Stable Ladder: You will need safe access to the garage door opener motor unit mounted on the ceiling.
- The 953CD Remote: Ensure the battery is properly inserted. The positive side (+) should face up.
- Clear Line of Sight: Stand within 10–15 feet of the motor unit during programming.
- Patience: The “Learn” button window is short. Have your finger ready.
Safety Note: Always ensure the garage door area is clear of people and pets before testing the remote. Never attempt to adjust the springs or cables of the garage door itself; leave that to professionals.
Step-by-Step: How to Program a Chamberlain Garage Door Opener 953CD
There are two primary methods to program this remote. Method 1 is the standard procedure for most modern openers. Method 2 is used if your opener has an older style of learn button or if Method 1 fails.
Method 1: The Standard “Learn Button” Procedure
This is the most common method for Chamberlain openers equipped with a colored “Learn” button (usually yellow, purple, orange, or red).
Step 1: Locate the Learn Button Climb your ladder and look at the back or side of the motor unit. You will see a small square button, often labeled “Learn” or accompanied by an LED light. The color of the button indicates the frequency type, but the programming process is generally the same.
Step 2: Clear Old Codes (Optional but Recommended) If this is a new remote for an existing system, you can skip this. However, if you are reprogramming due to errors, press and hold the “Learn” button for about 6–10 seconds until the indicator light goes out. This clears all previously programmed remotes. Note: You will need to reprogram ALL your existing remotes if you do this.
Step 3: Initiate Programming Mode Press and release the “Learn” button once. The indicator LED next to the button will turn on (or start blinking). You now have 30 seconds to complete the next step.
Step 4: Sync the Remote Within those 30 seconds, go to your Chamberlain 953CD remote. Press and hold the button you wish to use (e.g., the large bottom button) for 3 seconds. Release the button.
Step 5: Confirm Success Watch the motor unit. The LED light should blink or turn off, indicating the code has been accepted. Test the remote by pressing the button again. The garage door should activate.
Method 2: The “DIP Switch” Method (Legacy Models)
If your garage door opener is very old (pre-1993) and does not have a “Learn” button, it likely uses DIP switches. The 953CD is compatible with these, but the process differs.
- Open the light cover on your motor unit to reveal a row of tiny switches (DIP switches).
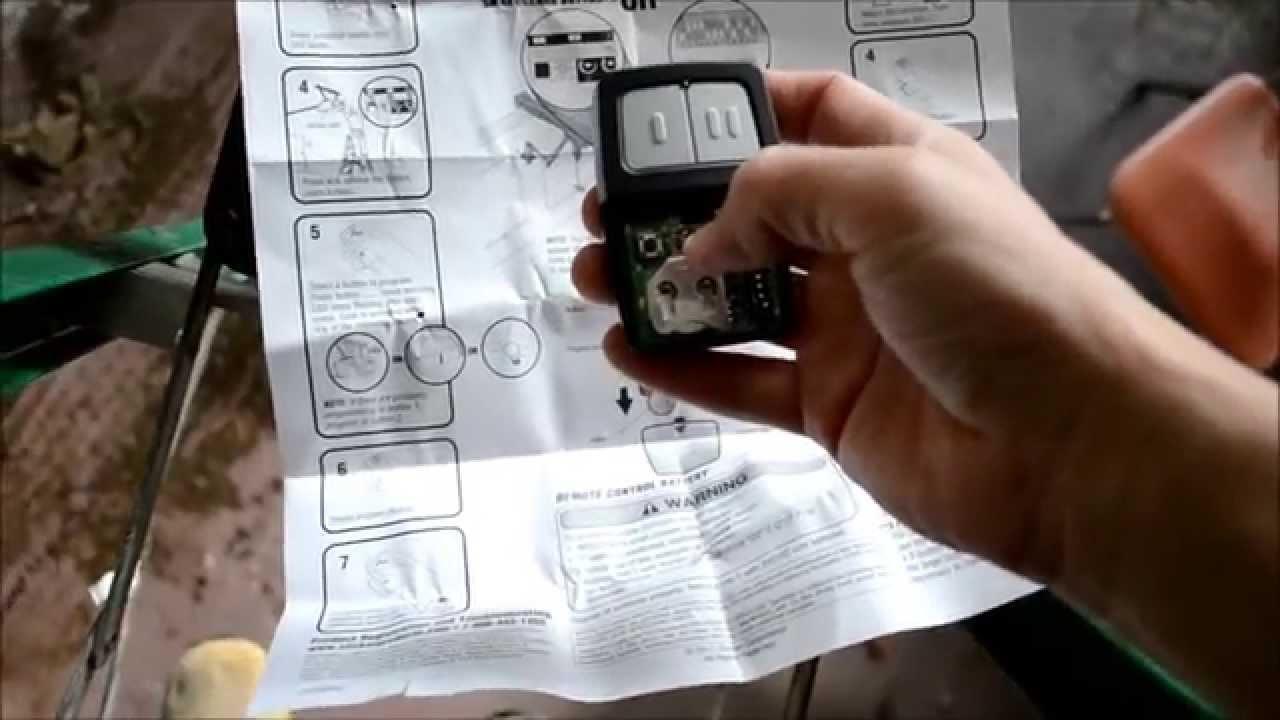
- Open the battery compartment of your 953CD remote. You will see a matching set of switches.
- Match the position of the switches in the remote to exactly match the positions in the motor unit.
- Close both covers and test the remote.
Note: Most US homes built after 1993 use the rolling code system (Method 1). Method 2 is rarely needed today.
Troubleshooting Common Programming Issues
Even with careful following, things can go wrong. Here are the most common issues and how to fix them.
| Issue | Possible Cause | Solution |
|---|---|---|
| LED doesn’t light up | Dead battery or poor contact | Replace the CR2032 battery. Ensure it is seated correctly. |
| Light blinks but door doesn’t move | Interference or range issue | Move closer to the motor unit. Check for LED bulbs causing interference. |
| “Learn” button unresponsive | Opener locked or malfunctioning | Check if the lock feature is enabled on your wall console. Reset the opener by unplugging it for 1 minute. |
| Remote works intermittently | Weak signal or obstruction | Reprogram the remote. Ensure no metal objects are blocking the antenna wire on the motor. |
The LED Light Bulb Interference Problem
A surprisingly common issue in modern smart homes is LED lighting. Some LED bulbs emit electromagnetic interference that disrupts the radio frequency of garage door openers. If your remote fails to work after programming, try turning off any LED lights in the garage opener unit and test again. For more information on radio frequency interference, you can refer to general guidelines on electromagnetic compatibility.
Best Practices for Maintaining Your Remote
Once you have successfully learned how to program a Chamberlain garage door opener 953CD, maintaining its performance is key.
- Battery Replacement: Change the battery annually, even if it seems fine. A weak battery causes inconsistent signals.
- Avoid Moisture: Although the 953CD is durable, keep it away from direct rain or high humidity areas in your car.
- Regular Testing: Test your remote once a month to ensure the rolling code synchronization remains active.
Why Choose the Chamberlain 953CD?
If you are still on the fence about this specific model, consider its advantages over generic alternatives.
- Reliability: Chamberlain is the manufacturer of the original equipment for many brands, ensuring native compatibility.
- Security: The rolling code technology prevents thieves from using “code grabbers” to open your garage.
- Ease of Use: The three-button layout is intuitive, allowing family members to easily distinguish between different doors.
FAQ Section
Q1: Can I program the 953CD to work with a LiftMaster opener?
A: Yes. LiftMaster is a sister brand to Chamberlain, and they share the same internal technology. The programming steps for LiftMaster openers are identical to those for Chamberlain units.
Q2: How do I know if my battery is dead?
A: If you press the button and the small LED light on the remote does not flash, the battery is likely dead or installed incorrectly. Replace it with a fresh CR2032 lithium battery.
Q3: Can I program multiple 953CD remotes to one opener?
A: Absolutely. Most Chamberlain openers can store up to 50–100 unique remote codes. Simply repeat the programming steps for each additional remote.
Q4: What if I lost my original remote? Can I still program a new one?
A: Yes. As long as you have access to the “Learn” button on the motor unit inside your garage, you can program any new compatible remote. You do not need the old remote to add a new one.
Q5: Does the 953CD work with Wi-Fi enabled openers (MyQ)?
A: Yes. The 953CD operates on radio frequency (RF), which is independent of the Wi-Fi connection. It will work seamlessly alongside MyQ-enabled systems.
Conclusion
Learning how to program a Chamberlain garage door opener 953CD is a straightforward task that saves you the cost of calling a technician. By following the steps outlined above—locating the Learn button, acting within the 30-second window, and troubleshooting potential interference—you can ensure your garage remains secure and accessible.
Remember, the key to success is patience and proper battery installation. If you found this guide helpful, please share it with friends or family who might be struggling with their own garage door remotes. A secure garage starts with a properly programmed remote!
Leave a Reply