Introduction
Is your new remote control refusing to open your garage? Or perhaps you’ve just installed a fresh Liftmaster unit and feel overwhelmed by the blinking lights and buttons? You are not alone. Thousands of homeowners face this exact frustration every year when trying to sync their devices. Knowing how to program a Liftmaster professional garage door opener correctly is essential for both convenience and home security. In this guide, we will walk you through the process with clarity, ensuring your system works perfectly the first time.
Understanding Your Liftmaster Model
Before pressing any buttons, it is crucial to identify which specific model you own. Liftmaster produces several series, including the 8500, 8750, and the newer MyQ-enabled smart openers. While the core programming logic remains similar, the location of the “Learn” button can vary.
Most modern Liftmaster professional openers feature a colored Learn button located on the back or side of the motor unit. The color indicates the frequency and technology:
- Yellow: Security+ 2.0 (Rolling code)
- Purple: Security+ (Rolling code)
- Red/Orange: Older DIP switch models (Fixed code)
Identifying this color helps you determine if you need to clear old codes before starting. For a deeper technical understanding of rolling code technology, you can refer to Wikipedia’s entry on Rolling Codes, which explains how these systems prevent signal interception.
Step-by-Step: Programming a Standard Remote Control
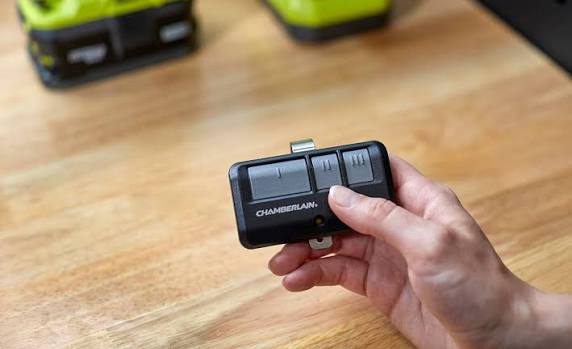
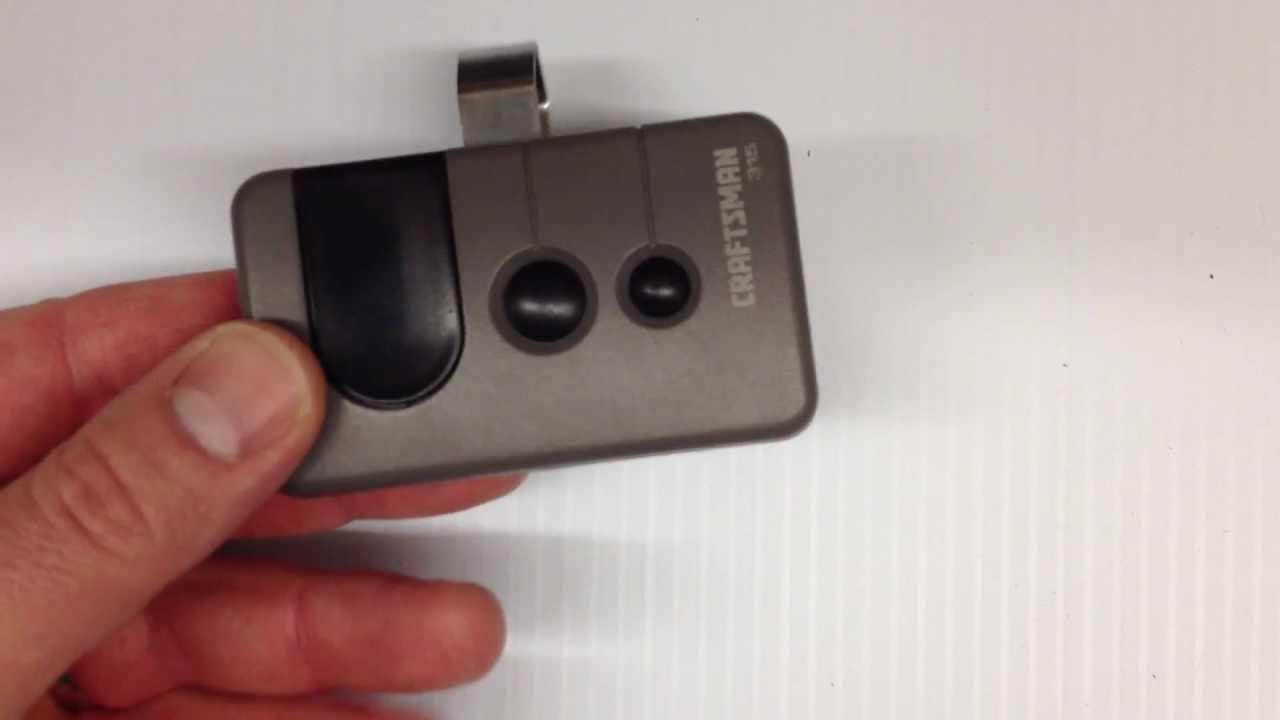
This is the most common task for homeowners. Whether you have a single-button clicker or a multi-function visor clip, the process is straightforward.
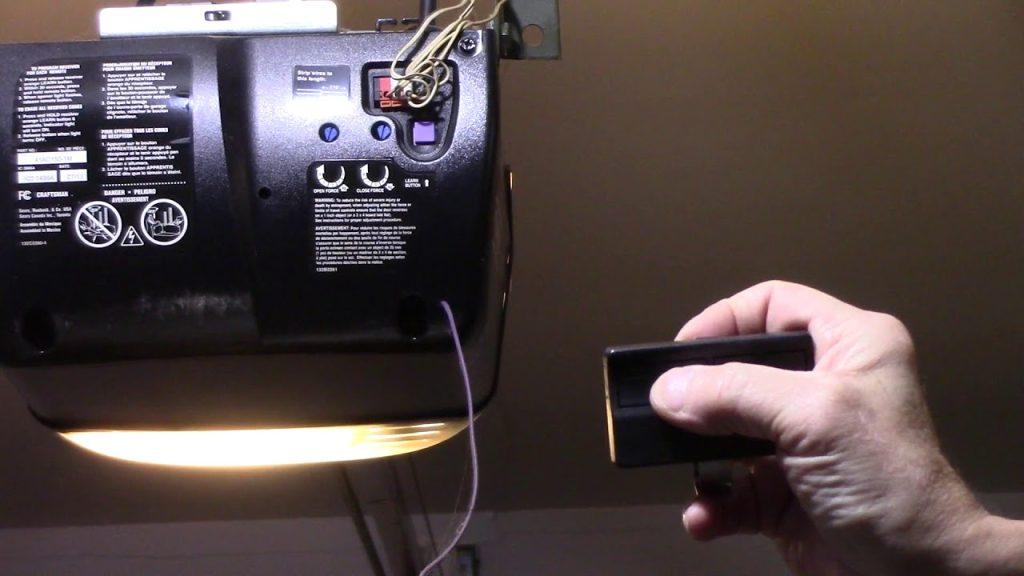
Step 1: Locate the Learn Button
Climb a sturdy ladder to access the motor unit hanging from your garage ceiling. Look for the rectangular Learn button. It is usually situated near the antenna wire. Note: Do not press it yet.
Step 2: Clear Previous Codes (If Necessary)
If you are replacing a lost remote or suspect interference, hold down the Learn button for about 6–10 seconds until the indicator light turns off. This erases all previously paired remotes. Warning: You will need to reprogram all existing remotes after doing this.
Step 3: Initiate Programming Mode
Press and release the Learn button once. The indicator LED will begin to blink or stay solid, depending on the model. You typically have 30 seconds to complete the next step.
Step 4: Sync the Remote
Within those 30 seconds, press and hold the button on your remote that you wish to use. Keep holding it until the garage door opener’s lights flash or you hear two clicks. This confirms the code has been accepted.
Step 5: Test the Connection
Press the remote button again. The door should activate immediately. If it does not, repeat the process, ensuring you are within range (usually 10–15 feet) during programming.
How to Program a Wireless Keypad
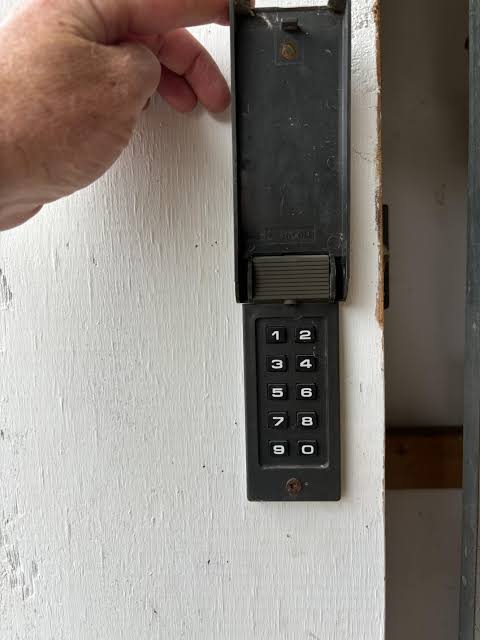
Keypads offer excellent security for guests or family members who do not carry remotes. Programming a keypad requires an extra step: setting a PIN.
- Enter Programming Mode: Press the Learn button on the motor unit. The LED will illuminate.
- Input Your PIN: On the wireless keypad, enter your desired 4-digit PIN.
- Confirm the Code: Immediately press the “Enter” or “Send” button on the keypad.
- Verification: The motor unit’s light will blink or turn off, signaling success. Test the keypad by entering the PIN followed by Enter.
Pro Tip: Choose a PIN that is easy for you to remember but difficult for others to guess. Avoid birthdays or sequential numbers like 1234.
Integrating with MyQ Smart Technology
Modern Liftmaster professional openers often come with Wi-Fi capabilities via the MyQ app. This allows you to control your garage door from anywhere in the world.
Setting Up the MyQ Hub
- Download the MyQ App from the Apple App Store or Google Play Store.
- Create an account or log in.
- Ensure your garage door opener is plugged in and connected to power.
- Follow the in-app instructions to connect the MyQ hub to your home Wi-Fi network. You will need your 2.4GHz Wi-Fi password, as most smart home devices do not support 5GHz bands.
Benefits of Smart Integration
- Remote Access: Open or close the door from your smartphone.
- Activity Alerts: Receive notifications when the door is opened or closed.
- Guest Access: Grant temporary access to delivery services or neighbors without sharing physical keys.
Troubleshooting Common Programming Issues
Even with careful following of instructions, things can go wrong. Here are the most frequent issues and their solutions.
| Issue | Possible Cause | Solution |
|---|---|---|
| Remote Not Responding | Dead battery | Replace the CR2032 or AA battery in the remote. |
| Light Blinks But No Action | Interference | Move closer to the motor unit; avoid metal obstructions. |
| Keypad Fails to Sync | Wrong PIN entry | Ensure you press “Enter” immediately after typing the PIN. |
| Door Reverses Immediately | Sensor Misalignment | Check that the safety eyes at the bottom of the tracks are aligned and clean. |
Dealing with Interference
LED light bulbs in your garage can sometimes emit frequencies that interfere with garage door signals. If you recently switched to LED bulbs and started experiencing issues, try turning them off while programming. If the problem persists, consider using shielded LED bulbs designed for garage door openers.
Safety First: Essential Precautions
Programming your garage door opener involves working near heavy machinery. Always prioritize safety.
- Disconnect Power: If you are installing new wiring or sensors, unplug the unit first.
- Keep Clear: Never stand under the door while testing.
- Check Sensors: Ensure the safety reversal sensors are functioning. Place an object in the door’s path; it should reverse automatically upon contact.
According to the Consumer Product Safety Commission (CPSC), garage doors are the largest moving object in most homes. Proper maintenance and programming ensure these safety features remain active.
FAQ Section
1. How long does the programming mode last?
On most Liftmaster professional models, the programming window lasts for 30 seconds after pressing the Learn button. If you do not press the remote button within this timeframe, the mode expires, and you must start over.
2. Can I program multiple remotes to one opener?
Yes. Liftmaster openers can store multiple unique codes. You can program up to 8–10 remotes and keypads, depending on the specific model. Simply repeat the programming steps for each additional device.
3. What should I do if I lost my only remote?
If you have no working remotes, you cannot enter programming mode using the remote method. However, you can still use the Learn button on the motor unit to pair a new remote. If you have a wireless keypad, you may also be able to use it to initiate pairing for a new remote, depending on the model’s firmware.
4. Why is my garage door opener blinking red?
A blinking red light often indicates a problem with the safety sensors. Check if the lenses are dirty or if something is blocking the beam between the two sensors. Align them so that both indicator lights are solid (usually green or amber).
5. Is it safe to share my MyQ login credentials?
No. Never share your MyQ username and password. Instead, use the app’s “Guest Access” feature to invite family members or service providers. This allows them to control the door without having full administrative access to your account settings.
Conclusion
Learning how to program a Liftmaster professional garage door opener is a manageable task that saves you time and money on service calls. By identifying your model, following the step-by-step syncing process, and leveraging smart features like MyQ, you can ensure seamless access to your home. Remember to keep your batteries fresh and your sensors aligned for optimal performance.
Did this guide help you get your garage door working again? Share this article with friends or family who might be struggling with their own openers. Let’s make home maintenance easier for everyone!
Leave a Reply