Have you just unboxed a shiny new garage door opener, only to realize that syncing the remote feels like learning a completely new language? You are definitely not alone in this frustrating experience. Learning how to program a new Chamberlain garage door opener is actually much easier than you think, and we are here to walk you through every single step so you can enjoy the convenience of hands-free entry.
According to the International Door Association (IDA), the garage door serves as the primary entrance for over 70% of American homeowners. A properly programmed opener is not just about daily convenience; it is a critical component of your home’s overall security. When you understand the basic mechanics behind your garage door opener’s radio frequency, syncing your devices becomes an absolute breeze. Let us dive right into the exact steps to get your system running smoothly.
What Tools Do You Need to Program a Chamberlain Opener?
Before we press any buttons, let us gather the essentials. You do not need a contractor’s toolkit or specialized equipment for this job.
- Your new Chamberlain garage door opener (already installed and wired).
- The Chamberlain remote control(s) or external wireless keypad.
- A sturdy step ladder to safely reach the motor unit hanging from your ceiling.
- Fresh batteries (usually CR2032 coin cells for remotes).
Pro Tip: Always ensure your remote has fresh batteries before starting. A weak battery is the number one cause of pairing failures and can make a perfectly good opener seem broken.
Step-by-Step: How to Program a New Chamberlain Garage Door Opener Remote
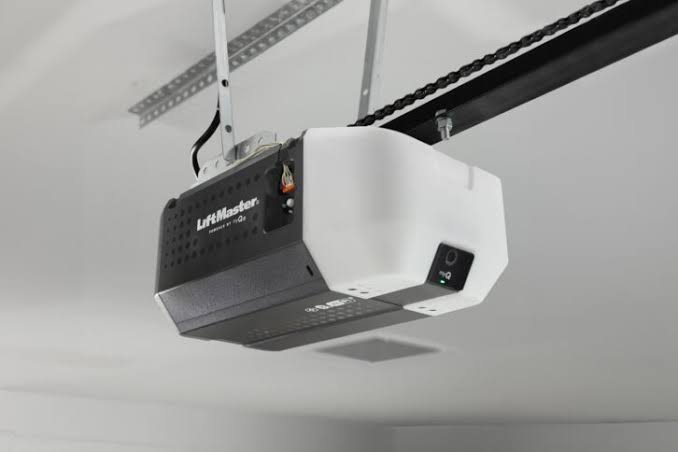
Chamberlain offers a few different models, but the “Learn” button on the motor unit is your best friend. Here is the universal method for modern Chamberlain openers (manufactured after 1997) featuring a yellow, purple, red, or green “Learn” button.
- Locate the Learn Button: Climb your step ladder and find the main motor unit. Look for a large “Learn” or “Home” button on the back or side panel.
- Clear the Memory (Optional but Recommended): Press and hold the Learn button for about 6 seconds until the small LED indicator light next to it turns off. This wipes all old remotes from the memory, ensuring a clean slate.
- Initiate Pairing Mode: Press the Learn button once and release it immediately. The LED indicator will start blinking, indicating it is actively listening for a signal. You have exactly 30 seconds to complete the next step.
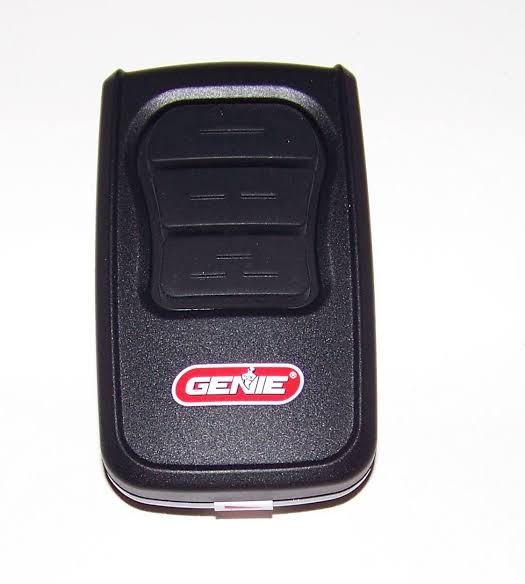
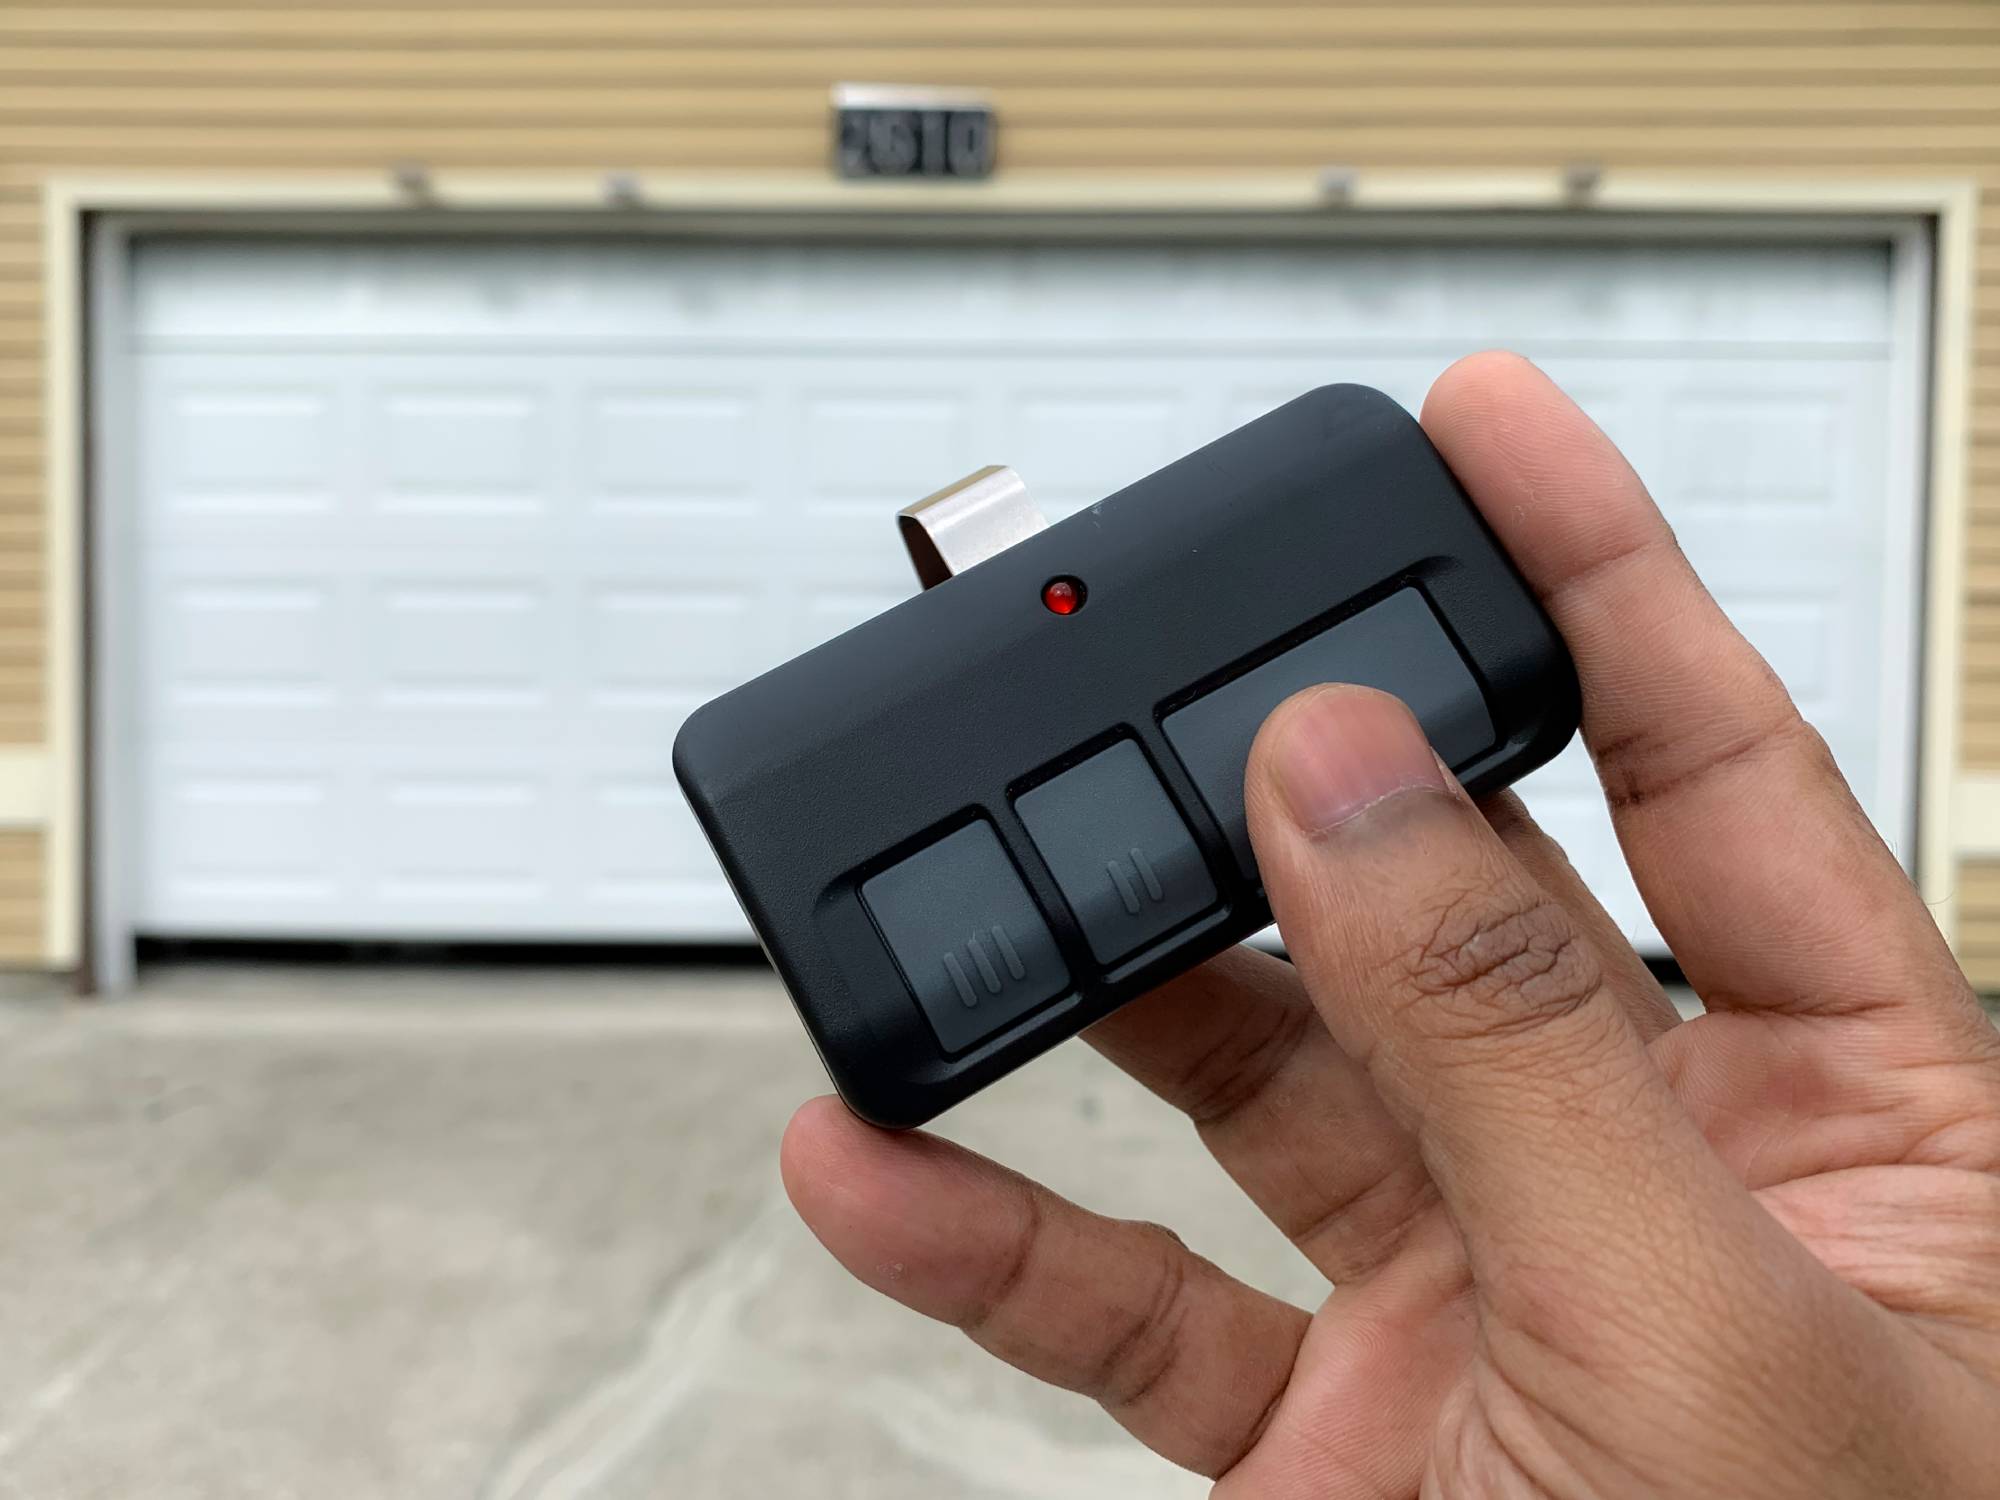
- Press the Remote Button: Go to your car or stand inside the garage. Press and hold the specific button on your remote that you want to use.
- Watch the Motor Lights: Keep holding the remote button until you see the garage door opener’s overhead lights flash, or hear a distinct mechanical click. This confirms the rolling security code has been successfully transmitted.
- Test the Connection: Press the remote button once normally. The door should activate immediately.
How to Program a Wireless External Keypad
Want to enter your garage without carrying a remote? Programming an external keypad mounted outside your garage is just as straightforward.
- Enter Your PIN: On the external keypad, type in your desired 4-digit Personal Identification Number (PIN).
- Activate the Learn Button: Go back to the motor unit inside the garage and press the “Learn” or “Smart” button once.
- Confirm the PIN: Quickly return to the external keypad and press and hold the “Enter” button.
- Wait for the Click: Hold the “Enter” button until the motor unit lights flash or you hear a click. Release the button immediately.
- Test the Keypad: Enter your 4-digit PIN again and press “Enter”. Your door should move smoothly.
Older vs. Newer Models: A Quick Comparison
Not all Chamberlain openers are created equal. Here is a quick breakdown of what to expect based on your model’s manufacturing era.
| Feature | Older Models (Pre-1997) | Newer myQ Models (2013-Present) |
|---|---|---|
| Learn Button Color | Red or Orange | Yellow, Purple, or Green |
| Pairing Process | Requires manual DIP switch matching | 1-Press “Learn” button sync |
| Smart Connectivity | None | Wi-Fi enabled via myQ smartphone app |
| Security Level | Fixed code (lower security) | Rolling code (high security) |
How to Sync Your Car’s Built-in HomeLink System
Many modern vehicles come with built-in remote controls (HomeLink) integrated into the rearview mirror or sun visor. To program your car to your new Chamberlain opener:
- Clear the Car’s Memory: Press and hold the two outer HomeLink buttons in your car for about 10 seconds until the indicator light flashes rapidly.
- Initiate Opener Pairing: Press the “Learn” button on your Chamberlain motor unit once.
- Transmit the Signal: Hold your handheld Chamberlain remote 1 to 3 inches away from the HomeLink buttons in your car. Press and hold the desired HomeLink button, and simultaneously press and hold the button on your handheld remote.
- Confirm the Sync: Keep holding both until the HomeLink indicator light flashes rapidly or stays solid. Your car is now synced!
Troubleshooting: Why Is My Chamberlain Remote Not Pairing?
Even with the best instructions, technology can occasionally be stubborn. If your remote refuses to sync, check these common culprits:
- LED Bulb Interference: According to Chamberlain’s official technical support, certain off-brand LED bulbs emit radio frequency interference that blocks the remote signal. Try unscrewing your light bulbs temporarily to see if the remote pairs successfully.
- Distance Issues: You must be within 3 to 5 feet of the motor unit when initially programming the remote. Do not try to pair it from the driveway.
- Misaligned Safety Sensors: Look at the small LED lights on the safety sensors near the floor. If they are blinking, the laser beam is blocked or misaligned. The opener will refuse to accept new remotes if the safety circuit is broken.
- Dead Batteries: We mentioned this earlier, but it bears repeating. Swap out the battery in your remote with a brand-new one.
Frequently Asked Questions (FAQ)
How do I reset my Chamberlain garage door opener? To reset the opener, locate the “Learn” button on the motor head. Press and hold it for 6 to 10 seconds until the LED light turns off. This clears all previously programmed remotes and keypads, allowing you to start fresh.
Can I program multiple remotes to one Chamberlain opener? Yes! Most modern Chamberlain openers can store up to 8 different remote controls and 1 wireless keypad. Simply repeat the 30-second pairing process for each additional remote you wish to add.
Why is the Learn button on my Chamberlain opener blinking continuously? A continuously blinking Learn button usually means the manual locking feature is engaged. Look for a physical lock button on your interior wall control panel and press it to disable the lock. If there is no lock button, it could indicate a misaligned safety sensor.
Do I need a specific Chamberlain remote for my opener? While universal remotes exist, it is highly recommended to use official Chamberlain or LiftMaster remotes. They guarantee perfect compatibility with the rolling code security technology, keeping your home safe from code-grabbing thieves.
How do I connect my Chamberlain opener to Wi-Fi? If you have a myQ-enabled opener, simply press and hold the yellow “Learn” button for 2-3 seconds until the Wi-Fi LED starts blinking. Then, open the myQ app on your smartphone, select “Add a Device,” and follow the on-screen prompts to connect it to your home network.
Conclusion
Mastering how to program a new Chamberlain garage door opener does not require an engineering degree or hours of frustration. By following these simple steps, utilizing the “Learn” button, and ensuring your batteries are fresh, you will have your garage syncing perfectly in just a few minutes. Enjoy the seamless, secure, and modern entry to your home!
Leave a Reply