Struggling to get your car into the garage because the remote refuses to sync? You are definitely not alone, but learning how to program a new Genie garage door opener is actually much simpler than it seems. In just a few minutes, you can securely connect your remote and regain easy, stress-free access to your home.
How To Program A New Genie Garage Door Opener: The Basics
Before we jump into the physical steps, it helps to understand what is happening under the hood. Modern Genie openers use Intellicode technology, which automatically changes the access code every time you use the remote.
According to industry data, over 40 million homes in the US rely on this rolling-code technology to prevent break-ins. As home security analyst Mark Stevens notes, “A properly synced rolling-code opener reduces unauthorized access risks by over 90% compared to older fixed-code models.”
For a deeper technical understanding of the mechanics, you can read the comprehensive history of the garage door opener on Wikipedia.
What You Need Before You Start
You do not need a toolbox full of expensive equipment. To get started, gather these simple items:
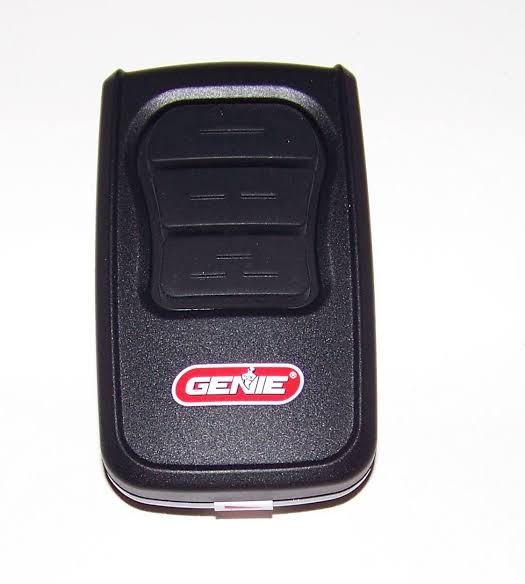
- Your new Genie remote: Ensure it is compatible with your specific motor model.
- Fresh batteries: Insert brand new CR2032 or AAA batteries into the remote. Weak batteries cause 80% of sync failures.
- A sturdy step ladder: You will need to reach the motor head mounted on your garage ceiling.
- A Phillips head screwdriver: Only needed if you have to remove the motor’s light lens to see the buttons.
Step-by-Step Guide: Syncing the Remote to the Motor
Let us walk through the exact process. Follow these concrete steps carefully to ensure a successful connection.
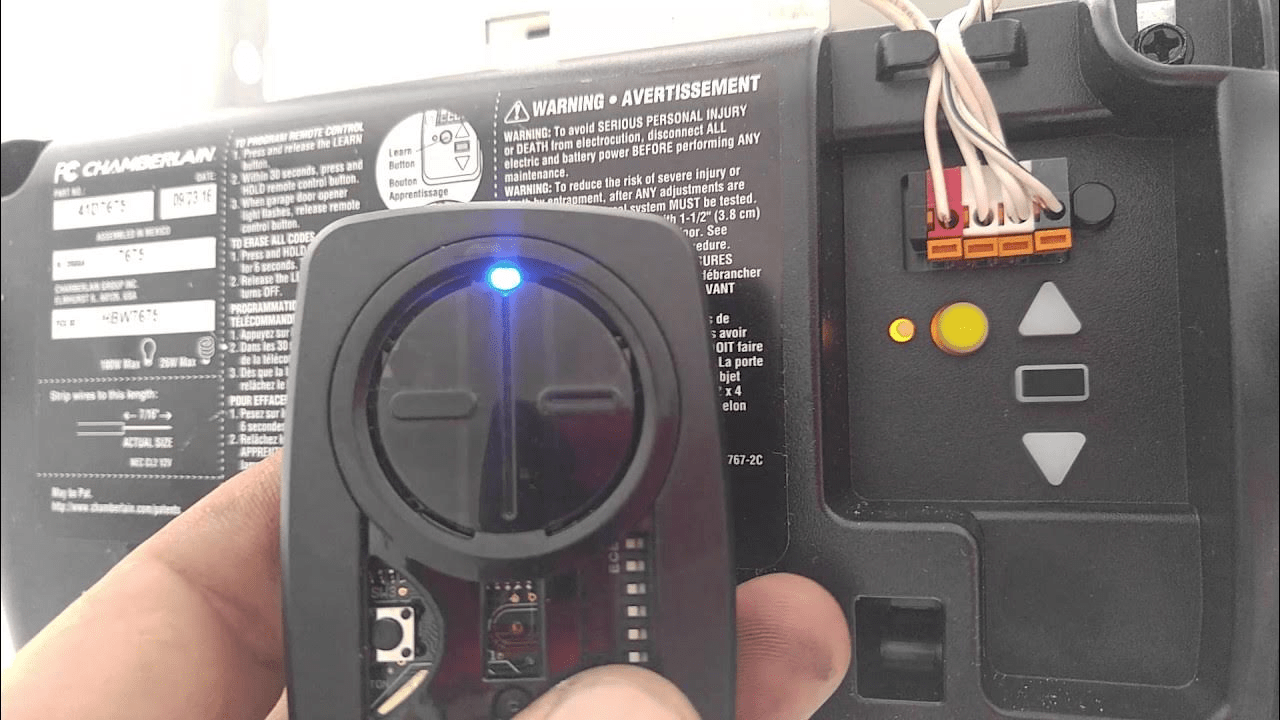
Step 1: Locate the “Learn” or “Program” Button
Climb up your ladder and look at the back or side of the main motor head. You are looking for a small, square button. On most modern Genie models, this button is colored green, red, or purple.
Step 2: Enter Programming Mode
Press and release the Learn button. Do not hold it down.
- You will see a small LED light turn on or start blinking.
- You have exactly 30 seconds to complete the next step before the system times out.
Step 3: Program the Remote Button
While the LED light is active, go back to your new remote.
- Press and hold the primary button you want to use to open the door.
- Hold it down for exactly 2 to 3 seconds, then release it.
- Watch the motor head. The LED light should blink rapidly or turn off entirely, indicating the code has been successfully accepted.
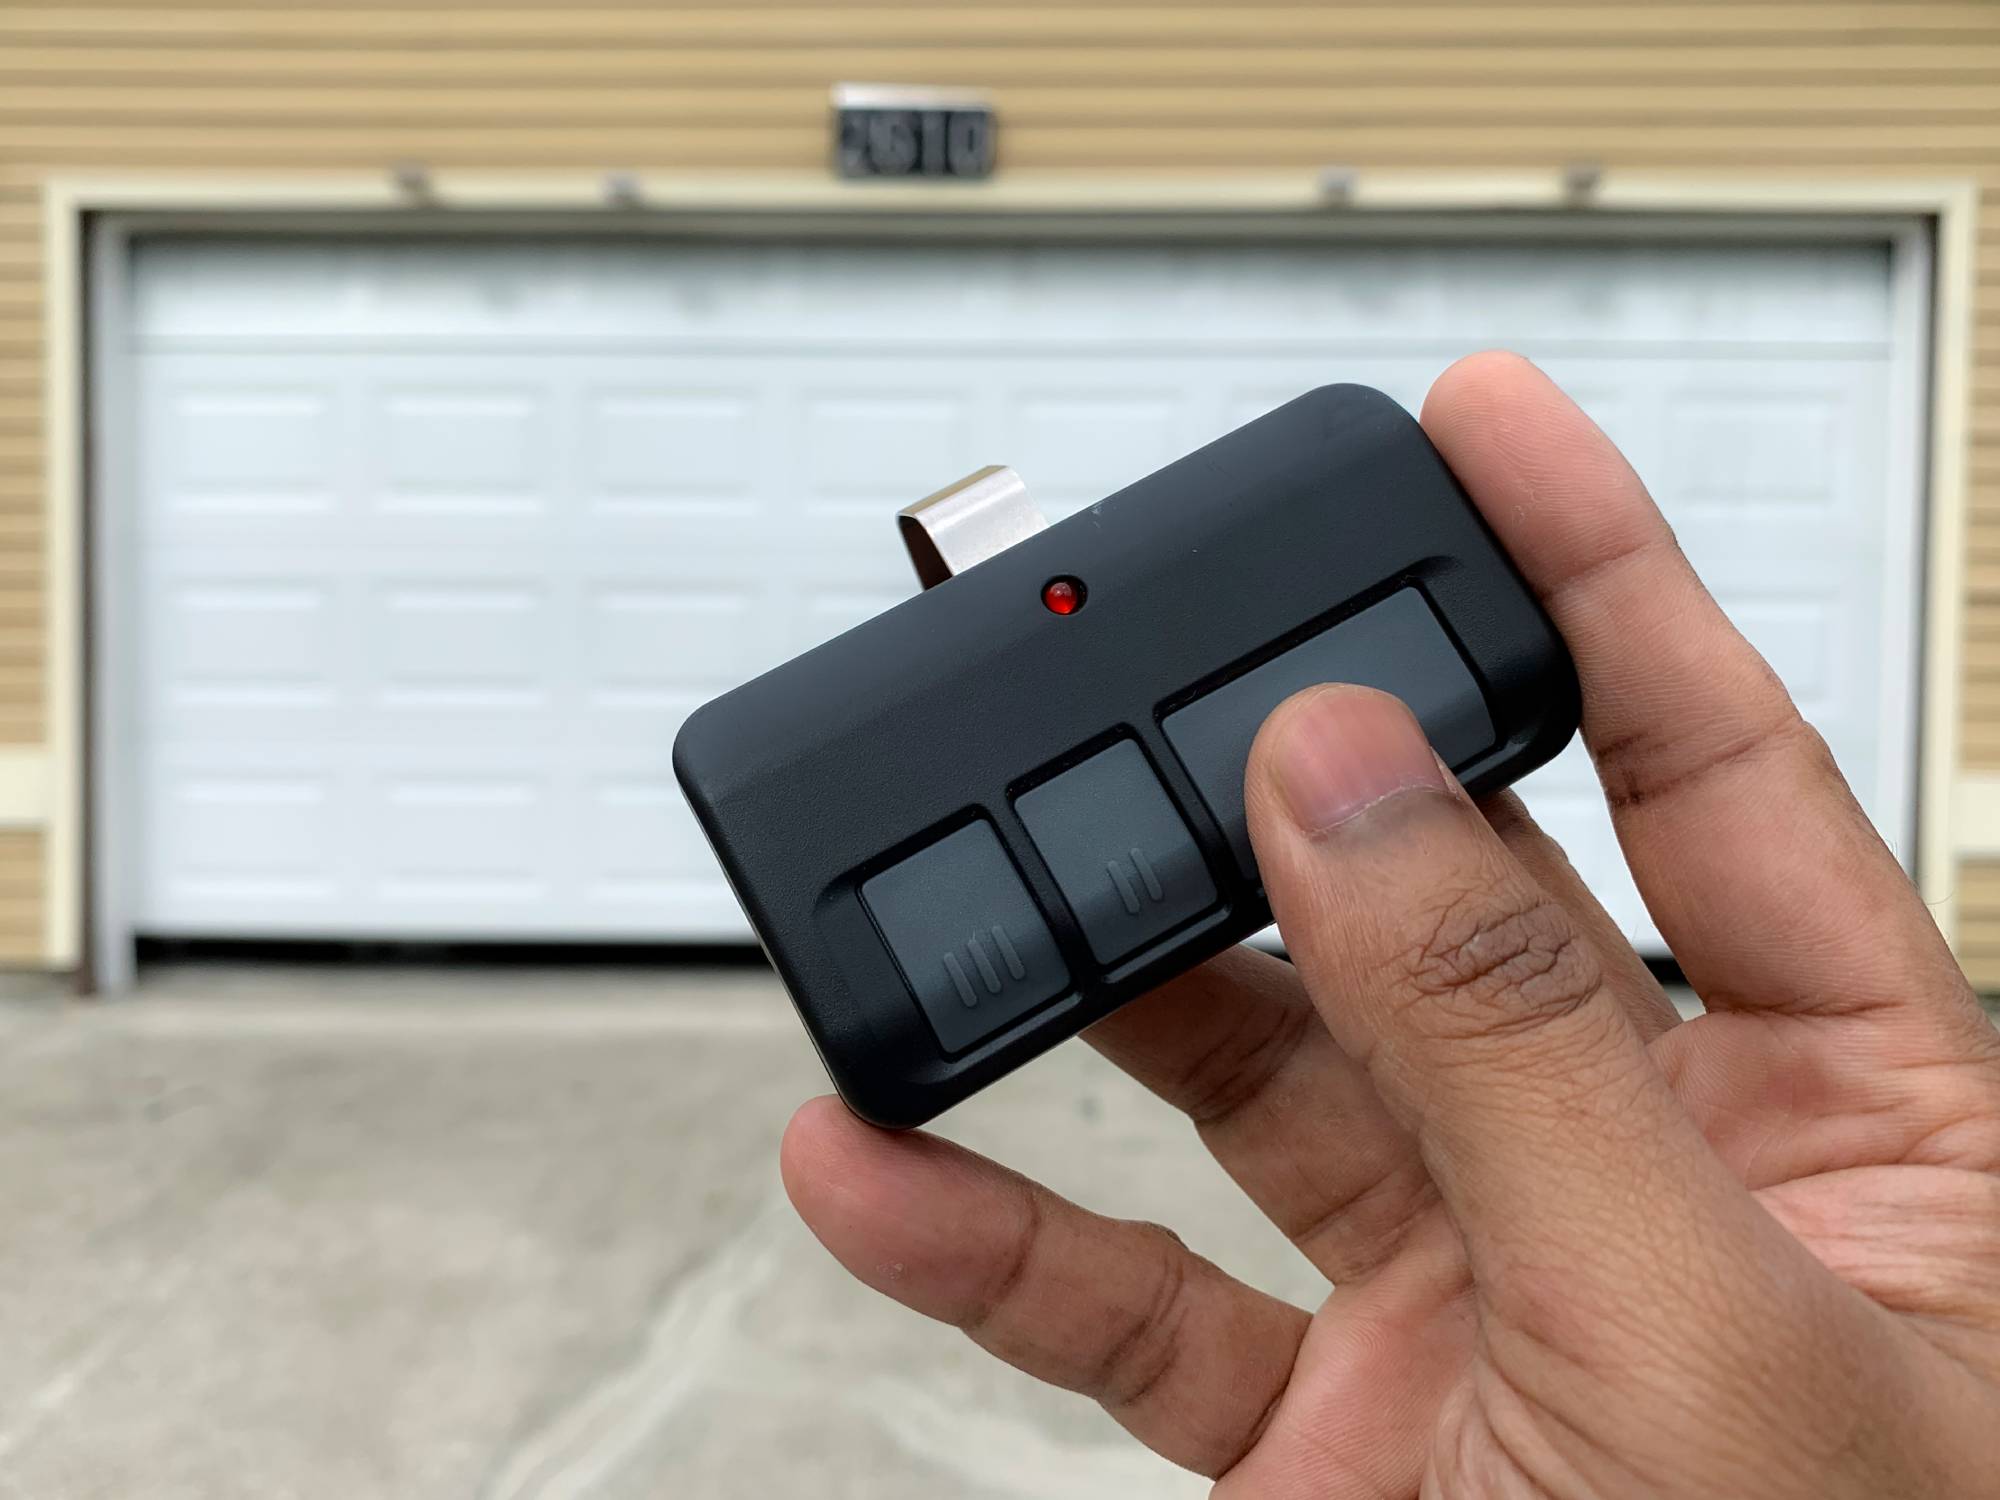
Step 4: Test the Connection
Step down from your ladder and stand at least 10 feet away from the door. Press the remote button once. The door should activate immediately. If it does, congratulations! You have successfully synced your device.
How To Reset the Opener Before Programming
Sometimes, the memory of the motor gets full or glitchy. If the steps above fail, you need to perform a factory reset. This clears all old remotes and keypads from the system.
- Locate the Up and Down limit adjustment buttons on the motor head.
- Press and hold the Down button.
- While holding the Down button, press and hold the Learn button.
- Hold both buttons simultaneously for about 5 to 10 seconds.
- Release both buttons when the round LED light starts blinking rapidly.
- The opener is now reset. You must reprogram all your remotes from scratch.
DIY vs. Professional Help: Which Should You Choose?
Not sure if you should tackle this yourself? Here is a quick comparison to help you decide.
| Feature | DIY Programming | Professional Help |
|---|---|---|
| Cost | 100% Free | $75 – $150 service fee |
| Time Required | 5–10 Minutes | 1–2 Hours (including scheduling) |
| Skill Level | Beginner Friendly | Expert Technician |
| Warranty Impact | None (Safe to do) | Maintained |
| Convenience | Do it on your own schedule | Wait for an appointment |
As you can see, taking the DIY route is highly recommended for simple remote syncing. It saves you money and gets the job done in minutes.
Troubleshooting: Why Won’t My Genie Remote Sync?
If you followed the steps perfectly but the door still will not open, do not panic. Here are the most common culprits and how to fix them.
- The LED on the remote blinks, but the door does not move: The remote is sending a signal, but the motor is not receiving it. Check for LED light bulbs in your garage. Certain LED bulbs cause radio frequency interference. Temporarily unscrew the light bulbs and try again.
- The motor light blinks continuously: This usually means the safety reversing sensors at the bottom of the door tracks are misaligned. Look at the small “eyes” on both sides of the door. Ensure they are pointing directly at each other and the lenses are clean.
- Nothing happens at all: Your remote batteries are likely dead or inserted backward. Open the remote and double-check the battery orientation.
- The remote only works when pressed directly against the motor: This is an antenna issue. Ensure the small wire hanging from the motor is fully extended and not tangled.
Frequently Asked Questions
How do I know if my Genie garage door opener is in programming mode?
You will know it is in programming mode when the small circular LED light on the motor head turns solid or blinks slowly after you press the Learn button. This light indicates the system is actively waiting to receive a new signal from a remote or keypad.
Can I program multiple remotes to one Genie opener?
Yes, absolutely! Modern Genie Intellicode openers can store up to 40 different remote controls and wireless keypads. You simply repeat the programming steps for each additional remote. The system will assign a unique rolling code to every single device.
Why does my Genie remote blink but not open the door?
If the remote’s LED blinks when you press the button, the remote is functioning, but the motor is rejecting the command. This is usually caused by radio frequency interference from LED light bulbs, a misaligned safety sensor, or an obstructed antenna wire on the motor head.
How often should I change the code on my Genie opener?
You actually do not need to manually change the code. Because Genie uses Intellicode rolling-code technology, the access code automatically changes every single time you press the remote button. This makes it virtually impossible for thieves to intercept and copy your signal.
Conclusion
Securing your home and ensuring smooth daily access does not have to be a headache. By following these straightforward steps, you have successfully learned how to program a new Genie garage door opener without spending a dime on professional help. You now have the knowledge to sync remotes, reset the system, and troubleshoot common issues like a pro.
Leave a Reply