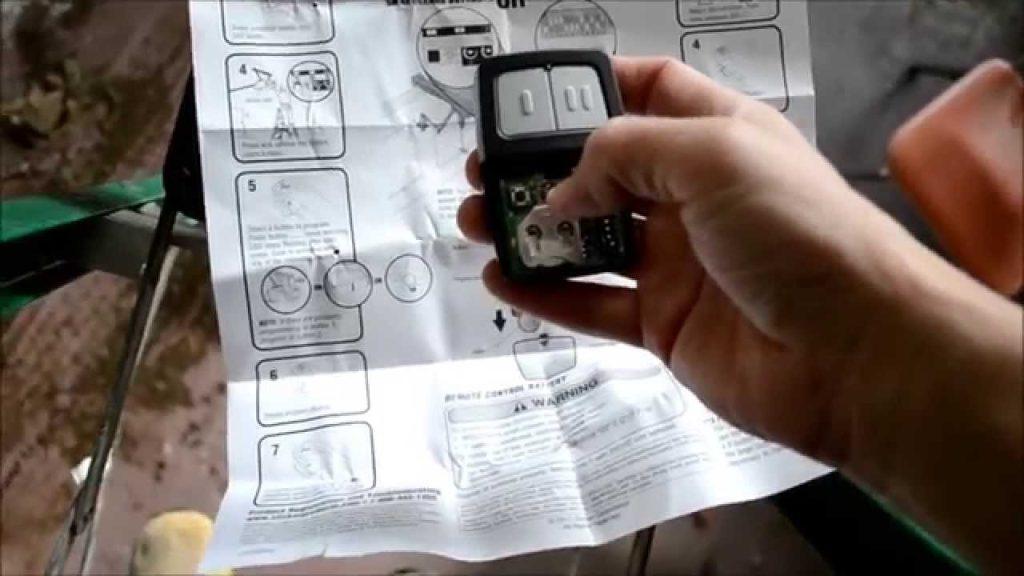
How To Program A Clicker Garage Door Opener? Garage door openers have become an indispensable part of our daily lives, providing convenience and security. Among the various options available, the Clicker Garage Door Opener stands out for its user-friendly features. In this guide, we will walk you through the process of programming a Clicker Garage Door Opener, ensuring that you can effortlessly operate your garage door with just a click.

Understanding the Clicker Garage Door Opener
Before we delve into the programming steps, let’s take a moment to understand the Clicker Garage Door Opener. This device is designed to simplify your life by allowing you to open and close your garage door with ease. It typically comes with a remote control that resembles a small clicker, hence the name.
How To Program A Clicker Garage Door Opener: Step by Step
Now, let’s get down to the nitty-gritty of programming your Clicker Garage Door Opener. Follow these steps, and you’ll be enjoying seamless garage access in no time.
1. Locate the Learn Button
The first step in programming your Clicker Garage Door Opener is to locate the “Learn” button on your garage door opener unit. This button is usually found on the back or side of the motor unit. Its location may vary depending on the brand and model of your garage door opener.
2. Press the Learn Button
Once you’ve located the Learn button, press it and release it. This action puts the garage door opener into programming mode, ready to learn the signals from your Clicker remote.
3. Choose a Button on Your Clicker Remote
Now, take your Clicker remote and choose a button that you want to use to control your garage door. Press and hold that button.
4. Wait for the Light
While holding down the selected button on your Clicker remote, wait for the indicator light on the garage door opener unit to flash. This indicates that the opener is ready to receive the programming signal.
5. Transmit the Signal
With the indicator light flashing, press and release the button on your Clicker remote. The light on the garage door opener should flash again, confirming that it has successfully learned the signal from your Clicker remote.
6. Test the Remote
To ensure that the programming was successful, test the remote by pressing the button you programmed. Your garage door should respond by opening or closing, depending on its current position.
Congratulations! You’ve successfully programmed your Clicker Garage Door Opener.
Troubleshooting Tips: How To Program A Clicker Garage Door Opener
While programming your Clicker Garage Door Opener is generally a straightforward process, issues may arise. Here are some troubleshooting tips to help you overcome common challenges:
1. Weak Battery
If your Clicker remote isn’t working, the first thing to check is the battery. A weak or dead battery can prevent the remote from sending the signal to the garage door opener. Replace the battery and try programming again.
2. Range Issues
Ensure that you are within range of the garage door opener when programming the Clicker remote. Being too far away can result in a weak signal, leading to unsuccessful programming.
3. Reprogramming
If, for any reason, you need to reprogram your Clicker Garage Door Opener, simply repeat the steps outlined above. This is particularly useful if you’ve got a new remote or if the existing programming has been erased.
Read too: Is There A Reset Button On Garage Door Openers and How to Use It Effectively: Unlocking Solutions
Conclusion
Programming a Clicker Garage Door Opener is a quick and simple process that can significantly enhance the functionality of your garage door system. By following the steps outlined in this guide, you’ll be able to enjoy the convenience of opening and closing your garage with just a click. Remember, understanding your garage door opener and its features is the key to a seamless programming experience. So, go ahead, program your Clicker Garage Door Opener, and unlock a new level of convenience in your daily life.


Leave a Reply