Over time, you might need to erase your garage door remote for various reasons, such as when you’re replacing an old remote, experiencing issues with your current setup, or simply ensuring your system’s security. Erasing a garage door remote is an essential step to maintain the functionality and security of your garage door system. This guide will walk you through the process of erasing your garage door remote, explaining why it’s important and how to do it effectively.
Why Erase Your Garage Door Remote?
Before we delve into the specifics of how to erase a garage door remote, let’s discuss why you might need to do this:
- Replacing a Remote: If your garage door remote is lost or damaged, erasing it from the system can prevent unauthorized access.
- Security Concerns: Erasing old remotes ensures that previous users or lost remotes cannot access your garage.
- Troubleshooting Issues: If your garage door opener is malfunctioning or not responding, erasing and reprogramming the remote can resolve these issues.
- System Updates: When updating your garage door system, you might need to erase old remotes to ensure compatibility with new devices.
Understanding the Basics of Garage Door Remotes
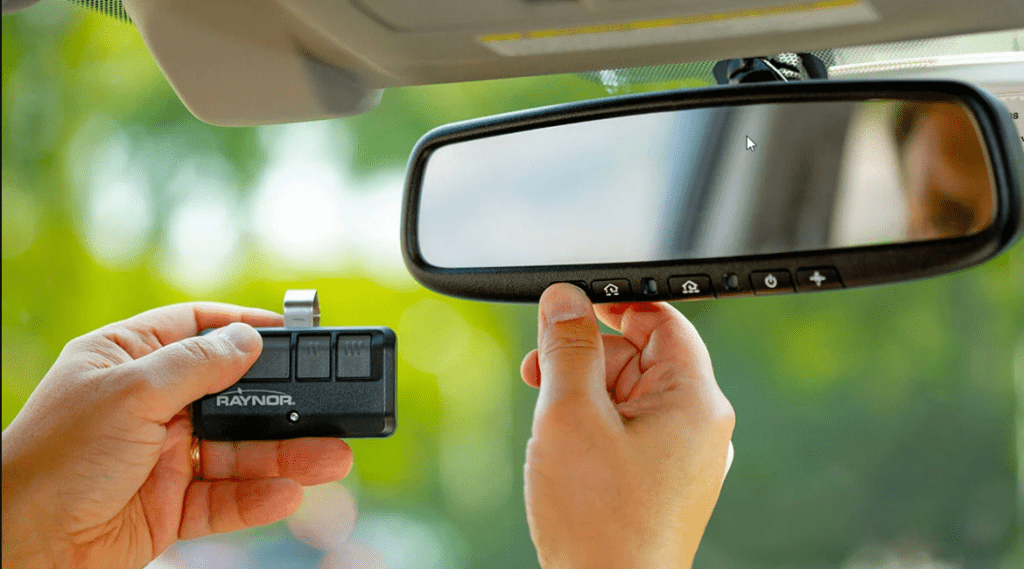
Garage door remotes operate using radio frequencies to communicate with the garage door opener. They are programmed to transmit a specific code that the opener recognizes. Erasing a remote removes its code from the opener’s memory, effectively disabling its ability to operate the door.
How to Erase a Garage Door Remote: Step-by-Step Instructions
Step 1: Identify Your Garage Door Opener Model
The process for erasing a garage door remote can vary depending on the manufacturer and model of your garage door opener. Identify your garage door opener’s make and model by checking the unit or referring to the user manual. Common brands include LiftMaster, Chamberlain, Genie, and Craftsman.
Step 2: Locate the Learn or Program Button
Most garage door openers have a “Learn” or “Program” button on the motor unit, which is usually located near the antenna or on the back of the unit. This button is used to erase or program remotes and keypads.
- LiftMaster/Chamberlain: Look for a colored button (often red, green, or purple) on the back of the motor unit.
- Genie: The button might be labeled as “Learn” and is typically found on the back or side of the motor.
- Craftsman: Similar to LiftMaster, the button is usually on the back and may be labeled as “Learn” or “Program.”
Step 3: Erase the Remote
To erase the remote, follow these general steps:
- Press the Learn Button: Press and hold the “Learn” or “Program” button on your garage door opener until the indicator light turns on and then off. This usually takes about 6-10 seconds. The light will often blink or turn off to indicate that all remote codes have been erased.
- Release the Button: Release the button once the light turns off. This action will erase all programmed remotes from the system.
- Test the Remote: Check to ensure that the remote no longer operates the garage door. If it still works, the erasure was not successful, and you may need to repeat the process.
Step 4: Reprogram the Remote (Optional)
If you are replacing a remote or adding a new one, you will need to reprogram the new remote after erasing the old one. Here’s how to do it:
- Press the Learn Button: On the garage door opener, press and hold the “Learn” button until the indicator light turns on.
- Program the Remote: Within 30 seconds, press and hold the button on the new remote that you want to program. The indicator light on the opener will blink and then turn off, indicating that the remote has been successfully programmed.
- Test the Remote: Test the new remote to ensure it operates the garage door as expected.
Troubleshooting Common Issues
Issue 1: The Remote Still Works After Erasure
If the remote continues to operate the garage door after erasure, ensure you followed the steps correctly:
- Verify the Learn Button Action: Ensure you pressed and held the “Learn” button long enough for the indicator light to turn off.
- Repeat the Process: Retry the erasure process to ensure all remote codes are cleared.
Issue 2: The Remote Is Not Programming
If you encounter problems when programming a new remote, check the following:
- Battery Level: Ensure the remote’s battery is fresh and properly installed.
- Timing: Follow the timing instructions carefully. You usually have about 30 seconds to program the remote after pressing the “Learn” button.
- Compatibility: Ensure that the new remote is compatible with your garage door opener.
Issue 3: Remote Not Responding
If the remote fails to respond after programming:
- Check Power Supply: Ensure the garage door opener is properly connected to the power supply.
- Inspect Wiring: Check for any loose or damaged wires in the opener unit.
- Consult the Manual: Refer to the user manual for troubleshooting specific to your garage door opener model.
Enhancing Garage Door Security
Regular Maintenance
Regular maintenance of your garage door system helps ensure its reliability and security. This includes checking the operation of your opener, testing remotes, and inspecting door components.
Update Remotes and Keypads
Periodically update or change your remotes and keypads, especially if you suspect they have been compromised. Erasing old remotes and reprogramming new ones helps maintain the security of your garage.
Consider Smart Garage Door Openers
For enhanced security and convenience, consider upgrading to a smart garage door opener. These systems offer remote access via smartphone apps, allowing you to monitor and control your garage door from anywhere.
Read too: No Power to Genie Garage Door Opener – Resolving the Issue with Ease: Troubleshooting Guide
Conclusion
Erasing your garage door remote is a crucial step in maintaining the security and functionality of your garage door system. By following the steps outlined in this guide, you can effectively erase old remotes and ensure that only authorized devices can operate your garage door. Whether you are troubleshooting issues or upgrading your system, this process will help you manage your garage door opener efficiently.
Remember to consult your garage door opener’s user manual for model-specific instructions and seek professional assistance if needed. With these tips, you can enjoy a secure and smoothly operating garage door system.
Leave a Reply