Is your Craftsman garage door opener failing to function properly? Discover the potential reasons behind why your Craftsman garage door opener won’t work and find practical solutions to resolve the issue. Explore this informative troubleshooting guide to regain control over your garage door’s functionality.
Understanding Why Your Craftsman Garage Door Opener Won’t Work
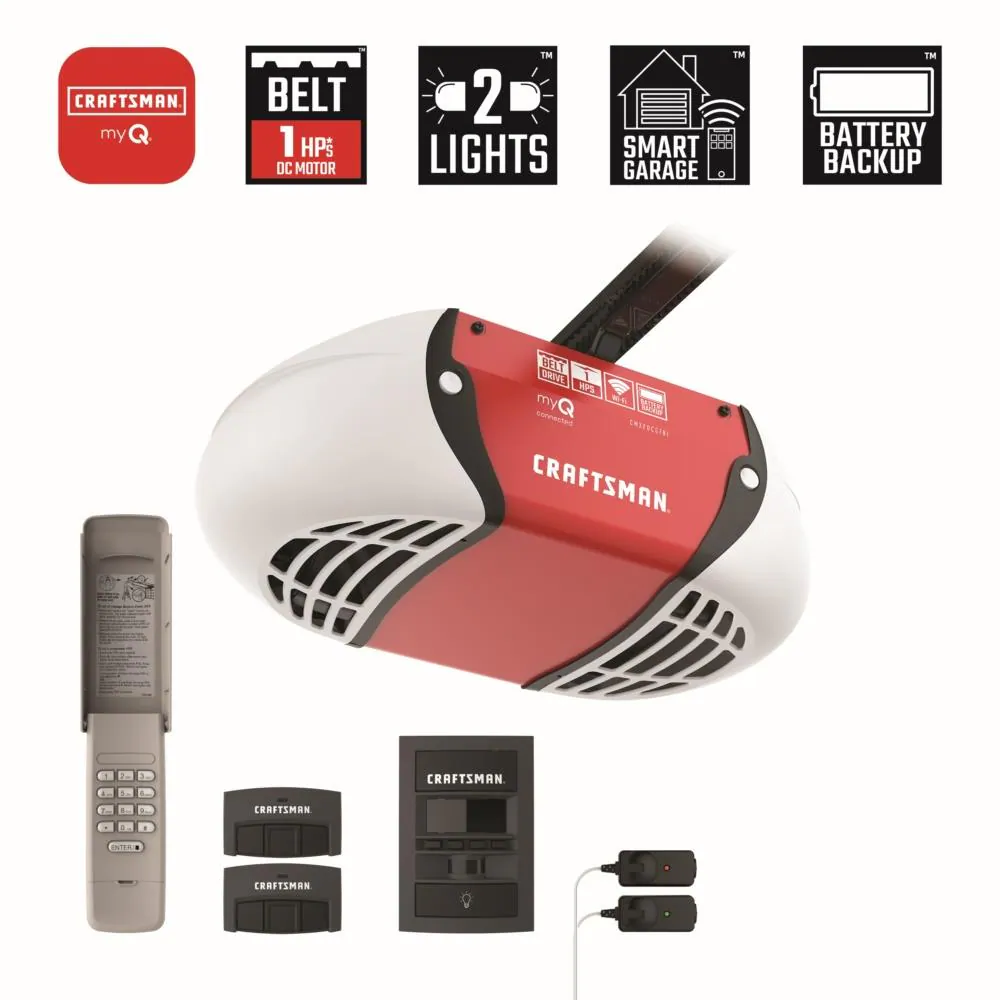
Craftsman garage door openers are renowned for their reliability and durability, but occasional malfunctions can occur. If you’re encountering problems with your Craftsman garage door opener, it’s essential to identify the root cause before implementing any repairs or adjustments.
Read too: The Complete Guide to Tighten Chain On Garage Door Opener for Smooth Operation
Common Issues with Craftsman Garage Door Openers
- Power Interruptions: Check if the garage door opener is receiving power from the electrical outlet. Ensure that the power cord is securely plugged in and that the outlet is functioning correctly. Consider using a different outlet or resetting the circuit breaker if necessary.
- Remote Control Malfunction: If the garage door opener responds to the wall-mounted control panel but not the remote control, the remote may need new batteries or reprogramming. Replace the batteries and re-sync the remote control with the opener according to the manufacturer’s instructions.
- Sensor Misalignment: The safety sensors located near the bottom of the garage door tracks may become misaligned, preventing the door from closing properly. Ensure that the sensors are aligned facing each other and free from any obstructions or debris.
- Limit Switch Issues: The limit switches determine the open and close positions of the garage door. If the door fails to open or close completely, adjust the limit switch settings accordingly. Refer to the owner’s manual for instructions on adjusting the limit switches.
- Broken Trolley Carriage: Inspect the trolley carriage, which connects the garage door to the opener’s drive system. If the trolley carriage is broken or damaged, it may prevent the door from opening or closing smoothly. Replace the trolley carriage if necessary.
Troubleshooting Steps for Craftsman Garage Door Opener Issues
Step 1: Check Power Supply
Ensure that the garage door opener is plugged into a functioning power outlet. Test the outlet with another device to verify its functionality. If the outlet is operational, but the opener still doesn’t work, proceed to the next troubleshooting step.
Step 2: Test Wall-Mounted Control Panel
Press the wall-mounted control panel to operate the garage door opener. If the opener responds to the wall-mounted control panel but not the remote control, the issue may be with the remote control itself. Replace the remote control batteries and reprogram it if necessary.
Step 3: Inspect Safety Sensors
Inspect the safety sensors located near the bottom of the garage door tracks. Ensure that the sensors are aligned properly and free from any obstructions, such as dirt or debris. Clean the sensors with a soft, dry cloth if needed, and realign them if necessary.
Step 4: Adjust Limit Switches
Refer to the owner’s manual for instructions on adjusting the limit switches. Use a screwdriver to adjust the open and close limits as needed. Test the garage door opener after adjusting the limit switches to see if the issue is resolved.
Step 5: Check Trolley Carriage
Inspect the trolley carriage for any signs of damage or wear. If the trolley carriage is broken or damaged, replace it with a new one according to the manufacturer’s instructions. Test the garage door opener after replacing the trolley carriage to ensure proper functionality.
Conclusion
In conclusion, troubleshooting a Craftsman garage door opener that won’t work requires systematic diagnosis and troubleshooting steps. By following the guidelines outlined in this comprehensive guide, you can identify the underlying issues affecting your garage door opener and implement effective solutions to restore its functionality.


Leave a Reply