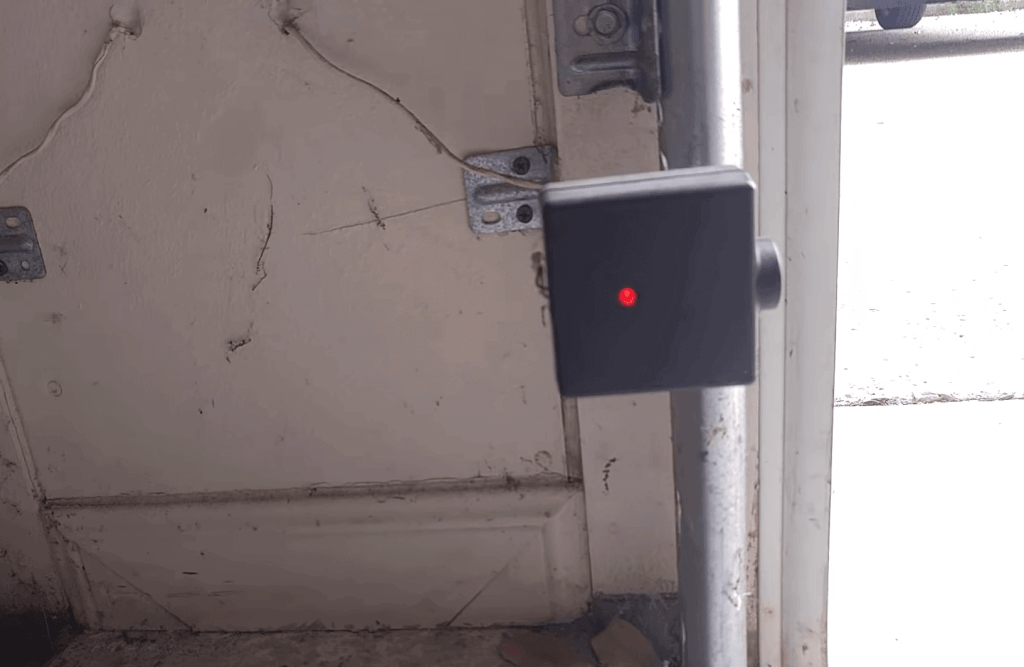
Are you puzzled by the persistent glow of the red light on your Genie garage door opener? Delve into this insightful guide to uncover the reasons behind “Why Genie Garage Door Red Light Stays On” and explore effective solutions to restore optimal functionality.

Deciphering the Dilemma: The Significance of the Red Light
Encountering a scenario where the red light on your Genie garage door opener remains illuminated can be perplexing. Before delving into solutions, let’s unravel the potential reasons behind “Genie Garage Door Red Light Stays On.”
Common Causes of a Persistent Red Light
- Safety Sensor Obstruction or Misalignment: The red light often indicates the status of the safety sensors. If these sensors are obstructed or misaligned, the red light may stay on, preventing the door from closing.
- Faulty Wiring or Connection Issues: Wiring problems or poor connections in the garage door opener system can lead to a continuous red light. Inspecting the wiring is crucial to identify and rectify any issues.
- Sensor Component Damage: Physical damage to the safety sensor components, such as the lenses or wiring, can result in a constant red light. Regular inspections help identify and address any damage promptly.
Navigating Solutions – Addressing “Genie Garage Door Red Light Stays On
Now, let’s explore practical solutions to troubleshoot and resolve the issue of the red light staying on. Follow these steps to regain control and ensure the optimal performance of your Genie garage door opener.
1: Clear Obstructions and Align Sensors
- Inspect the area around the safety sensors for any obstructions such as dirt, debris, or objects.
- Ensure the sensors are properly aligned, facing each other without any hindrance.
2: Check Wiring and Connections
- Examine the wiring connecting the safety sensors to the garage door opener unit.
- Repair or replace any damaged wiring, and ensure all connections are secure.
3: Verify Sensor Components
- Inspect the lenses and other components of the safety sensors for any signs of damage.
- If damage is detected, replace the affected components according to the manufacturer’s guidelines.
4: Perform a Sensor Realignment
- Follow the manufacturer’s instructions to perform a sensor realignment.
- Typically, this involves adjusting the sensors until the indicator lights show proper alignment.
5: Test the Garage Door Operation
- After addressing the red light issue, test the garage door’s operation to ensure it closes and opens smoothly.
- If the problem persists, consult the Genie user manual or seek professional assistance.
Professional Assistance and Further Considerations
- Consult Genie Customer Support:
- If troubleshooting efforts prove challenging, contact Genie customer support for guidance tailored to your specific model.
- Seek Professional Garage Door Service:
- If the issue persists or if you’re unsure about the resolution, consider hiring a professional garage door technician to conduct a thorough inspection and provide expert solutions.
Conclusion: Restoring Functionality and Peace of Mind
In conclusion, addressing the challenge of “Genie Garage Door Red Light Stays On” requires a systematic approach. By understanding the potential causes and implementing the suggested solutions, you can restore optimal functionality to your garage door opener.
Share this comprehensive guide with other Genie users facing similar challenges. Remember, a well-maintained garage door opener ensures not only convenience but also the safety of your home.
Bid farewell to the persistent red light and welcome smooth and reliable operation with your Genie garage door opener!


Leave a Reply