How Difficult Is It To Install A Garage Door Opener? Installing a garage door opener may seem like an intimidating task, but with the right tools, instructions, and determination, it’s a project that many homeowners can tackle. Whether you’re upgrading an old system or installing one for the first time, this guide will help you assess the difficulty and take the necessary steps to get the job done.
Understanding the Basics of Garage Door Opener Installation
Garage door openers are complex systems with mechanical and electrical components, but they’re designed for ease of use and installation. Here’s what you should know before starting:
- Types of Garage Door Openers: The most common types are chain drive, belt drive, and screw drive systems. Each has its unique installation requirements.
- Skill Level Required: Basic mechanical skills and familiarity with tools are essential.
- Time Commitment: Installation can take anywhere from 4 to 8 hours, depending on your experience and the complexity of the opener.
Read too: Door and Garage Door Companies: Choosing the Right Partner for Your Needs
How Difficult Is It To Install A Garage Door Opener?
The difficulty of installing a garage door opener depends on several factors, including your experience, the type of opener, and the state of your garage. Let’s break it down:
Assessing the Complexity of Garage Door Opener Installation
- Tools and Materials:
- You’ll need basic tools like screwdrivers, wrenches, a drill, a ladder, and safety gear. Having the garage door opener’s manual on hand is crucial.
- Some installations may require additional materials like mounting brackets or extension kits for larger doors.
- Garage Door Condition:
- If your garage door isn’t well-balanced or properly aligned, it can make the installation more challenging.
- Testing the door’s balance beforehand ensures smooth operation post-installation.
- Experience Level:
- For beginners, the step-by-step instructions might seem overwhelming at first.
- Those familiar with similar projects will find it easier to follow the process and troubleshoot any issues.
Step-by-Step Guide to Installing a Garage Door Opener
Here’s an overview of the typical steps involved in installing a garage door opener:
1: Prepare Your Workspace
- Clear the Area: Ensure the area around your garage door is free of clutter.
- Inspect the Garage Door: Verify that the door moves smoothly and is properly balanced.
- Assemble the Opener: Follow the manufacturer’s instructions to assemble the opener.
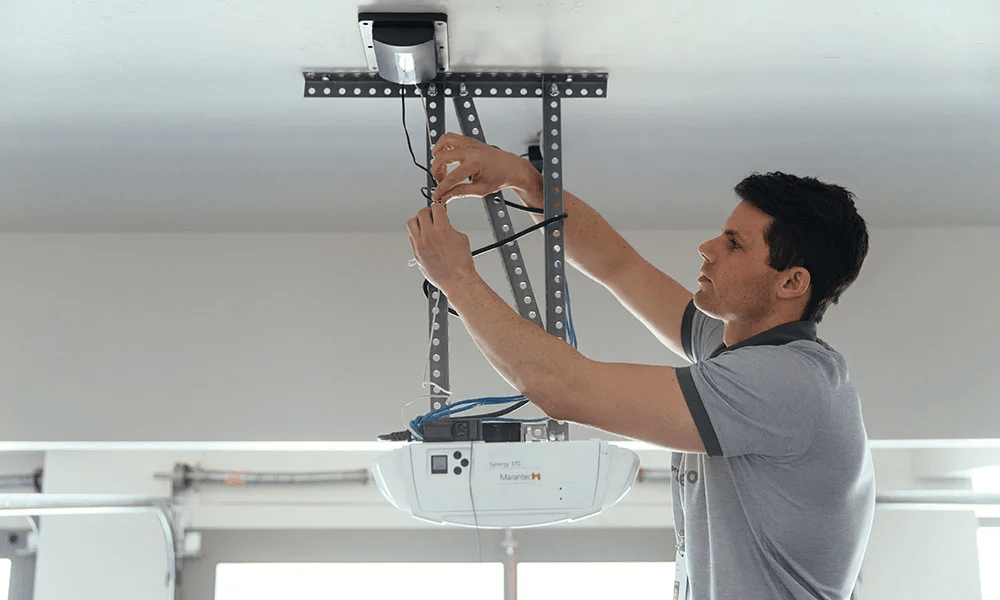
2: Install the Main Unit
- Locate the Power Source: Ensure you have an electrical outlet near the opener’s mounting location.
- Mount the Rail System: Attach the rail to the motor unit as per the instructions.
- Secure the Opener: Use the provided brackets to mount the opener securely to the ceiling.
3: Connect the Door
- Attach the Trolley: The trolley is responsible for moving the door along the rail.
- Connect the Arm: Secure the arm that links the opener to the garage door.
4: Install the Safety Features
- Photoelectric Sensors: Mount the sensors near the bottom of the door track to prevent the door from closing if there’s an obstruction.
- Test the Sensors: Ensure the sensors are aligned and functional.
5: Set Up the Remote and Keypad
- Program the Remote: Follow the manual to sync the remote with the opener.
- Install the Keypad: If your system includes a keypad, mount it outside the garage for easy access.
6: Test the System
- Run the Door: Open and close the door using the remote to ensure smooth operation.
- Adjust Settings: Modify force and speed settings if necessary for optimal performance.
Common Challenges and How to Overcome Them
Even with the best preparation, you may encounter a few hiccups during installation:
- Unbalanced Garage Door:
- Solution: Consult a professional to adjust the door springs before installing the opener.
- Incorrect Sensor Alignment:
- Solution: Use a level to align the sensors accurately.
- Limited Ceiling Space:
- Solution: Use a low-profile mounting kit or consult the manufacturer for alternatives.
Pros and Cons of DIY Garage Door Opener Installation
Pros:
- Cost Savings: Avoid paying for professional installation.
- Learning Opportunity: Gain valuable DIY skills.
- Customization: Install the opener exactly how you want it.
Cons:
- Time-Consuming: The process can take several hours.
- Potential Errors: Mistakes can lead to malfunctions or safety hazards.
- Physical Effort: Installing the unit requires lifting and working at heights.
When to Hire a Professional
If any of the following apply, it might be better to hire a professional:
- You’re uncomfortable working with electrical wiring.
- Your garage door is old or damaged.
- The opener is particularly complex or heavy.
- You lack the necessary tools or time.
FAQs: How Difficult Is It To Install A Garage Door Opener?
1. Can a beginner install a garage door opener?
Yes, with patience and attention to detail, a beginner can install a garage door opener by following the instructions carefully.
2. What is the hardest part of installing a garage door opener?
Mounting the unit securely and aligning the sensors can be challenging for first-timers.
3. How much does professional installation cost?
Hiring a professional typically costs between $150 and $300, depending on the complexity of the opener.
4. How long does it take to install a garage door opener?
Installation can take anywhere from 4 to 8 hours, depending on experience and the specific system.
Conclusion
So, how difficult is it to install a garage door opener? The answer depends on your skills, tools, and preparation. While the process may seem challenging at first glance, many homeowners can successfully complete it with the right guidance. However, don’t hesitate to call a professional if the task feels beyond your abilities. A properly installed garage door opener not only enhances convenience but also ensures safety and reliability for years to come.


Leave a Reply