Replacing a garage door opener is a task that demands precision and understanding. In this comprehensive guide, we will unravel the mysteries of “How Long To Replace Garage Door Opener” and provide valuable insights to make the process efficient and seamless.
Understanding the Variables: How Long To Replace Garage Door Opener
1. Type of Garage Door Opener
The time required to replace a garage door opener can vary based on the type you choose. Chain-driven, belt-driven, and screw-driven openers each have their installation intricacies, influencing the overall replacement time.
2. Skill Level and Experience
For those familiar with garage door systems, the replacement process may be quicker. However, beginners may need more time to navigate the steps, including wiring and aligning the opener correctly.
3. Preparation and Organization
Having all the necessary tools and materials ready before starting the replacement significantly streamlines the process. Lack of preparation can lead to unnecessary delays.
How Long To Replace Garage Door Opener: A Step-by-Step Breakdown
Step 1: Assessment and Planning
Before beginning the replacement, assess the condition of your current garage door opener. Ensure you have the appropriate replacement model and necessary tools. Planning ahead will save time in the long run.
Step 2: Disconnecting the Existing Opener
Safely disconnect the power supply to the existing opener. Detach the opener from the door and ceiling, taking care to avoid any damage to surrounding components.
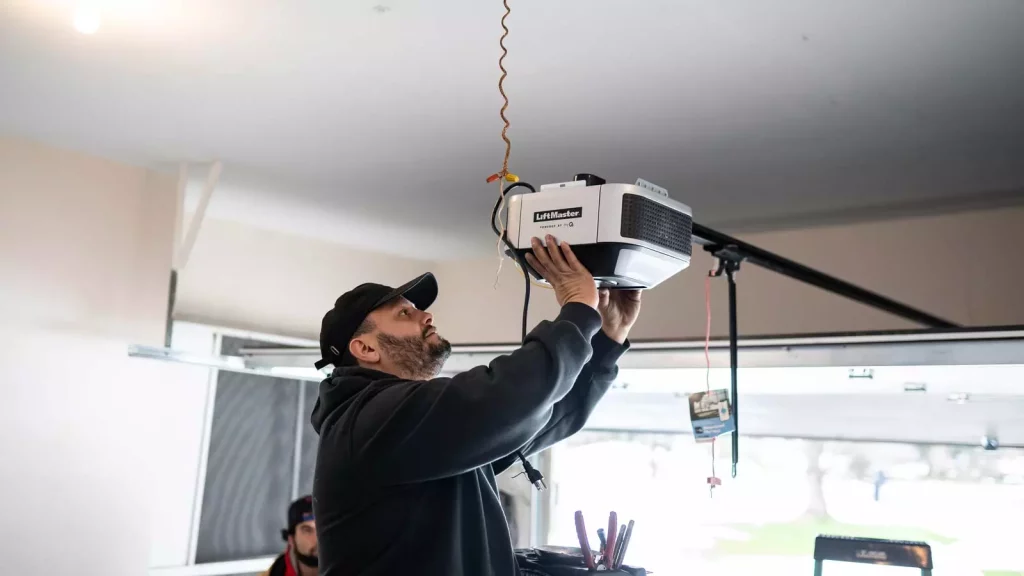
Step 3: Installing the New Opener
Follow the manufacturer’s instructions for installing the new garage door opener. This typically involves mounting the opener to the ceiling, attaching it to the door, and connecting the necessary wiring.
Step 4: Wiring and Configuration
Proper wiring is crucial for the functionality and safety of the garage door opener. Take the time to carefully connect the wires according to the provided instructions. Configure settings such as travel limits and force adjustments.
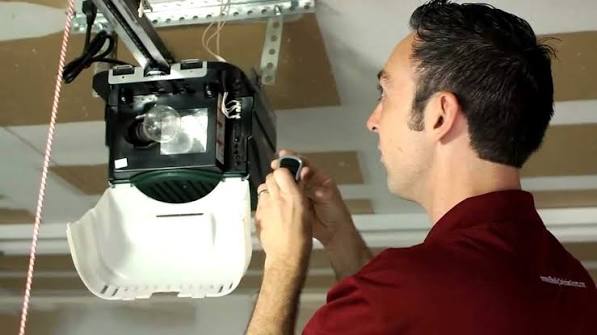
Step 5: Testing and Adjustment
After installation, test the garage door opener to ensure smooth and precise operation. Make any necessary adjustments to the settings or alignment for optimal performance.
Factors Influencing Replacement Time
1. DIY vs. Professional Installation
DIY installations may take longer, especially for those new to the process. Professionals, with their expertise and tools, can often complete the replacement more efficiently.
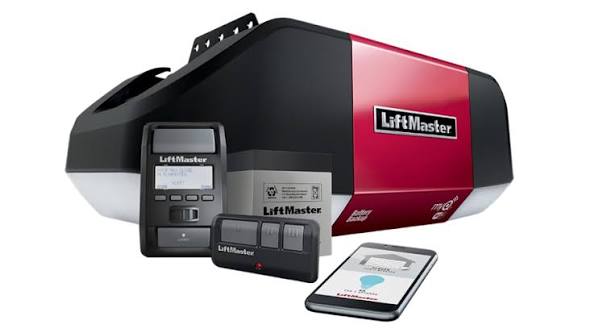
2. Additional Features and Accessories
The inclusion of additional features, such as smart technology or advanced security features, can extend the replacement time. However, these enhancements contribute to the overall functionality and security of the garage door opener.
3. Unforeseen Issues
Unanticipated challenges, such as structural issues or unexpected complications during the replacement, can impact the time needed to complete the task.
Read too: How to Open Garage Door Without Power From Outside Like a Pro? Unlock the Secrets
Conclusion
The time required to replace a garage door opener is influenced by various factors, including the type of opener, skill level, and preparation. While a straightforward replacement by an experienced individual may take a few hours, a more complex installation with additional features might extend the process.
Regardless of the time investment, replacing a garage door opener is a manageable DIY project that enhances the overall functionality and security of your home. Whether you choose to embark on this task yourself or enlist professional help, understanding “How Long To Replace Garage Door Opener” ensures a successful and efficient transition to a new and improved garage door system.

Leave a Reply