Replacing a garage door is a significant home improvement project that can enhance both the aesthetics and functionality of your home. However, one of the key questions that homeowners often have is, “How long does it take to replace a garage door?” In this article, we’ll dive into the timeline of garage door replacement, discussing the factors that influence the duration of the project and what you can expect during each stage.
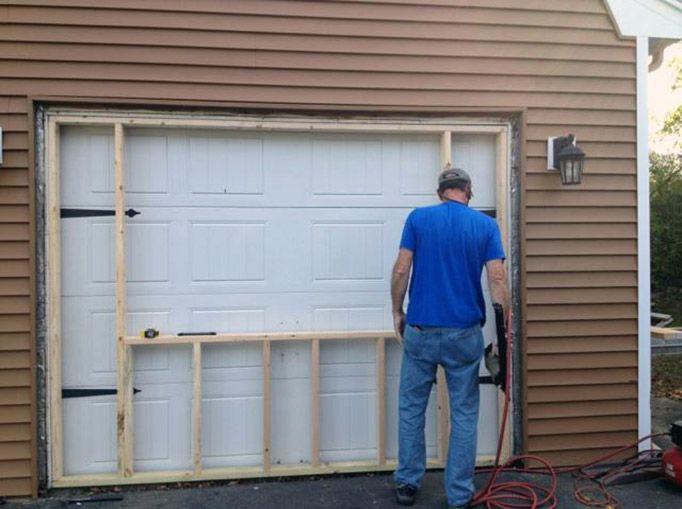
Understanding the Garage Door Replacement Process:
Before we delve into the timeline, let’s briefly outline the typical steps involved in replacing a garage door:
- Assessment and Planning: The process begins with an assessment of your existing garage door, including its size, condition, and any unique features. A plan is developed for the replacement, taking into consideration your design preferences and budget.
- Material Selection: You’ll choose the type of garage door you want, such as sectional, roll-up, or carriage-style, and select the material (e.g., steel, wood, aluminum, or fiberglass).
- Measurement and Ordering: Precise measurements of your garage opening are taken to ensure the new door fits perfectly. The door is then ordered from the manufacturer.
- Removal of the Old Door: The existing garage door is removed, including the tracks, springs, and hardware.
- Installation of the New Door: The new door, along with its tracks, springs, and hardware, is installed. This process can vary in complexity depending on the type and design of the door.
- Finishing Touches: Any necessary finishing touches, such as painting or staining, are applied to the new door.
- Testing and Adjustments: The door is thoroughly tested to ensure it operates smoothly and safely. Adjustments are made as needed to achieve optimal functionality.
- Cleanup and Disposal: Any debris from the installation is cleaned up, and the old garage door and related materials are disposed of properly.
Factors Influencing the Timeline:
The timeline for replacing a garage door can vary based on several factors:
- Type and Design of Garage Door: The complexity of the door design and its features can impact the installation time. For instance, custom or intricate designs may take longer to install.
- Material: Different materials have different installation requirements. For example, steel doors are typically quicker to install than wooden ones.
- Size of the Door: Larger doors naturally require more time for installation than smaller ones.
- Preparation and Customization: If your garage requires significant modifications or customization, such as framing adjustments or unique hardware, it may add time to the project.
- Weather Conditions: Outdoor installations can be affected by weather conditions. Inclement weather may delay the installation process.
Average Timeline:
On average, a standard garage door replacement project can take anywhere from a few hours to a full day. Here’s a rough breakdown of the time allocation for each stage:
- Assessment and Planning: 1-2 hours
- Measurement and Ordering: 2-3 weeks (lead time for the door to be manufactured and delivered)
- Removal of the Old Door: 1-2 hours
- Installation of the New Door: 4-6 hours (can vary)
- Finishing Touches: 1-2 hours
- Testing and Adjustments: 1-2 hours
- Cleanup and Disposal: 1-2 hours
Keep in mind that these are general estimates, and the actual timeline may vary based on the factors mentioned earlier.
Conclusion:
Replacing a garage door is a worthwhile investment that can enhance your home’s curb appeal and functionality. While the timeline for a garage door replacement project can vary, understanding the process and the factors that influence the duration can help you plan accordingly. Working with a reputable garage door installation professional can also ensure that the project is completed efficiently and to your satisfaction.



Leave a Reply