Unravel the mystery of “How Many Turns on a 7Ft Garage Door Spring” with expert insights. This comprehensive guide provides a step-by-step approach and essential information to ensure your garage door functions smoothly.
How Many Turns On A 7Ft Garage Door Spring: Understanding the Dynamics
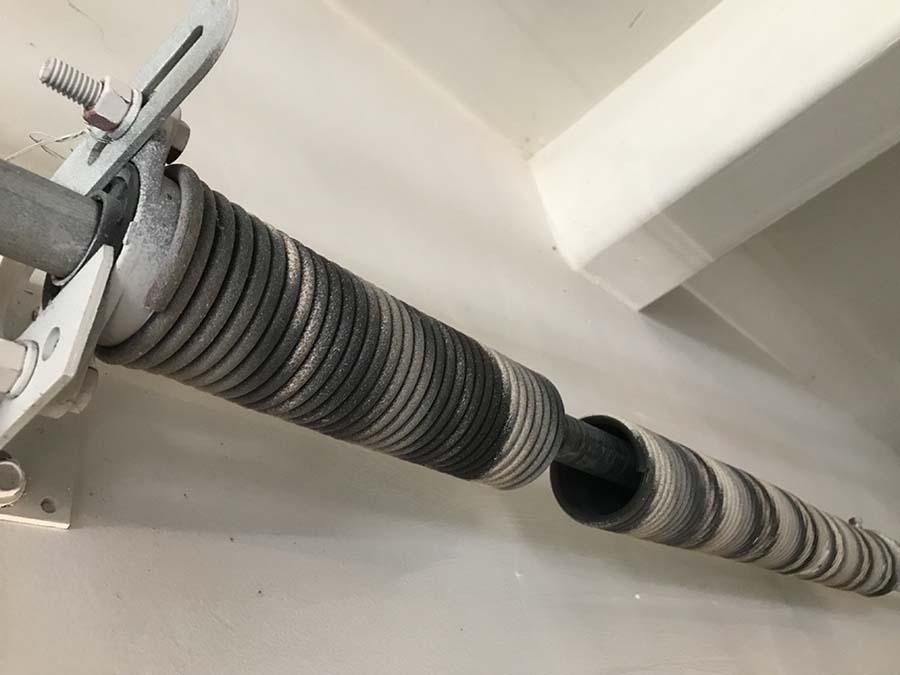
Before delving into the specifics, it’s crucial to grasp the dynamics of garage door springs. In this section, we’ll explore the significance of the correct number of turns on a 7ft garage door spring, emphasizing the impact on tension, balance, and overall functionality.
Key Considerations:
- Tension Balance: Achieving the optimal tension for smooth door movement.
- Spring Lifespan: Understanding the correlation between turns and longevity.
- Safety Implications: The importance of precise turns for safe garage door operation.
How Many Turns On A 7Ft Garage Door Spring: A Step-by-Step Guide
This H2-heading section will serve as a practical guide, providing a step-by-step approach to determining and adjusting the number of turns on a 7ft garage door spring. From initial assessment to final adjustments, readers will gain confidence in achieving the perfect balance.
Step-by-Step Process:
- Initial Assessment: Understanding the current state of the garage door springs.
- Determining Spring Type: Recognizing the specific type of spring for accurate adjustments.
- Calculating Turns: Guiding through the calculation process based on door weight and spring type.
- Adjustment Techniques: Making precise adjustments for the desired number of turns.
Common Pitfalls and Safety Measures: Navigating the Adjustment Process
While adjusting the turns on a garage door spring, potential challenges may arise. In this part of the guide, we’ll address common pitfalls and provide safety measures to ensure a smooth and risk-free adjustment process.
Handling Challenges:
- Uneven Tension: Tips for achieving uniform tension across multiple springs.
- Tools and Equipment: Ensuring the use of appropriate tools for safe adjustments.
- Professional Assistance: When to seek expert help for complex adjustments.
Post-Adjustment Checks: Ensuring Optimal Performance
Once the turns are adjusted, it’s essential to conduct post-adjustment checks to verify the garage door’s optimal performance. This section will guide readers on what to look for and how to ensure that the adjustments have been successful.
Post-Adjustment Steps:
- Smooth Operation Check: Testing the garage door for smooth and balanced movement.
- Listening for Unusual Sounds: Identifying any unusual sounds that may indicate issues.
- Visual Inspection: Checking for signs of wear, misalignment, or other potential problems.
Conclusion: Achieving Precision for a Well-Balanced Garage Door
In conclusion, achieving the correct number of turns on a 7ft garage door spring is fundamental for optimal performance, safety, and longevity. This guide empowers readers with the knowledge and steps needed to master this adjustment process with confidence.
Whether you’re a DIY enthusiast or a homeowner looking to understand the intricacies of your garage door, following the steps outlined in this guide will contribute to a well-balanced and smoothly operating garage door.


Leave a Reply