Adding an extra remote to your garage door opener can be a lifesaver for family members or frequent visitors. Many homeowners wonder how to add another remote to garage door opener without accidentally resetting existing remotes. This guide offers a simple, step-by-step approach for various popular garage door opener brands while keeping safety and reliability in mind.

Why Add Another Remote
- Convenience: Family members can operate the door without sharing a single remote.
- Backup: Provides an extra option in case the primary remote is misplaced.
- Smart Home Integration: Many modern remotes work with home automation systems.
- Peace of Mind: Avoid giving out keys or keypad codes unnecessarily.
Read too: How To Replace Garage Door Roller Like a Pro? Step-by-Step Guide
Preparing to Add a New Remote
Before starting, gather the following:
- The new remote compatible with your opener brand.
- Owner’s manual or online instructions for your specific model.
- A ladder if the learn/program button is located on the motor unit.
- A helper to test the door operation safely.
Tip: Unplug the opener before handling electronics near the motor for safety.
Step-By-Step Guide
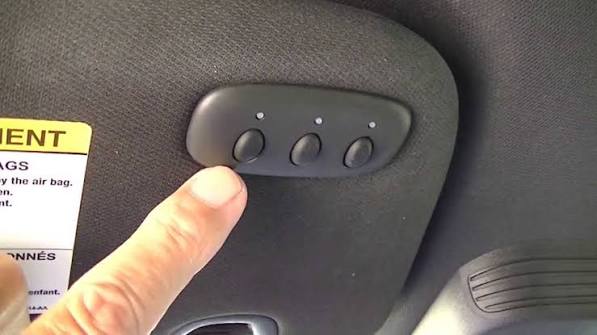
Step 1: Locate the Learn/Program Button
Most garage door openers (Genie, Chamberlain, LiftMaster) have a learn button on the motor housing. The button may be red, yellow, or purple depending on the model.
Step 2: Clear Existing Remotes (Optional)
- Only required if you want to reset all remotes.
- Press and hold the learn button for 10 seconds until the indicator light blinks.
- All previously programmed remotes will be cleared.
Step 3: Program the New Remote
- Press the learn button once; the indicator light will turn on.
- Within 30 seconds, press and hold the button on the new remote until the opener light blinks or you hear a click.
- Test the door using the new remote.
Step 4: Repeat for Additional Remotes
- Follow Step 3 for any extra remotes.
- Each remote may have a 30-second window after pressing the learn button.
Common Issues and Solutions
| Issue | Cause | Solution |
|---|---|---|
| Remote doesn’t work | Not compatible | Check brand and model |
| Door opens then closes immediately | Loose chain or travel limits | Adjust opener limits |
| Opener light doesn’t blink | Remote battery low | Replace battery |
| Programming fails repeatedly | Multiple remotes pressed | Program one remote at a time |
Expert Tips
- Always use manufacturer-approved remotes to avoid interference.
- Keep a backup battery in your new remote for uninterrupted use.
- Test remotes at different distances to ensure full range operation.
- If unsure, consult your opener manual or Wikipedia – Garage Door Opener for technical specs.
FAQ Section
Q1: Can I program a new remote without affecting old ones?
A: Yes. Press the learn button once and program the new remote within 30 seconds; existing remotes remain active.
Q2: How many remotes can my garage opener support?
A: Most openers support 3–10 remotes, depending on the brand and model.
Q3: Do all garage door openers have a learn button?
A: Modern openers do, including Genie, Chamberlain, LiftMaster, and Craftsman. Older models may require DIP switches.
Q4: What if my remote isn’t compatible?
A: Use only remotes recommended by the opener manufacturer to prevent communication failures.
Q5: How do I know the remote is working?
A: The opener should respond immediately (light blinks or door moves) when you press the button.
Q6: Is it safe to add remotes while the door is moving?
A: No. Always program remotes while the door is stationary to avoid accidents.
Conclusion
Knowing how to add another remote to garage door opener ensures convenience, safety, and proper operation for all family members. Following these simple steps keeps your opener functional, your remotes synchronized, and your garage secure. Share this guide with friends or family to help them upgrade their garage door system safely.
Leave a Reply