A LiftMaster garage door opener is designed to provide convenience and security, and one of its useful features is the automatic light timer. The built-in light helps illuminate your garage when the door opens, making it safer to enter and exit. However, if the light turns off too quickly or stays on longer than desired, you may need to adjust the light timer settings.
In this guide, we’ll walk you through how to adjust light timer on LiftMaster garage door opener, explain why this feature is important, and offer troubleshooting tips in case your light timer isn’t working as expected.
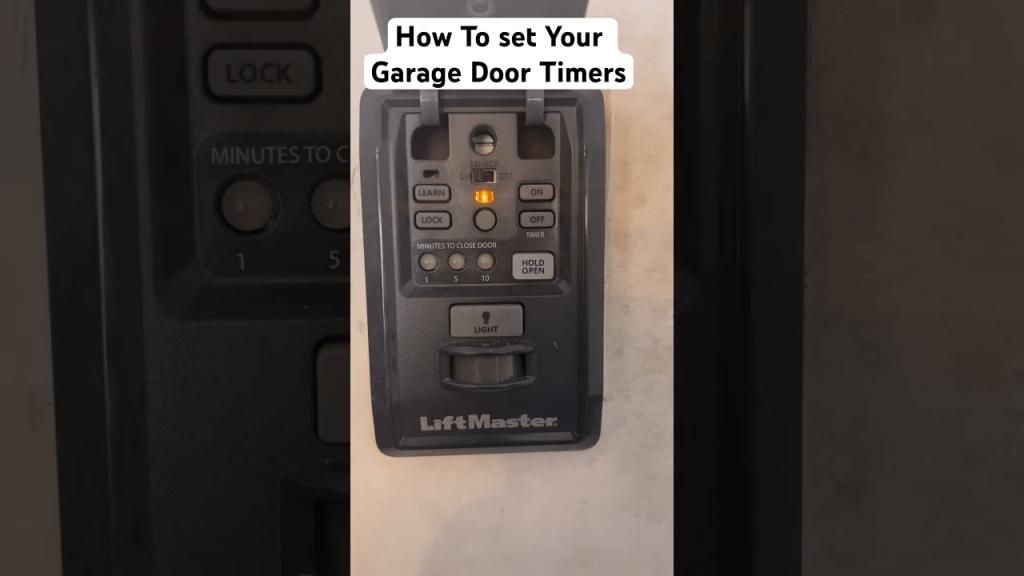
Read too: How To Replace Garage Door Roller Like a Pro? Step-by-Step Guide
Why Adjust the Light Timer on Your LiftMaster Garage Door Opener?
The light timer determines how long the opener’s light stays on after activation. You may need to adjust the timer for various reasons, such as:
- Increasing the duration if you need more time to get inside safely.
- Decreasing the duration to save energy.
- Fixing issues if the light turns off too soon or stays on indefinitely.
Most LiftMaster garage door openers allow you to customize the light timer between 1.5 minutes and 4.5 minutes, though some models offer additional settings.
How To Adjust Light Timer On LiftMaster Garage Door Opener
Step 1: Identify Your LiftMaster Model
Different LiftMaster models have slightly different ways to adjust the light timer. Check your user manual to find out if your model has:
- Manual adjustment dials
- Digital menu settings
- Smart control panels
Newer MyQ-enabled models allow adjustments through the LiftMaster app, while older models require manual programming.
Step 2: Locate the Light Timer Adjustment Button
For most LiftMaster garage door openers, the light timer setting is adjusted using the control panel or directly on the motor unit.
- If your garage door opener has a Smart Control Panel, use the menu to change the settings.
- If you have an older model, look for a timer button on the motor housing.
Step 3: Adjust the Light Timer Using the Control Panel
For models with a Smart Control Panel:
- Press the MENU button.
- Navigate to LIGHT SETTINGS using the arrow buttons.
- Select LIGHT TIMER and press ENTER.
- Adjust the timer to your desired setting (usually from 1.5 minutes to 4.5 minutes).
- Press ENTER to save the changes.
Step 4: Adjust the Light Timer Using the Learn Button (Older Models)
For older LiftMaster models without a digital panel:
- Locate the “LEARN” button on the motor unit.
- Press and hold the LEARN button until the garage light blinks.
- Quickly press the LEARN button again to cycle through the available timer settings.
- Release the button when the light blinks the number of times corresponding to the setting you want.
- 1 Blink = 1.5 minutes
- 2 Blinks = 2.5 minutes
- 3 Blinks = 3.5 minutes
- 4 Blinks = 4.5 minutes
- Wait for the system to confirm the setting and test the timer by opening and closing the garage door.
Step 5: Adjust the Light Timer via MyQ App (For Smart Models)
If your LiftMaster garage door opener is MyQ-enabled, you can adjust the light timer through the MyQ app:
- Open the MyQ app on your smartphone.
- Select your garage door opener from the device list.
- Navigate to Settings > Light Timer.
- Adjust the timer duration.
- Save the changes and test the light to ensure the setting works as expected.
Troubleshooting Light Timer Issues on a LiftMaster Garage Door Opener
If the light timer on your LiftMaster opener isn’t working correctly, try these troubleshooting steps:
1. The Light Turns Off Too Soon
Possible Causes:
- Timer setting is too low.
- Interference from external devices.
- A malfunctioning light socket.
Solution:
- Increase the timer setting using the steps above.
- If the issue persists, try resetting the garage door opener by unplugging it for 10 seconds and plugging it back in.
2. The Light Stays On and Won’t Turn Off
Possible Causes:
- The manual light button is turned on.
- The garage door opener’s logic board is faulty.
Solution:
- Press the light button on the wall control to see if it turns off.
- If that doesn’t work, try resetting the system by disconnecting the power.
- If the light still won’t turn off, the logic board may need replacement.
3. The Light Flickers or Doesn’t Turn On
Possible Causes:
- A loose light bulb.
- A burnt-out bulb or an incompatible LED/CFL bulb.
Solution:
- Ensure the bulb is securely screwed in.
- Replace with a LiftMaster-approved LED or incandescent bulb (some CFL or LED bulbs may not be compatible).
4. The Light Timer Doesn’t Adjust as Expected
Possible Causes:
- Incorrect programming steps.
- A firmware glitch in MyQ-enabled models.
Solution:
- Re-attempt the adjustment carefully following the steps above.
- If using the MyQ app, check for software updates.
Additional Tips for Maintaining Your LiftMaster Garage Door Opener Light
To keep your garage door opener light and timer functioning properly, follow these maintenance tips:
1. Use Compatible Light Bulbs
- LiftMaster recommends using LED bulbs that are compatible with garage door openers to avoid flickering or interference issues.
2. Check Wiring Connections
- If the light doesn’t respond properly, inspect the wiring inside the opener to ensure nothing is loose or damaged.
3. Keep the System Updated
- If using MyQ smart features, update your firmware regularly to fix potential glitches.
4. Reset the System If Needed
- A simple power cycle (unplugging and replugging the unit) can resolve many minor light timer malfunctions.
By following these maintenance steps, you can ensure that your LiftMaster garage door opener light works efficiently.
Final Thoughts on How to Adjust Light Timer on LiftMaster Garage Door Opener
Understanding how to adjust light timer on LiftMaster garage door opener allows you to customize your garage lighting for better visibility, energy efficiency, and convenience. Whether using a control panel, manual button, or MyQ app, you can easily modify the light duration to match your needs.
If your light timer isn’t working correctly, troubleshooting steps like checking bulbs, resetting the system, or updating firmware can often resolve the issue. With regular maintenance and proper settings, your LiftMaster garage door opener will continue to provide safe and reliable lighting for your garage.


Leave a Reply