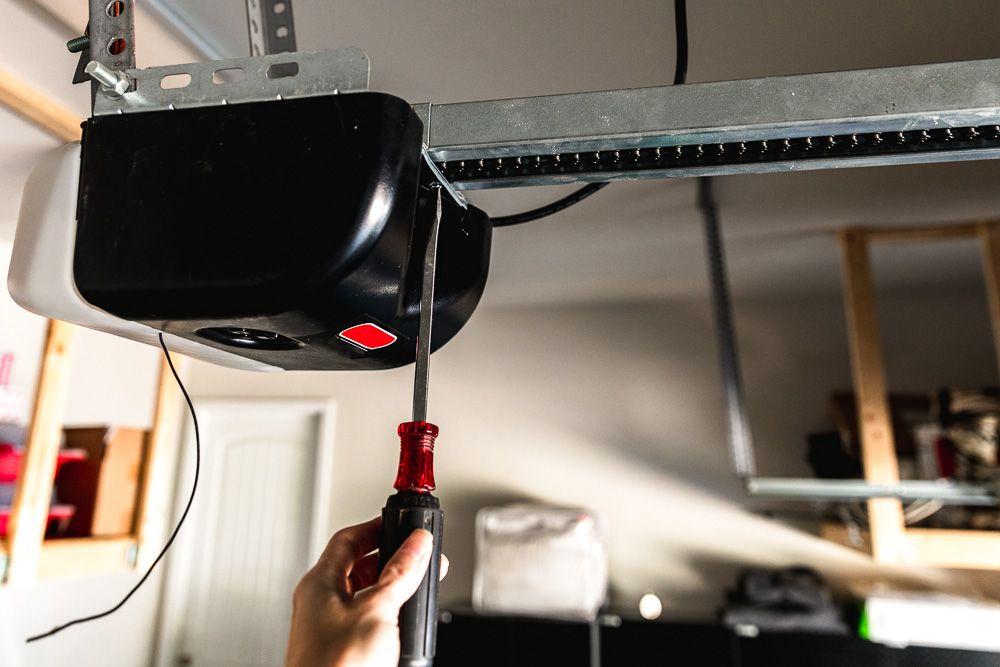
Dealing with a malfunctioning garage door can be frustrating, especially when your Liftmaster garage door won’t close all the way. Unlock the mysteries behind this issue and discover effective solutions to ensure your garage door operates seamlessly.

Investigating the Reasons
When your Liftmaster garage door won’t close all the way, several factors may be at play. Understanding the root causes is crucial for efficient troubleshooting and resolution.
Common Causes for Liftmaster Garage Door Not Closing Fully:
- Misaligned Safety Sensors:
- The safety sensors on either side of the garage door may be misaligned. These sensors prevent the door from closing if an object or person is detected in the door’s path.
- Limit Switch Issues:
- The limit switch determines how far the garage door opens or closes. If the limit switch is incorrectly set, it can result in the door not closing fully. Adjusting the switch may resolve the issue.
- Obstruction in the Door’s Path:
- Check for any obstructions, such as debris or objects, in the path of the garage door. Even a small obstacle can prevent the door from closing all the way.
- Worn or Damaged Rollers:
- Inspect the rollers along the garage door tracks. Worn or damaged rollers can impede the smooth movement of the door, causing it to stop short of closing completely.
Troubleshooting Steps:
- Check Safety Sensor Alignment:
- Ensure that the safety sensors are aligned properly. Clean the sensors from any dust or dirt that might be affecting their functionality.
- Adjust the Limit Switch:
- Refer to your Liftmaster garage door opener manual to locate the limit switch. Make small adjustments to the switch settings until the door closes fully.
- Clear the Door’s Path:
- Remove any debris, objects, or obstacles in the door’s path. This includes ensuring that the tracks are free from any obstructions.
- Inspect and Replace Worn Rollers:
- Examine the rollers for signs of wear or damage. If necessary, replace worn rollers to ensure smooth movement of the garage door.
Preventive Maintenance Tips for Liftmaster Garage Door:
- Regular Lubrication:
- Apply lubricant to the moving parts of the garage door, including hinges, rollers, and tracks. Regular lubrication helps prevent friction and ensures smooth operation.
- Scheduled Safety Sensor Checks:
- Periodically check and align the safety sensors. Clean them to maintain optimal functionality and prevent issues with door closure.
- Professional Inspection:
- Schedule regular inspections by a professional garage door technician. They can identify potential issues before they escalate, ensuring the long-term performance of your Liftmaster garage door.
Conclusion: Ensuring a Fully Functional Liftmaster Garage Door
In conclusion, a Liftmaster garage door that won’t close all the way can be a minor inconvenience or a sign of underlying issues. By understanding the common causes and following the troubleshooting steps outlined above, you can address the issue promptly and restore your garage door to full functionality.
Remember to prioritize preventive maintenance to keep your Liftmaster garage door in optimal condition. Regular checks, adjustments, and professional inspections contribute to the longevity and reliable performance of your garage door system.


Leave a Reply