If your garage door opener has become noisy, jerky, or inconsistent, you may be asking How To Tighten Belt On Genie Garage Door Opener to fix the problem yourself. This is a very common concern for homeowners, especially when a belt-drive opener has been in use for several years.
The good news is that tightening the belt on a Genie garage door opener is usually simple, safe, and affordable. In this complete guide, you’ll learn how to identify loose belt symptoms, tighten the belt step by step, avoid costly mistakes, and know when tightening is no longer enough.
What Is a Belt-Drive Genie Garage Door Opener?
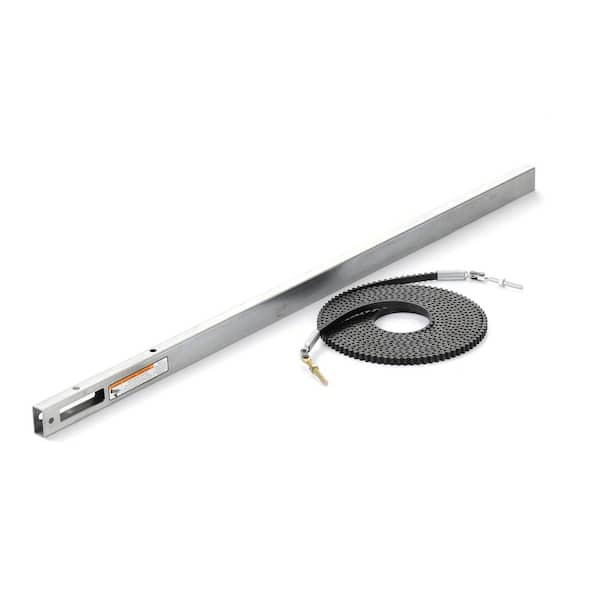
A belt-drive garage door opener uses a reinforced rubber or polyurethane belt to move the garage door along the rail. Genie belt-drive models are known for their quiet operation and smooth performance, making them ideal for homes with attached garages or living space above the garage.
Read too: Why Are My Garage Doors Opening By Themselves? Troubleshooting Guide
Genie openers are manufactured by the Genie and are widely installed across U.S. homes.
For general background on how garage door openers work as systems, you can also reference:
https://en.wikipedia.org/wiki/Garage_door_opener
Why Does the Belt on a Genie Opener Become Loose?
Understanding the cause helps you prevent repeat issues.
Common reasons belt tension decreases:
- Natural belt stretching over time
- Temperature changes causing expansion and contraction
- High daily usage (multiple open/close cycles)
- Vibration from long-term operation
- Improper initial tension from installation
Industry insight: Belt-drive openers typically show noticeable belt stretch within 2–5 years of regular residential use.
Signs You Need to Tighten the Belt
Before making adjustments, confirm that belt tension is the real issue.
Common symptoms include:
- Slapping or flapping sounds from the rail
- Jerky or uneven door movement
- Opener motor runs but door hesitates
- Visible sag in the belt along the rail
- Increased vibration or rattling
If the belt looks loose or droops in the middle, tightening is usually the correct fix.
Is It Safe to Tighten the Belt Yourself?
Yes—tightening the belt is one of the safest DIY garage door opener tasks.
Why this task is relatively safe:
- No high-tension springs involved
- No motor removal required
- Adjustment is external and mechanical
However, basic electrical safety rules still apply.
Safety Precautions Before You Start
Never skip safety steps, even for simple maintenance.
Do this first:
- Unplug the Genie garage door opener from the ceiling outlet
- Fully close the garage door
- Pull the red emergency release cord
- Use a stable ladder rated for your weight
Important: Never adjust belt tension while the opener is plugged in.
Tools You’ll Need
Most homeowners already have these tools.
Basic tools:
- 7/16” or 1/2” wrench (model dependent)
- Adjustable wrench (optional)
- Step ladder
- Flashlight
No power tools are required or recommended.
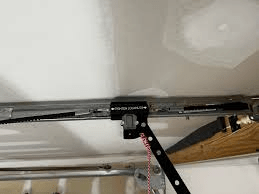
Step 1: Locate the Belt Tension Adjustment Assembly
On Genie belt-drive openers, the belt tension adjustment is typically located near the motor unit, not at the garage door end.
Look for:
- A threaded tension rod
- An adjustment nut
- A locking nut or spring-loaded trolley
This assembly controls how tight the belt is along the rail.
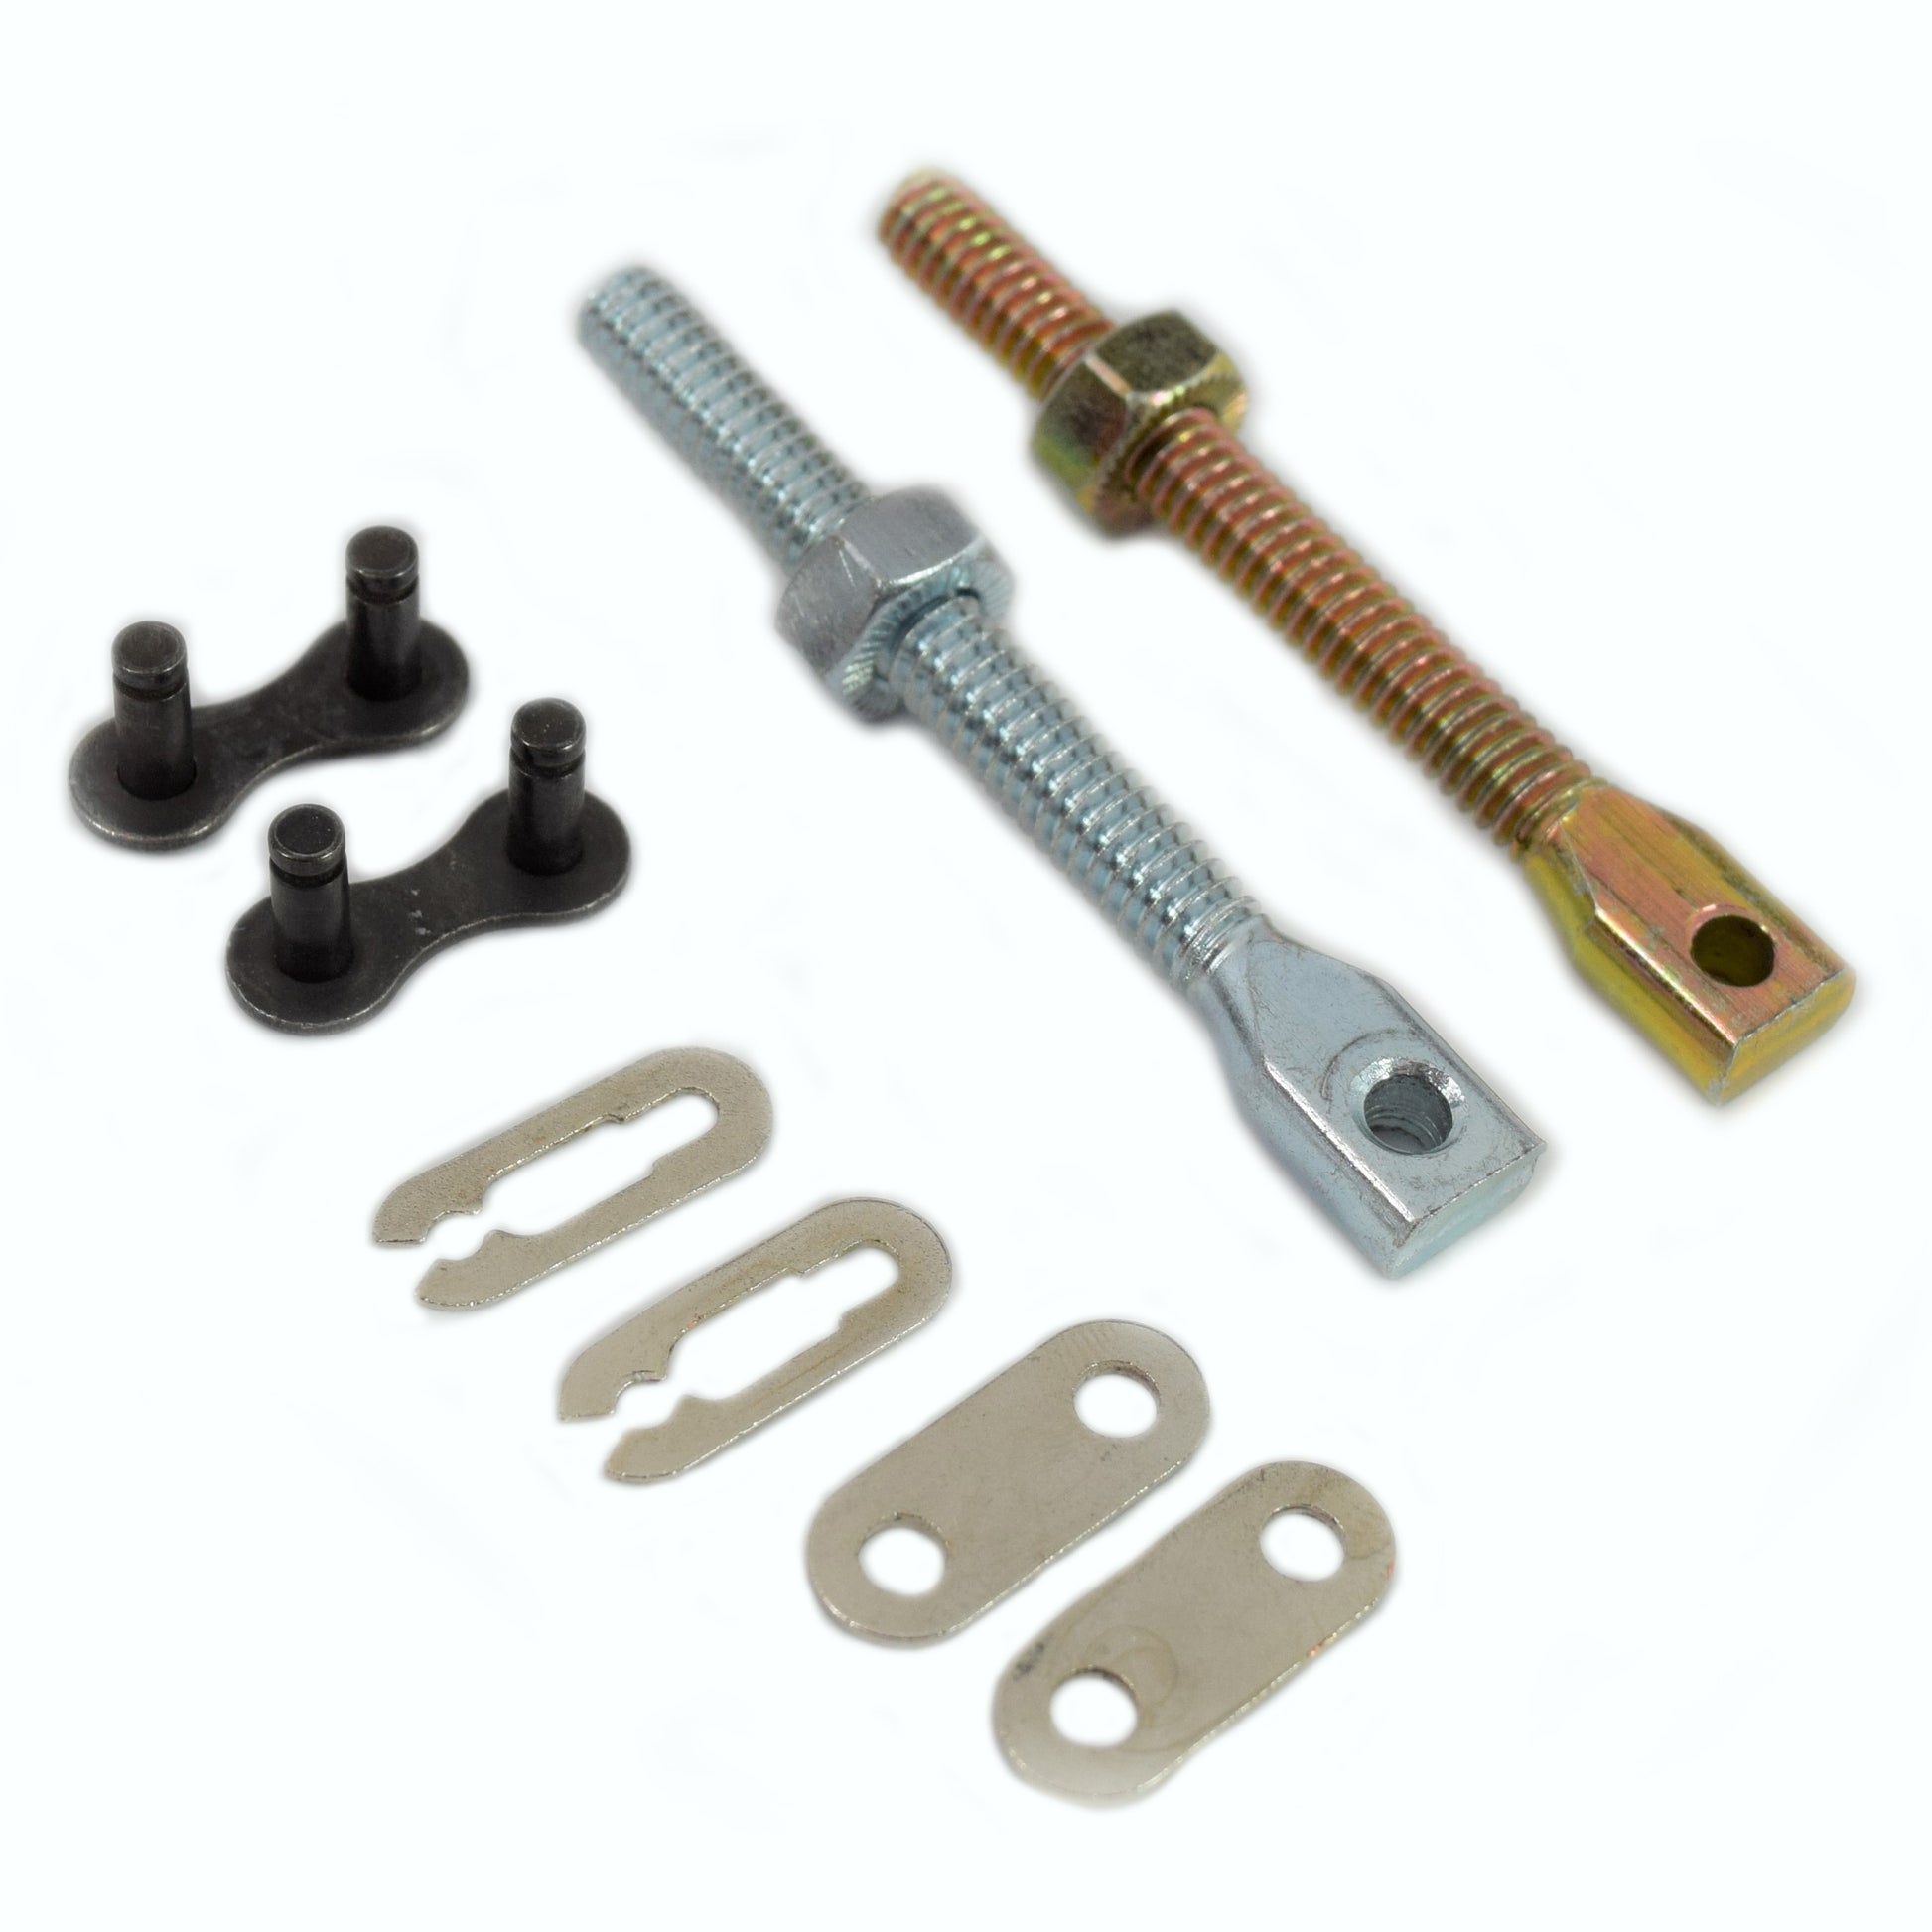
Step 2: Identify the Adjustment Nut vs. Locking Nut
Most Genie models use two nuts:
- Adjustment nut: Changes belt tension
- Locking nut: Holds the adjustment in place
Helpful tip:
The adjustment nut is usually closer to the trolley, while the locking nut sits behind it.

4
Step 3: Tighten the Belt Gradually
This is the most important step—go slowly.
How to tighten properly:
- Hold the tension rod steady if required
- Turn the adjustment nut clockwise
- Tighten in ¼-turn increments
- Stop and visually inspect the belt
Never overtighten. Too much tension can damage the motor and shorten the opener’s lifespan.
How Tight Should the Belt Be?
This is where many homeowners go wrong.
Proper belt tension guidelines:
- The belt should be taut but not rigid
- No visible sag along the rail
- You should be able to press the belt slightly with your finger
- It should not look stretched like a guitar string
Rule of thumb: Slight flexibility is ideal—tight enough to prevent slipping, loose enough to protect the motor.
Step 4: Secure the Locking Nut
Once proper tension is achieved:
- Hold the adjustment nut steady
- Tighten the locking nut against it
- Make sure both nuts are snug—not forced
This prevents vibration from loosening the belt over time.
Step 5: Reconnect the Door and Restore Power
Now it’s time to test your adjustment.
Testing steps:
- Re-engage the trolley (pull release cord toward the opener)
- Plug the opener back in
- Run the opener without the door first
- Run a full open/close cycle with the door connected
Observe closely during operation.
What to Look and Listen For During Testing
Signs of correct adjustment:
- Smooth, quiet movement
- No slapping or rattling sounds
- Consistent door speed
- Reduced vibration
Warning signs:
- High-pitched whining (belt too tight)
- Motor strain or hesitation
- Jerky movement
If warning signs appear, loosen the belt slightly and retest.
Common Mistakes to Avoid
Most DIY issues come from rushing the adjustment.
Avoid these mistakes:
- Overtightening the belt
- Skipping the locking nut
- Adjusting with power connected
- Using power tools
- Ignoring new or unusual sounds
Small adjustments make a big difference.
How Often Should You Check Belt Tension?
Belt tension doesn’t require constant adjustment.
Recommended schedule:
- Inspect every 6–12 months
- Check after major seasonal temperature changes
- Inspect if new noises suddenly appear
Routine checks prevent premature belt damage.
When Tightening the Belt Is Not Enough
Sometimes tightening is only a temporary fix.
Belt replacement may be needed if:
- The belt shows cracks or fraying
- Teeth are missing or worn
- The belt slips even when properly tightened
- The opener is more than 10–12 years old
In these cases, replacement is safer and more effective.
Belt Drive vs Chain Drive: Maintenance Comparison
| Feature | Belt Drive | Chain Drive |
|---|---|---|
| Noise level | Very quiet | Noisy |
| Stretch over time | Yes | Minimal |
| Maintenance | Low | Moderate |
| Adjustment ease | Easy | Moderate |
This explains why belt tightening is a common maintenance task.
Does Proper Belt Tension Extend Opener Life?
Yes—when done correctly.
Benefits include:
- Reduced motor strain
- Smoother operation
- Less vibration
- Lower wear on internal gears
Proper tension protects both the belt and the motor assembly.
FAQ: Genie Belt Tension Adjustment
How To Tighten Belt On Genie Garage Door Opener Safely?
Unplug the opener, locate the belt tension nut near the motor, tighten gradually in small increments, and test before finalizing.
How Long Does It Take to Tighten the Belt?
Most homeowners can complete the adjustment in 10–20 minutes.
Can a Loose Belt Damage the Opener?
Yes. A loose belt can cause jerking, vibration, and premature wear on the motor and drive components.
Is It Bad to Overtighten the Belt?
Absolutely. Overtightening can damage motor bearings and shorten the opener’s lifespan.
How Do I Know If I Need a New Belt Instead?
If the belt is cracked, frayed, missing teeth, or still slips after tightening, replacement is recommended.
Conclusion
Knowing how to tighten belt on Genie garage door opener is a valuable maintenance skill for homeowners. With the right tools, proper safety steps, and careful adjustments, you can restore quiet operation, reduce motor strain, and extend the life of your opener.
Remember: tight enough is better than too tight. Small, controlled adjustments always produce the best results.
If this guide helped you, share it on social media so other homeowners can keep their garage door openers running smoothly and quietly.
Leave a Reply