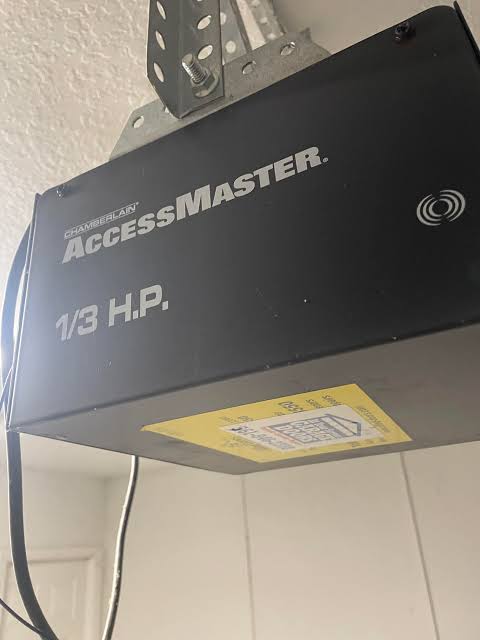
Have you ever stood in your driveway, pressing the remote button repeatedly, only to watch your garage door remain stubbornly closed? It is a frustrating experience that disrupts your daily routine and raises immediate security concerns. If you are wondering how to program Chamberlain Access Master garage door opener, you are not alone. Many homeowners face this challenge when replacing remotes, adding new users, or resetting their system after a power outage. This guide will walk you through the process clearly and safely, ensuring you regain full control of your garage in minutes.
Understanding Your Chamberlain Access Master System
Before diving into the buttons and codes, it is helpful to understand what makes the Chamberlain Access Master series unique. Chamberlain is one of the most trusted names in residential garage door openers, known for reliability and user-friendly technology. The Access Master line typically features Security+ 2.0 technology, which uses rolling code encryption to prevent hacking.
According to Wikipedia, Chamberlain has been a pioneer in garage door automation since the 1950s, evolving from simple mechanical openers to sophisticated smart-home integrated systems. Understanding your specific model helps ensure you use the correct programming method, as older models may differ slightly from newer ones.
Most Access Master openers use a “Learn” button located on the motor unit. This button is the key to syncing any remote, keypad, or vehicle homelink system. Identifying the color of this button (usually yellow, purple, red, or green) is critical because it determines the exact steps you need to follow.
Step-by-Step Guide: How to Program a Remote Control
Programming a standard handheld remote is the most common task for homeowners. Whether you have lost your old remote or bought a new one, the process is straightforward if you follow these steps precisely.
Step 1: Locate the Learn Button
Climb a sturdy ladder to access the motor unit mounted on your garage ceiling. Look for the “Learn” button on the back or side of the unit. It is often located near the hanging antenna wire. Note the color of the button, as this confirms compatibility with your remote.
Step 2: Clear Old Codes (If Necessary)
If you are reprogramming due to security concerns or persistent errors, clear the memory first. Press and hold the Learn button for about 6–10 seconds until the indicator light turns off. Release the button. Warning: This erases all previously programmed remotes and keypads, so you will need to reprogram every device.
Step 3: Initiate Programming Mode
Press and release the Learn button quickly. The indicator light next to the button should turn on or start blinking. You now have approximately 30 seconds to complete the next step. If the light turns off before you finish, simply press the Learn button again.
Step 4: Sync the Remote
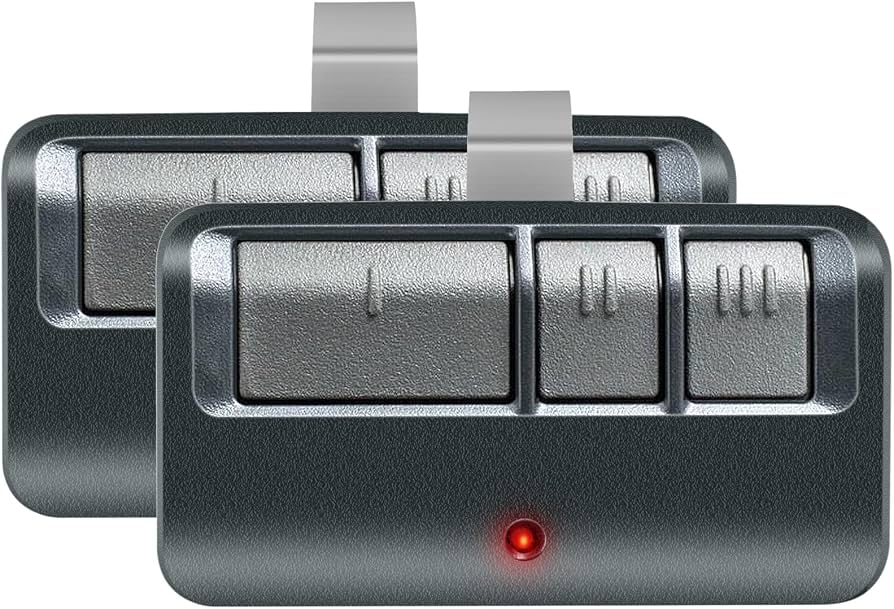
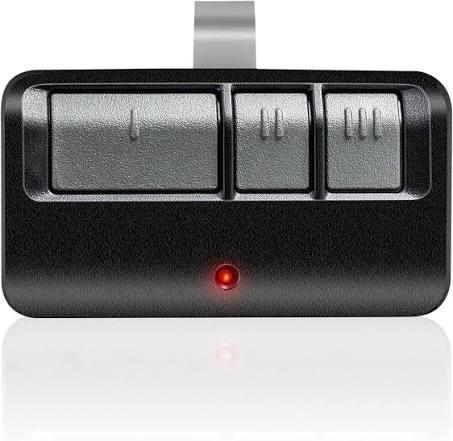
While the indicator light is active, press and hold the button on your remote that you wish to use. Hold it for 2–3 seconds. You should see the motor unit’s light blink or hear a click sound. This confirms the signal has been received.
Step 5: Test the Connection
Press the remote button again to test. The garage door should activate immediately. If it does not, repeat steps 3 and 4, ensuring you are within range (typically 10–15 feet) of the motor unit during programming.
Programming a Wireless Keypad
Many homeowners prefer wireless keypads for guest access or when they forget their remote. Programming an external keypad follows a similar logic but requires an additional PIN entry step.
- Enter Programming Mode: Press and release the Learn button on the motor unit. The indicator light will activate.
- Enter Your PIN: On the wireless keypad, type in your desired 4-digit PIN.
- Confirm the Code: Press the “Enter” or “Send” button on the keypad. You may need to hold it for a second.
- Verify Success: The motor unit light should blink or turn off, indicating the code is saved. Test the keypad by entering the PIN and pressing Enter.
Tip: Choose a PIN that is easy for family members to remember but difficult for strangers to guess. Avoid using birth years or sequential numbers like 1234.
Troubleshooting Common Programming Issues
Even with careful following of instructions, things can go wrong. Here are the most frequent issues and how to fix them.
| Issue | Possible Cause | Solution |
|---|---|---|
| Remote not syncing | Dead battery in remote | Replace the battery with a fresh CR2032 or equivalent. |
| Light blinks but door doesn’t move | Safety sensors blocked | Check the photo-eye sensors near the floor for dirt or obstruction. |
| Learn button light stays off | Power issue or locked mode | Ensure the opener is plugged in. Some models lock after too many failed attempts; unplug for 5 minutes to reset. |
| Intermittent operation | Signal interference | Move other wireless devices (like baby monitors) away from the motor unit. |
If your remote still fails to program after replacing the battery and checking the sensors, the remote itself may be defective. Chamberlain remotes are durable, but internal components can wear out over time.
Why Security+ 2.0 Matters for Your Home
One of the standout features of the Chamberlain Access Master series is its Security+ 2.0 technology. Unlike older fixed-code systems, which could be easily intercepted by hackers using simple radio scanners, Security+ 2.0 generates a new code every time you press the button.
This rolling code technology ensures that even if someone intercepts the signal, they cannot reuse it to open your garage. This is crucial for home security, as the garage is often a primary entry point for burglars. By properly programming your devices and maintaining your system, you leverage this advanced security feature to protect your family and belongings.
Frequently Asked Questions (FAQ)
1. Can I program a universal remote to my Chamberlain Access Master?
Yes, most universal remotes designed for Chamberlain/LiftMaster systems will work. Ensure the universal remote supports Security+ 2.0 technology. Follow the manufacturer’s instructions for the universal remote, which usually involve setting dip switches or using a specific code sequence before pressing the Learn button on the motor unit.
2. How do I know if my Chamberlain opener is compatible with a new remote?
Check the color of the Learn button on your motor unit. Most modern Chamberlain openers use yellow, purple, or red Learn buttons. If your opener has a brown or orange Learn button, it is likely an older model that may require different programming steps or may not be compatible with newer remotes. Consult your owner’s manual for specific compatibility details.
3. What should I do if I lose all my remotes?
If you have no working remotes, you can still program new ones using the Learn button on the motor unit. However, if you also have a wireless keypad and have lost its code, you may need to reset the entire system by holding the Learn button until the light goes out, then reprogramming all devices from scratch.
4. Can I program my car’s Homelink system to my Chamberlain opener?
Yes, most Chamberlain Access Master openers are compatible with Homelink. To program it, press the Learn button on the motor unit, then press and hold the Homelink button in your car for 2–3 seconds. You may need to repeat this process up to three times for the signal to register correctly. Refer to your vehicle’s manual for specific Homelink programming instructions.
5. How often should I reprogram my garage door opener?
You do not need to reprogram your opener regularly. However, it is recommended to reprogram if you lose a remote, move into a new home, or suspect unauthorized access. Regularly testing your remote and changing batteries annually will help maintain consistent performance without needing frequent reprogramming.
Conclusion
Learning how to program Chamberlain Access Master garage door opener is a valuable skill that saves time, money, and stress. By understanding the role of the Learn button, following the step-by-step synchronization process, and troubleshooting common issues, you can ensure your garage operates smoothly and securely.
Remember, a well-maintained garage door opener is not just about convenience; it is a critical component of your home’s security infrastructure. With Security+ 2.0 technology, you are protected against modern threats, provided you keep your codes updated and your devices in good working order.
Did this guide help you get your garage door working again? Share this article with friends or family who might be struggling with their own garage door remotes. Let’s help everyone enjoy the peace of mind that comes with a fully functional, secure garage!
Leave a Reply