A smoothly functioning garage door opener is essential for convenience and security. But what happens when the battery in your Liftmaster garage door opener needs replacing? In this article, we’ll guide you through the process of “How to Change Battery in Garage Door Opener Liftmaster” and keep your garage access hassle-free.
Understanding the Importance of a Working Battery
How to Change Battery in Garage Door Opener Liftmaster: The Significance
A functioning battery in your garage door opener is crucial for the following reasons:
1. Uninterrupted Access
A well-maintained battery ensures uninterrupted access to your garage. You won’t find yourself locked out or inconvenienced by a dead battery.
2. Security
A working battery is essential for the security of your home. It allows the garage door opener to function correctly, ensuring that your garage remains secure.
3. Preventing Emergencies
In case of an emergency or urgent need to access your garage, a functional battery ensures you can do so without any delay.
4. Peace of Mind
Knowing that your garage door opener’s battery is in good condition provides peace of mind, eliminating the stress of potential issues.
How to Change the Battery in Your Liftmaster Garage Door Opener
Follow these steps to replace the battery in your Liftmaster garage door opener:
1. Safety First
Before you begin, ensure that your garage door is in the closed position and unplugged from the power source. This step is essential to prevent any accidents.
2. Locate the Battery Compartment
The battery compartment in a Liftmaster garage door opener is typically situated near the motor unit. You may need a ladder to access it.
3. Remove the Old Battery
Gently remove the old battery from the compartment. Pay close attention to the orientation of the battery to ensure you insert the new one correctly.
4. Insert the New Battery
Place the new battery into the compartment, making sure the positive and negative terminals align with the corresponding markings. The battery should fit snugly.
5. Reconnect the Power
Reconnect the power source to the garage door opener. Ensure it’s securely plugged in.
6. Test the Garage Door Opener
Test your garage door opener by using your remote or the wall-mounted control panel. The door should open and close without any issues if the battery replacement was successful.
Choosing the Right Battery
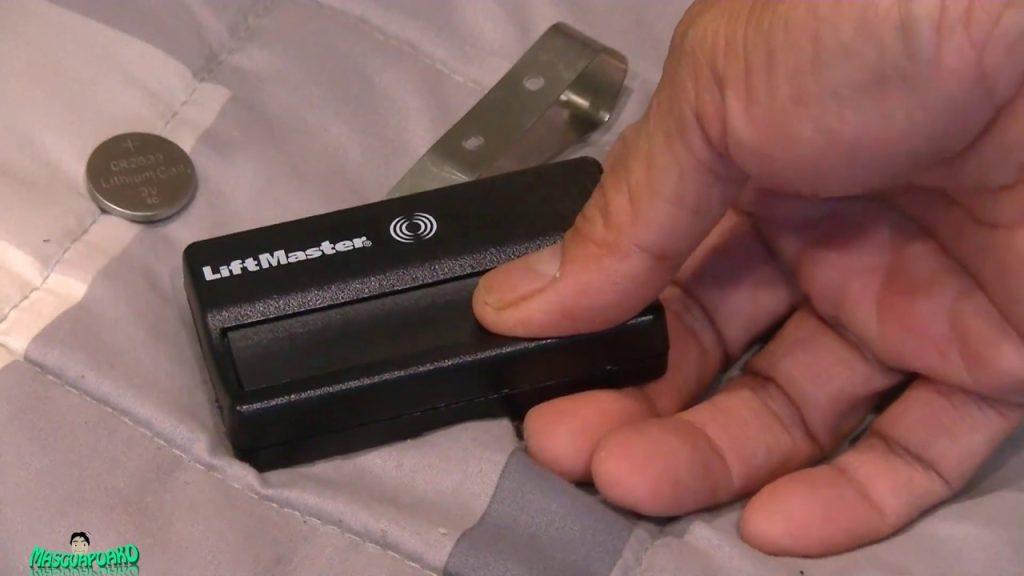
When replacing the battery in your Liftmaster garage door opener, it’s crucial to use the correct type of battery. Most Liftmaster openers use a 3V lithium battery, often a CR2032 or CR2025 model. Check your opener’s manual or the old battery for the exact battery model required.
Regular Maintenance
To ensure the continued reliability of your garage door opener, consider these maintenance tips:
1. Battery Replacement Schedule: Keep a regular schedule for battery replacement, even if the battery appears to be working fine. This proactive approach can help prevent unexpected failures.
2. Keep Batteries on Hand: Always have spare batteries on hand so that you can replace the battery as soon as you notice a drop in performance.
3. Clean the Battery Compartment: Over time, dust and debris can accumulate in the battery compartment. Periodically clean it to prevent any issues related to poor contact.
4. Inspect the Wiring: Ensure that all wiring and connections are secure and free of damage. Loose or damaged wires can lead to malfunctions.
Conclusion
Knowing “How to Change Battery in Garage Door Opener Liftmaster” is a valuable skill for any homeowner. Regular maintenance and timely battery replacement are key to keeping your garage access convenient and secure. By following the steps outlined in this article and adhering to a maintenance schedule, you can ensure that your Liftmaster garage door opener operates smoothly and reliably.


Leave a Reply