Introduction
Garage door openers provide convenience, security, and efficiency, allowing you to open and close your garage door with the press of a button. However, at some point, you may need to open your LiftMaster garage door opener remote to replace the battery, troubleshoot connectivity issues, or reset the remote.
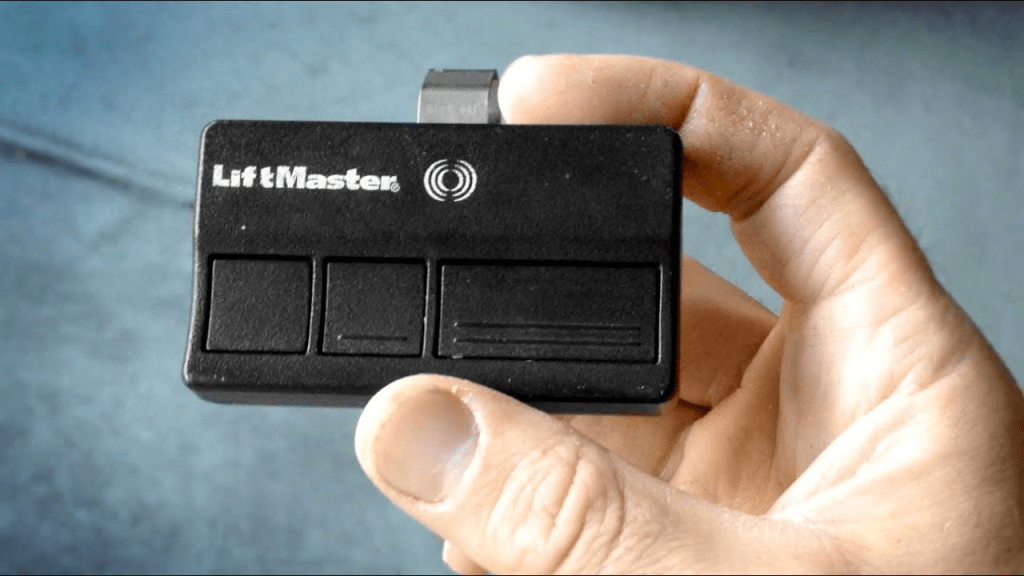
If you’re wondering, “How do you open a LiftMaster garage door opener remote?”, this guide will walk you through the process step by step. Whether you’re dealing with a dead battery, unresponsive buttons, or signal problems, understanding how to access and maintain your remote can help ensure smooth operation.
In this article, we’ll cover the different types of LiftMaster garage door opener remotes, why you might need to open them, and how to do it safely.
Why Do You Need to Open a LiftMaster Garage Door Opener Remote?
There are several reasons why you might need to open your LiftMaster garage door opener remote:
1. Replacing the Battery
Most LiftMaster remotes are powered by small lithium coin-cell batteries (like CR2032 or CR2016). Over time, the battery loses its charge, and replacing it is necessary to keep your remote functional.
Read too: Door and Garage Door Companies: Choosing the Right Partner for Your Needs
2. Cleaning Dust and Debris
Dirt and dust can accumulate inside the remote, leading to stuck or unresponsive buttons. Opening the remote allows you to clean it properly.
3. Fixing Unresponsive Buttons
If the buttons on your LiftMaster remote stop working, opening the remote can help you inspect the circuit board and button contacts for damage or misalignment.
4. Resetting the Remote
In some cases, resetting your LiftMaster garage door opener remote may be required to fix pairing issues with the opener. Opening the remote can give you access to internal reset components.
Types of LiftMaster Garage Door Opener Remotes
Before opening your LiftMaster garage door opener remote, it’s important to identify the type of remote you have. LiftMaster offers various models, including:
1. Standard Single-Button Remotes
- Controls one garage door
- Simple design with a single button
- Uses a coin-cell battery
2. Multi-Button Remotes
- Controls multiple garage doors or gates
- Has two or three buttons for different openers
- Uses a coin-cell battery or a small AAA battery
3. Keychain or Mini Remotes
- Compact and portable
- Clips onto keychains for convenience
- Uses a small battery (CR2032 or similar)
4. Universal LiftMaster Remotes
- Compatible with multiple garage door brands
- Requires programming to sync with your opener
Each of these remotes follows a similar method for opening, though there may be slight variations in the process.
How Do You Open A LiftMaster Garage Door Opener Remote?
Opening a LiftMaster garage door opener remote is a simple process that requires minimal tools. Follow these steps to safely open your remote and replace the battery or troubleshoot any issues.
Tools You Will Need:
- A flathead screwdriver or coin (for prying open the remote)
- A clean cloth (for cleaning the internal components)
- A new battery (if replacing the old one)
Step-by-Step Instructions to Open the Remote:
1: Identify the Battery Cover or Remote Casing
Most LiftMaster remotes have a small slot or seam around the edge where the battery compartment is located. Look for an indentation or notch on the back or side of the remote.
2: Use a Screwdriver or Coin to Pry Open the Remote
- Insert a flathead screwdriver, coin, or fingernail into the notch.
- Gently twist or pry to separate the two halves of the remote.
- Be careful not to use excessive force to avoid damaging the plastic casing.
3: Remove the Old Battery
- Once the remote is open, locate the battery compartment.
- Carefully remove the old battery using your fingers or a small tool.
- Take note of the battery’s orientation (positive and negative sides) before replacing it.
4: Clean the Internal Components (Optional)
- If the inside of the remote is dusty or dirty, use a dry cloth or a small brush to clean it.
- Avoid using liquid cleaners, as moisture can damage the circuit board.
5: Insert the New Battery
- Place the new battery in the same orientation as the old one.
- Ensure it fits securely within the compartment.
6: Close the Remote Casing
- Align the two halves of the remote and press them together until they snap into place.
- If necessary, use a small amount of pressure to ensure a tight seal.
7: Test the Remote
- Press a button on the remote to check if it is working.
- If the remote does not function, double-check the battery placement and try again.
Troubleshooting LiftMaster Garage Door Opener Remote Issues
If your LiftMaster garage door opener remote is still not working after opening and replacing the battery, try these troubleshooting tips:
1. Reprogram the Remote
Sometimes, remotes lose their connection with the garage door opener. To reprogram your remote:
- Locate the “Learn” button on the garage door opener motor unit.
- Press and hold the “Learn” button until the indicator light turns on.
- Press the button on the remote you want to program.
- Wait for the light on the opener to blink, indicating successful programming.
2. Check for Interference
Other wireless devices, such as Wi-Fi routers or security systems, can cause interference with your garage door remote. Try using the remote closer to the opener or eliminating nearby electronic interference.
3. Inspect the Antenna
Ensure the garage door opener’s antenna is hanging down freely and not damaged. A bent or obstructed antenna can weaken the signal.
4. Replace the Remote
If your remote is still not working after trying these fixes, it may be time to replace it with a new LiftMaster garage door opener remote.
How to Maintain Your LiftMaster Garage Door Opener Remote
To extend the life of your remote and prevent future issues, follow these maintenance tips:
- Replace the battery every 1–2 years to ensure consistent performance.
- Keep the remote clean and free of debris to prevent button malfunctions.
- Avoid dropping the remote to prevent internal damage.
- Store the remote in a safe place to prevent accidental damage or loss.
Conclusion
Understanding how to open a LiftMaster garage door opener remote is an essential skill for homeowners. Whether you’re replacing a battery, troubleshooting connectivity issues, or resetting the remote, following the proper steps ensures that your garage door operates smoothly.
By regularly maintaining your LiftMaster remote, checking for interference, and keeping the battery fresh, you can enjoy hassle-free access to your garage for years to come.
If your remote still isn’t working after troubleshooting, consider purchasing a replacement remote or contacting LiftMaster customer support for further assistance.



Leave a Reply