When your garage door opener starts making loud noises, hesitates, or stops working smoothly, the problem is often a worn belt. For many homeowners, learning how to replace belt on LiftMaster garage door opener is the fastest and most cost-effective way to restore reliable operation. This guide walks you through the entire process in a safe, beginner-friendly way, so you can confidently fix the issue without unnecessary service calls.
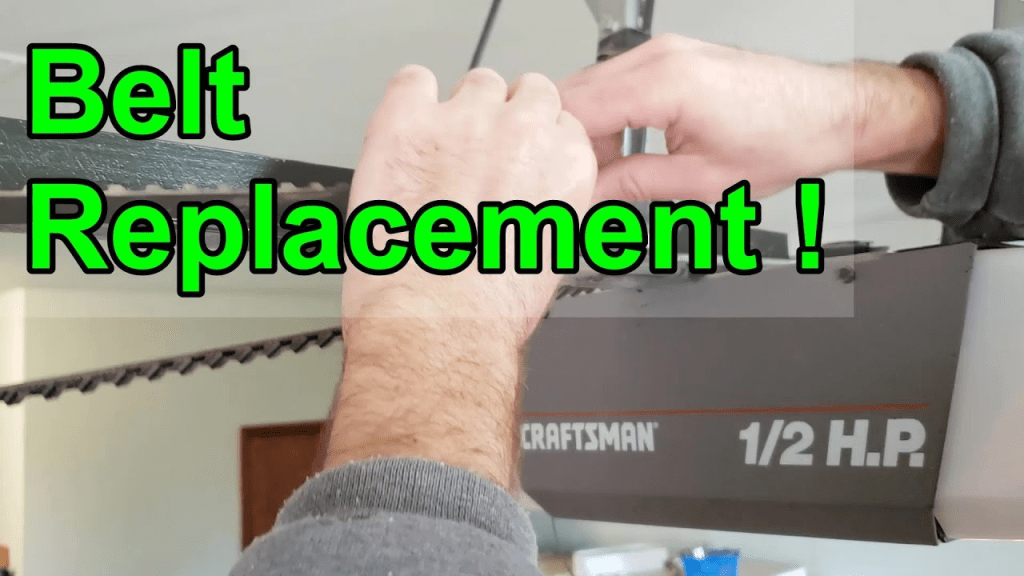
What Is a Belt Drive on a LiftMaster Garage Door Opener?
LiftMaster belt-drive garage door openers use a reinforced rubber or polyurethane belt to move the trolley along the rail. Compared to chain-drive systems, belt drives are:
- Much quieter
- Smoother during operation
- Ideal for attached garages or homes with living space above
Read too: Mastering the Art of Adjusting a Chamberlain Garage Door Opener for Smooth Operation and Safety
Because of these benefits, belt-drive models are among the most popular LiftMaster openers used in US homes today.
Why Does a LiftMaster Garage Door Opener Belt Wear Out?
Even premium belts are not permanent. Common reasons for belt failure include:
- Normal wear and tear after years of daily use
- Temperature changes, especially in uninsulated garages
- Poor door balance, which puts extra load on the belt
- Dust and debris accumulating inside the rail
According to general mechanical principles explained on
https://en.wikipedia.org/wiki/Garage_door_opener
drive components experience fatigue when exposed to constant tension and repeated motion, making eventual replacement unavoidable.
Signs You Need to Replace the Belt
Before starting the replacement, confirm that the belt is actually the problem. Look for these symptoms:
- Slapping, squealing, or rattling noises
- Door movement that is jerky or uneven
- Door stops midway and reverses
- Motor runs, but the door does not move
- Visible cracks, fraying, or stretching on the belt
Helpful Tip: If the door feels heavy when lifted manually, the door springs may be the issue. Replacing the belt alone will not fix a poorly balanced door.
Which LiftMaster Models Use Belt Drives?
Many LiftMaster residential openers use belt-drive systems, including:
- LiftMaster 8550 and 8550W series
- LiftMaster 8355 and 8355W models
- LiftMaster Secure View and smart belt-drive openers
Always check the model number on the motor housing or owner’s manual before purchasing a replacement belt. Belt length and attachment style can vary.
Tools and Materials You Will Need
Preparing everything in advance helps avoid interruptions and improves safety.
Required Tools
- Step ladder (6–8 feet recommended)
- Adjustable wrench or socket wrench (commonly 1/2 inch)
- Flathead screwdriver
- Safety gloves and eye protection
Materials
- Genuine LiftMaster replacement belt (model-specific)
- Clean cloth for wiping the rail
Important Safety Precautions
Garage door openers involve electricity and moving parts. Follow these steps carefully:
- Unplug the opener from the power outlet
- Pull the emergency release cord to disconnect the door
- Make sure the garage door is fully closed
- Keep children and pets away from the work area
Taking a few extra minutes for safety can prevent serious injury.
How To Replace Belt On LiftMaster Garage Door Opener (Step-by-Step Guide)
Step 1: Remove the Opener Cover
Use a screwdriver to remove the light lens and outer cover. This exposes the belt, motor sprocket, and rail assembly.
Step 2: Loosen the Belt Tension
Locate the tension adjustment nut near the trolley.
- Turn the nut counterclockwise
- Typically requires 10–14 full turns
- Stop once the belt is clearly loose
Step 3: Remove the Old Belt
- Slide the belt off the motor sprocket
- Carefully pull it out of the rail
- Inspect the sprocket teeth and trolley for wear
Expert Insight: If the sprocket teeth are sharp or uneven, replacing only the belt may result in continued noise or premature wear.
Step 4: Install the New LiftMaster Belt
- Feed the new belt through the rail in the same orientation
- Make sure the grooved side engages the sprocket
- Attach the belt securely to the trolley connector
Step 5: Adjust Belt Tension
Turn the adjustment nut clockwise until:
- The belt sits approximately 1/4 inch above the rail at the midpoint
- The belt feels firm but still slightly flexible
⚠️ Do not overtighten. Too much tension can damage motor bearings and shorten the opener’s lifespan.
Step 6: Reassemble and Test
- Reinstall the opener cover and light lens
- Plug the opener back in
- Reconnect the door
- Run 2–3 full open and close cycles
Listen carefully for smooth and quiet operation.
Correct Belt Tension Reference Table
| Belt Condition | Result |
|---|---|
| Too Loose | Slapping noise, slipping |
| Too Tight | Motor strain, faster wear |
| Proper Tension | Quiet, smooth operation |
Common Mistakes to Avoid
- Using a generic belt instead of a LiftMaster-approved part
- Forgetting to unplug the opener
- Ignoring worn sprockets or rails
- Skipping post-installation testing
Avoiding these mistakes can save time and prevent repeat repairs.
Maintenance Tips to Extend Belt Life
Once you know how to replace belt on LiftMaster garage door opener, regular maintenance helps your new belt last longer:
- Clean the rail every 6 months
- Check belt tension once per year
- Maintain garage temperature between 22–28°C (72–82°F) when possible
- Lubricate metal components only—never lubricate the belt
DIY vs Professional Replacement: Pros and Cons
DIY Replacement
Pros
- Saves $150–$300 in labor costs
- Immediate solution
- Builds homeowner confidence
Cons
- Requires ladder work
- Takes 1–2 hours for beginners
Professional Repair
Pros
- Faster completion
- Full system inspection
Cons
- Higher cost
- Scheduling delays
FAQ – How To Replace Belt On LiftMaster Garage Door Opener
Q1: How long does it take to replace a LiftMaster belt?
A: Most homeowners complete the job in 60–90 minutes.
Q2: How often should a LiftMaster belt be replaced?
A: Typically every 8–12 years, depending on usage and climate.
Q3: Can I convert a belt-drive LiftMaster to a chain drive?
A: No. This would require replacing the entire rail and drive system.
Q4: Why is my new belt still noisy?
A: Noise usually indicates incorrect tension, dirty rails, or an unbalanced door.
Q5: Do smart LiftMaster openers use different belts?
A: The process is similar, but belt length and attachments may vary by model.
Conclusion
Understanding how to replace belt on LiftMaster garage door opener gives you control over one of the most common garage door problems. With the right tools, proper belt tension, and routine maintenance, your LiftMaster opener can operate quietly and reliably for many years.
If this guide helped you, share it on social media so other homeowners can save money, avoid unnecessary repairs, and feel confident tackling this DIY project themselves.



Leave a Reply